9A439001
Installation Instructions
INS-9A439001 (Rev. A)
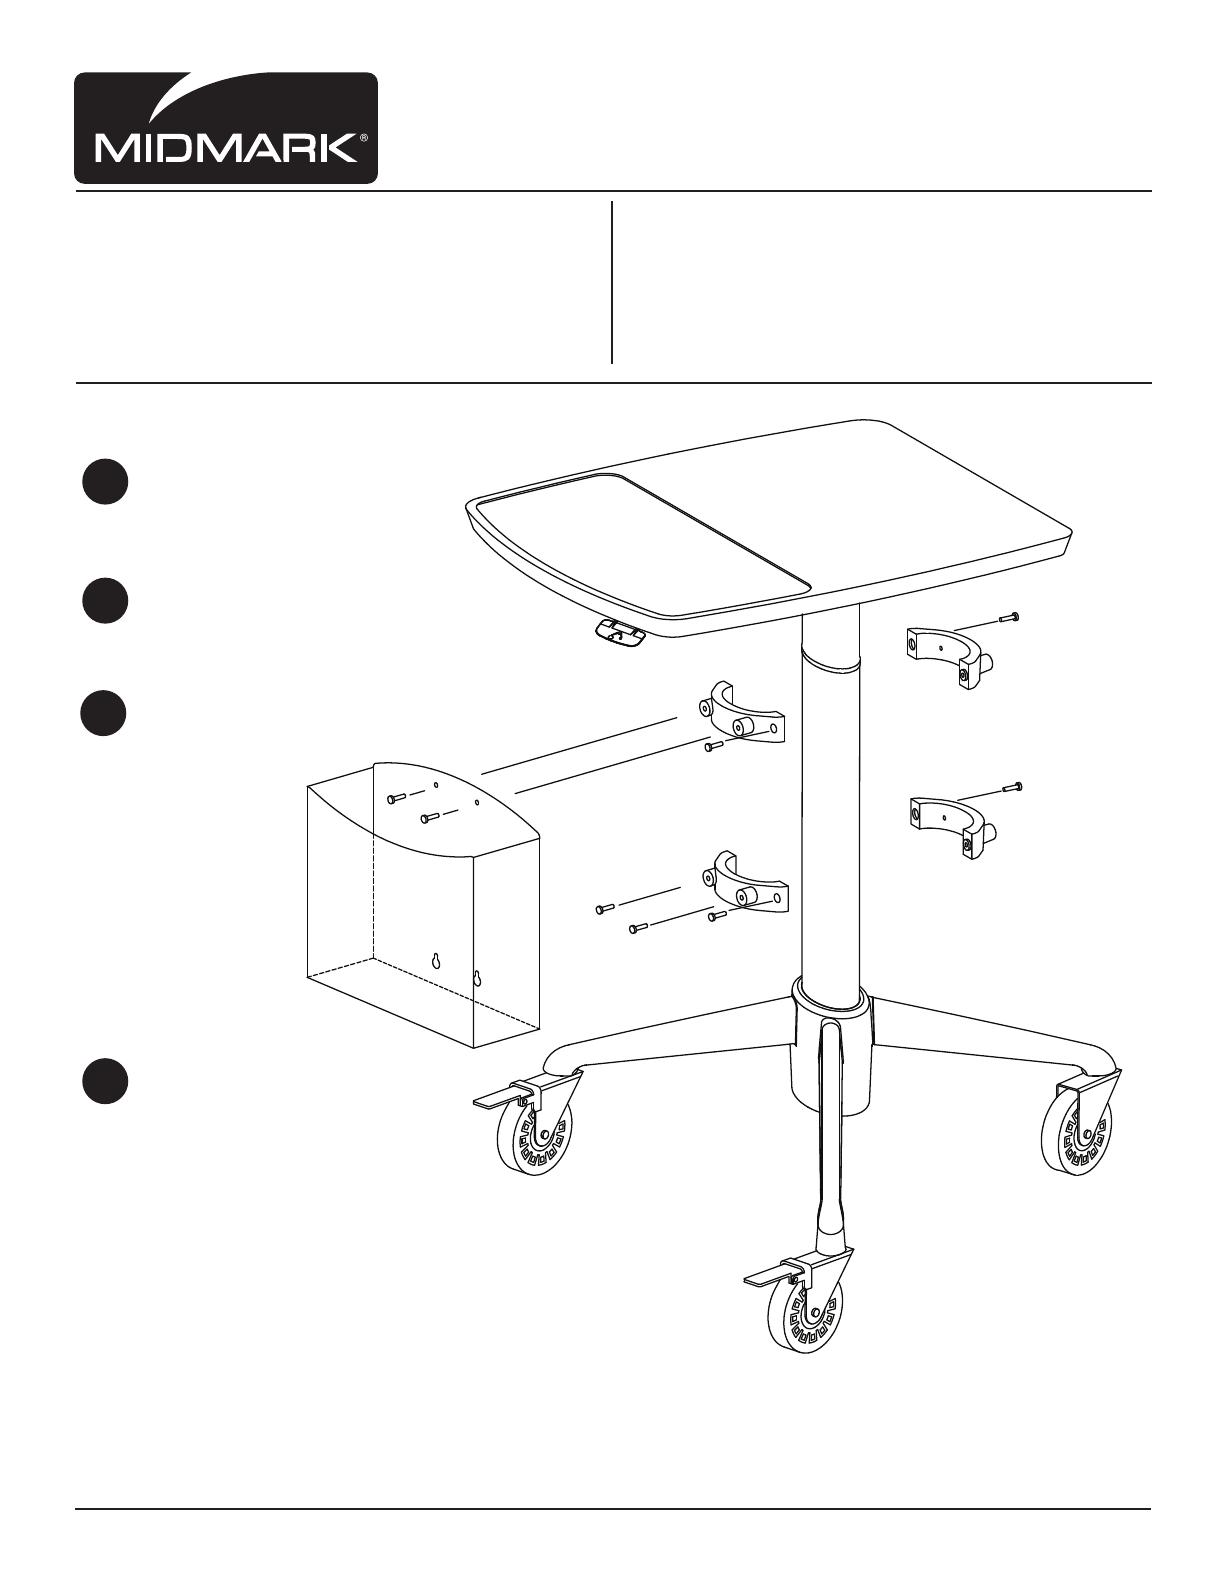
FOR COLUMN MOUNT:
Run screws into accessory
mounting bracket to within
1/16” of the bracket surface
Slip the HFH (Hanging
File Holder) accessory onto
the lower accessory mounting
bracket thru the keyhole slots
Attach HFH (Hanging File
Holder) accessory securely at
the top with the (2) screws
provided
Tighten the upper accessory
bracket to the table column by
tightening the screw shown
in #3.
Securely attach lower accessory
mounting bracket to the table
column at the desired height
Loosely attach the upper
accessory mounting bracket
1
2
4
3
Midmark Corporation | 60 Vista Drive | PO Box 286 | Versailles, Ohio 45380-0286 | USA | midmark.com
Tools required:
Phillips head screwdriver
Electric Drill with Drive Extension
1/2” Drill Bit
Parts Included:
(1) CPU Mounting Bracket
(2) Sets of Mounting Bracket Assemblies
(4) 10-24 x 7/8” Long Phillips Drive Pan Head Machine Screws
(4) 10-24 x 1” Long Phillips Drive Pan Head Machine Screws
(4) 1/4-20 Heavy Duty Snap Togglers
(4) 1/4-20 x 2” Long Phillips Drive Pan Head Machine Screws
(2) Cable Ties
(1) Safety Strap

