Installation and Finishing Guide
What Tools do I Need to Install Moulding?
• UtilityKnife
• WoodFillerandGlue
• Ladder
• SafetyGlasses
• HearingProtection
• Level
• Clamps
• MiterBox,MiterSaw,orCompoundMiterSaw
• FinishingNails,NailSet,andaHammeror
BradNailer
• TapeMeasure
• FramingSquare
• Protractor
• PenandPaper
Hereisthebasiclistoftoolsyouwillneedtoinstallmoulding:
How do I Handle Long Walls?
Sometimesitisnecessarytospanlongerlengthsthanwhatisavailableinyourlocalstore,whenthis
happensyouwillhavetosplicetwolengthsofmouldingtogether.Thistypeofjointiscalledascarf/
splicejoint.Ascarf/splicejointwillallowonepiecetooverlaptheothersectionofmouldingcreating
alongerpieceofmoulding.Thescarf/splicejointcreatesaverticalseaminthenishedinstallation.
Itisrecommendedthatyouplacethescarf/splicejointoverawallstudforadditionalstrength.
Installtherstpieceofmouldingagainstthewallwitha45degreemitercutonendofthemoulding
oppositethecorner.Donotnailwithinthreefeetofthescarf/splicejointatthistime.Measurethenext
pieceofmoulding.Thesecondcutwillbetheoppositeofthemouldingcurrentlyinstalledonthewall.
Oncethesecondcuthasbeenmade,installthemouldingonthewall,placinganaildirectlyintothe
scarf/splice.
How do I Install Moulding?
Installmouldingpiecebypieceworkingaroundtheroom,installingthelongestpiecesrst.Avoid
nailingwithintwotothreeinchesoftheendtoavoidsplitting.Somehardwoodmouldingwillrequire
pre-drillingbeforenailing.Ifyouarehandnailing,besuretouseanailsettosinkthenailheads
slightlybelowthefaceofthemoulding.
How do I Sand Moulding?
Usinganegritsandingspongeor220gritsandpapermountedtoasandingblock,alwayssand
withthegrainofthewood.Coarsergritsofsandpaperorsandingagainstthegrainofthewoodwill
leavenegougesandblemishesinthewood.Averylighttouchisrequiredwhensandingmoulding.
Itisrecommendedthatyousandbetweeneachcoatofprimerorpaint.Thislightsandingwillensure
astrongbondbetweenthecoatsandgiveasmoothernish.
Should I Prime My Moulding?
Itisonlynecessarytoprimesolidpineorunprimedngerjointmoulding.Mostofthemouldingssold
atTheHomeDepotcomewithafactoryappliedprimer.Ifyouarepaintingsolidpinemouldingor
unprimedngerjointmoulding,werecommendprimingwithahighqualityprimer.
How do I Apply Wood Filler or Caulk?
Woodllerorcaulkisusedtollnailholes,repairscratches,dents,andunevenjointsinmiters.
Alwaysuseanon-shrinkingllerorcaulk,followthemanufacturer’sdirectionstoachievethebest
results.Forstainablemouldings,usewoodllerthatcloselymatchesthewoodcolorofyourmoulding.
When Should I Paint or Stain My Moulding?
Stainingorpaintingmouldingbeforeinstallationisalwaysrecommended.Ifyouinstallyourmoulding
andthennishit,protectthesurroundingareasbyusingpainterstape.Remembertoremovethetape
immediatelyafternishingtopreventthetapefromdamagingthewallorsurroundingtrim.Painting
isrecommendedforallpre-primedmoulding.Itisalsoadvisabletousetwocoatsofpaintfor
outstandingdurabilityandappearance.Mouldingswithamorepronouncedwoodgrainorunprimed
surfacesarebettersuitedtostainingorvarnishing.Stainingorvarnishingenhancesthenaturalbeauty
ofthewood.Sometypesofwoodmouldingsuchashemlockorsolidpinecanbestainedtoany
color,whileothertypesofwoodmouldingsuchasoaklendtodarkerstains.
Finishing Recommendations
Wood Species Stain Varnish Paint
Primed Fiberboard
X
Primed Finger Joint
X
Oak
X X
Pine
X X
Hemlock
X X
Raw Finger Joint
X
Maple
X X
Fir
X X
Measure
Outside
Moulding
Inside
Mitre
Outside
Mitre
Figure 2
Figure 1 Figure 1.1
What Type of Moulding do I Need?
Forwindowsanddoorsyoucanusecasing,forceilingsusecrown,foroorsusebase,andforwalls
usechairrailorpanelmould.Youcanchoosefromawidevarietyofoptionstosuitanystyleand
everybudget.Formoretipsonselectingordesigningwithmoulding,pickupacopyofourfree
“MakeanImpressionwithMoulding”orourfreetearpad“HowtoShopforMoulding”.
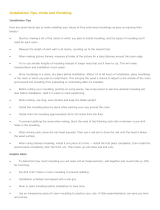
What are the Basic Cuts for Moulding?
Themostbasiccutformouldingisthemiter.Mostmouldingisinstalledwithmiterjointsthatform
a90degreeangle.Therstpieceofmouldingiscutwitha45degreeangle;thesecondpieceof
mouldingisalsocutwitha45degreeformingatight90degreeangle.Inverticalapplications
(typicallycasing)theanglesarecutonthefaceofthemoulding.Inhorizontalapplications
(typicallybase,chairrail,crown)theanglesarecutagainstthefaceofthemoulding.(Figure2)
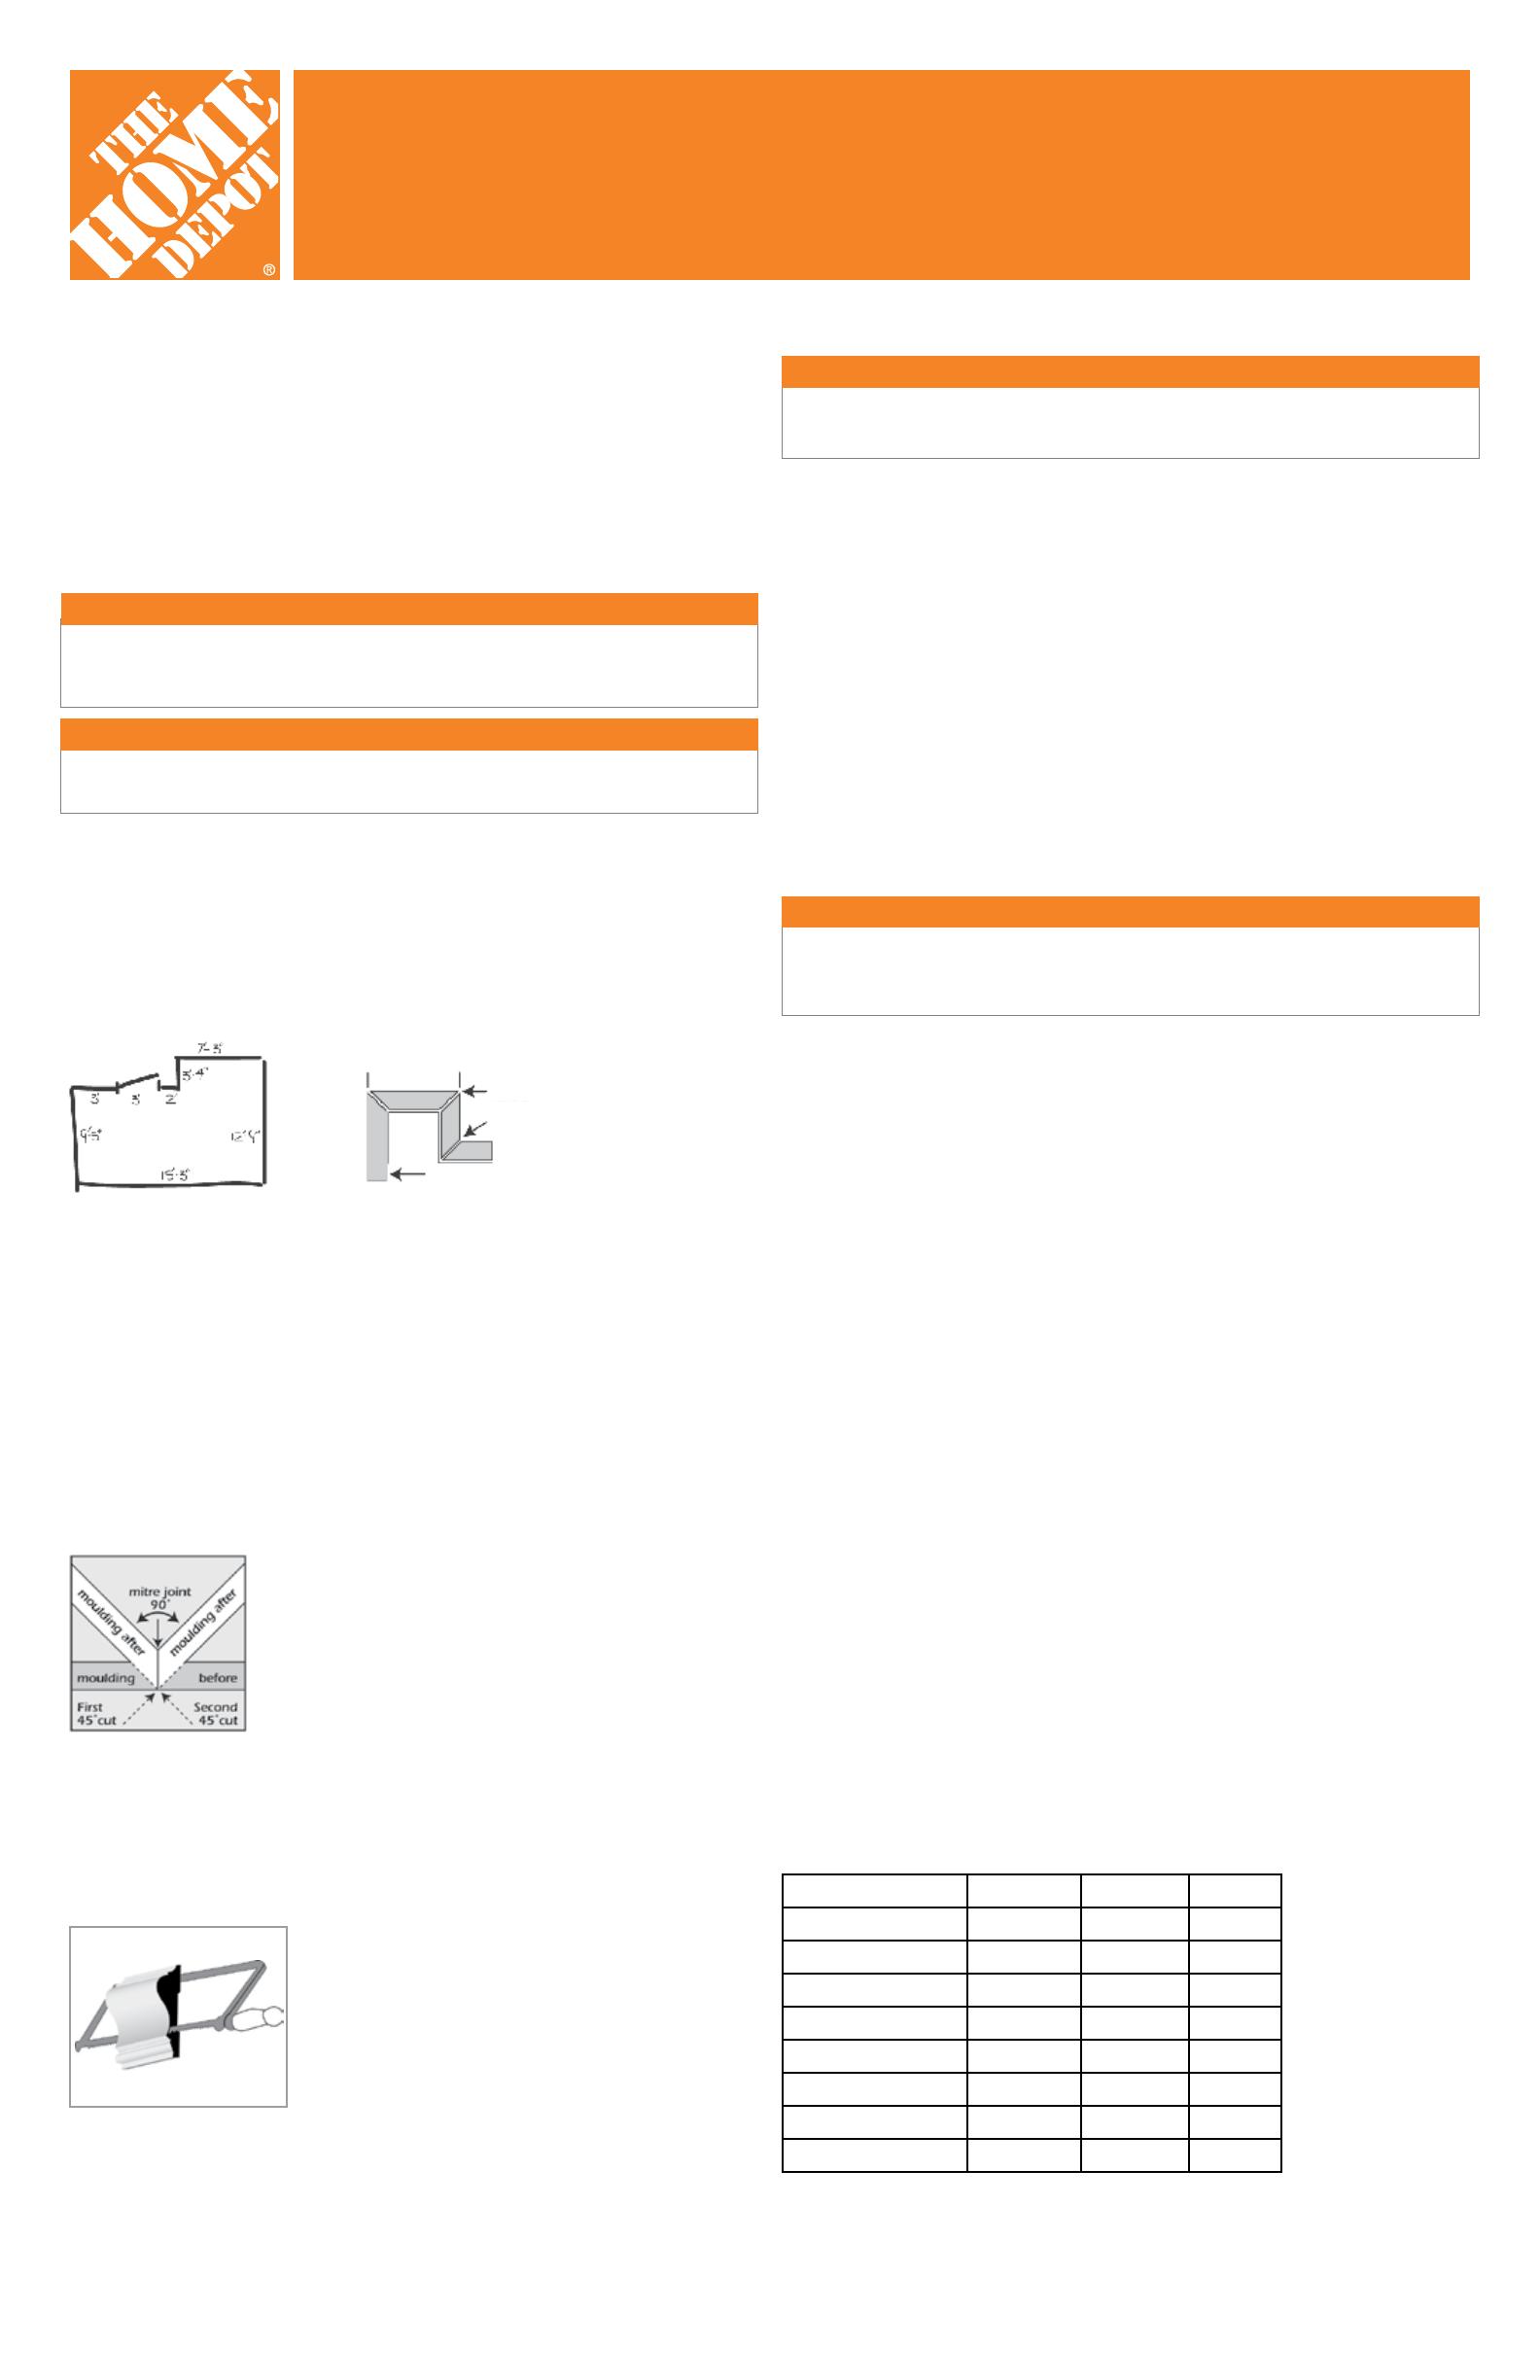
What is Coping?
Acopeisaninsidecornerwhereonepieceofthemouldingiscutsquareandbuttstightintothe
corner.Theoppositesideisrstcutlikeaninsidemiter.Thenusingacopingsawremovethematerial
fromthemouldingleavingtheprole.(Figure3)Thecopejointwillthentoverthesquarecut
mouldingonthewall.Copingcanbeatimeconsumingprocessbuteasilyaccommodatescorners
thatarenot90degreesandisveryresistanttoshrinkage.
How do I End Moulding Without a Corner?
Ifyouneedtoendmouldingwithoutturningacornerorrunningintoawall,youwillneedtocreate
areturn.Cutthemouldingtolengthnishingthepiecewithamiterangle.Areturncanbecreated
bytakingascrappieceofmouldingandcuttingamiteronendofthescrappiece.Thencutstraight
downfromthefaceofthemoulding,ensuringthebladewillmeettheedgeofthemitercutwhich
formsasmalltriangularpieceofmoulding.Attachthepiecewithcarpenters’woodglueandsecure
thepieceuntilthegluedrieswithmaskingtape.
What Tools do I Need to Finish Moulding?
• PaintorStain
• DropCloths
• Rags
• WoodPutty,CaulkandaCaulkGun
• Brushes
• 220GritSandpaper
Figure 2
Figure 3
Measure
Outside
Moulding
Inside
Mitre
Outside
Mitre
Handy Tip
Usingacompoundmitersawandapneumaticnailgunwillnotonlymaketheinstallationprocess
easier,itwillalsospeedupthetimerequiredforinstallation.Ifyoudon’townorwanttopurchase
thesetools,theycanberentedatTheHomeDepotRentalCenter.
Safety Tip
Alwaysweareye,ear,andrespiratoryprotectionwhendoinganyhomeimprovementproject.
Remembersafetyrst.
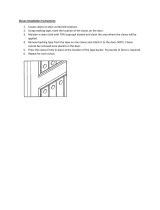
How Much Moulding do I Need?
Todeterminetheamountofmouldingneededforyourprojectfollowthesesteps:
1.Drawaoorplanofyourroom.(Figure1)
2.Measureeachwallandnoteitonyourplan.
3.Alsonotetheplacementandsizeofanydoors,windowsoropeningsintheroom.
Itisalsorecommendedthatyouidentifyeachcornerandtheangle.(Figure1.1)
4.Addallofthewalllengthstogethertogettheamountofmouldingyouneedtopurchase.
Add15%forcuttingmistakesandwaste.
Handy Tip:
Toxslightgapsinoutsidecorners,llthegapswithcarpenters’woodglue,andrubthegap
withthesideofautilityknife.Thiswillcrushthewoodberstollthegap.
Handy Tip:
Ifyouarerighthanded,itiseasiertoinstallmouldingcounter-clockwise.Ifyouarelefthanded,
itiseasiertoinstallmouldingclockwise.Thiswayyoucansupportthemouldingwithyour
un-favoredhandanddrivefastenerswithyourdominanthand.
For more information, visit www.homedepot.com/moulding