Kohler K-647-VS Installation guide

Category
Sanitary ware
Type
Installation guide

This manual is also suitable for

Thank You For Choosing Kohler Company
We appreciate your commitment to Kohler quality. Please take a few
minutes to review this manual before you start installation. If you
encounter any installation or performance problems, please don’t
hesitate to contact us. Our phone numbers and website are listed on
the back cover. Thanks again for choosing Kohler Company.
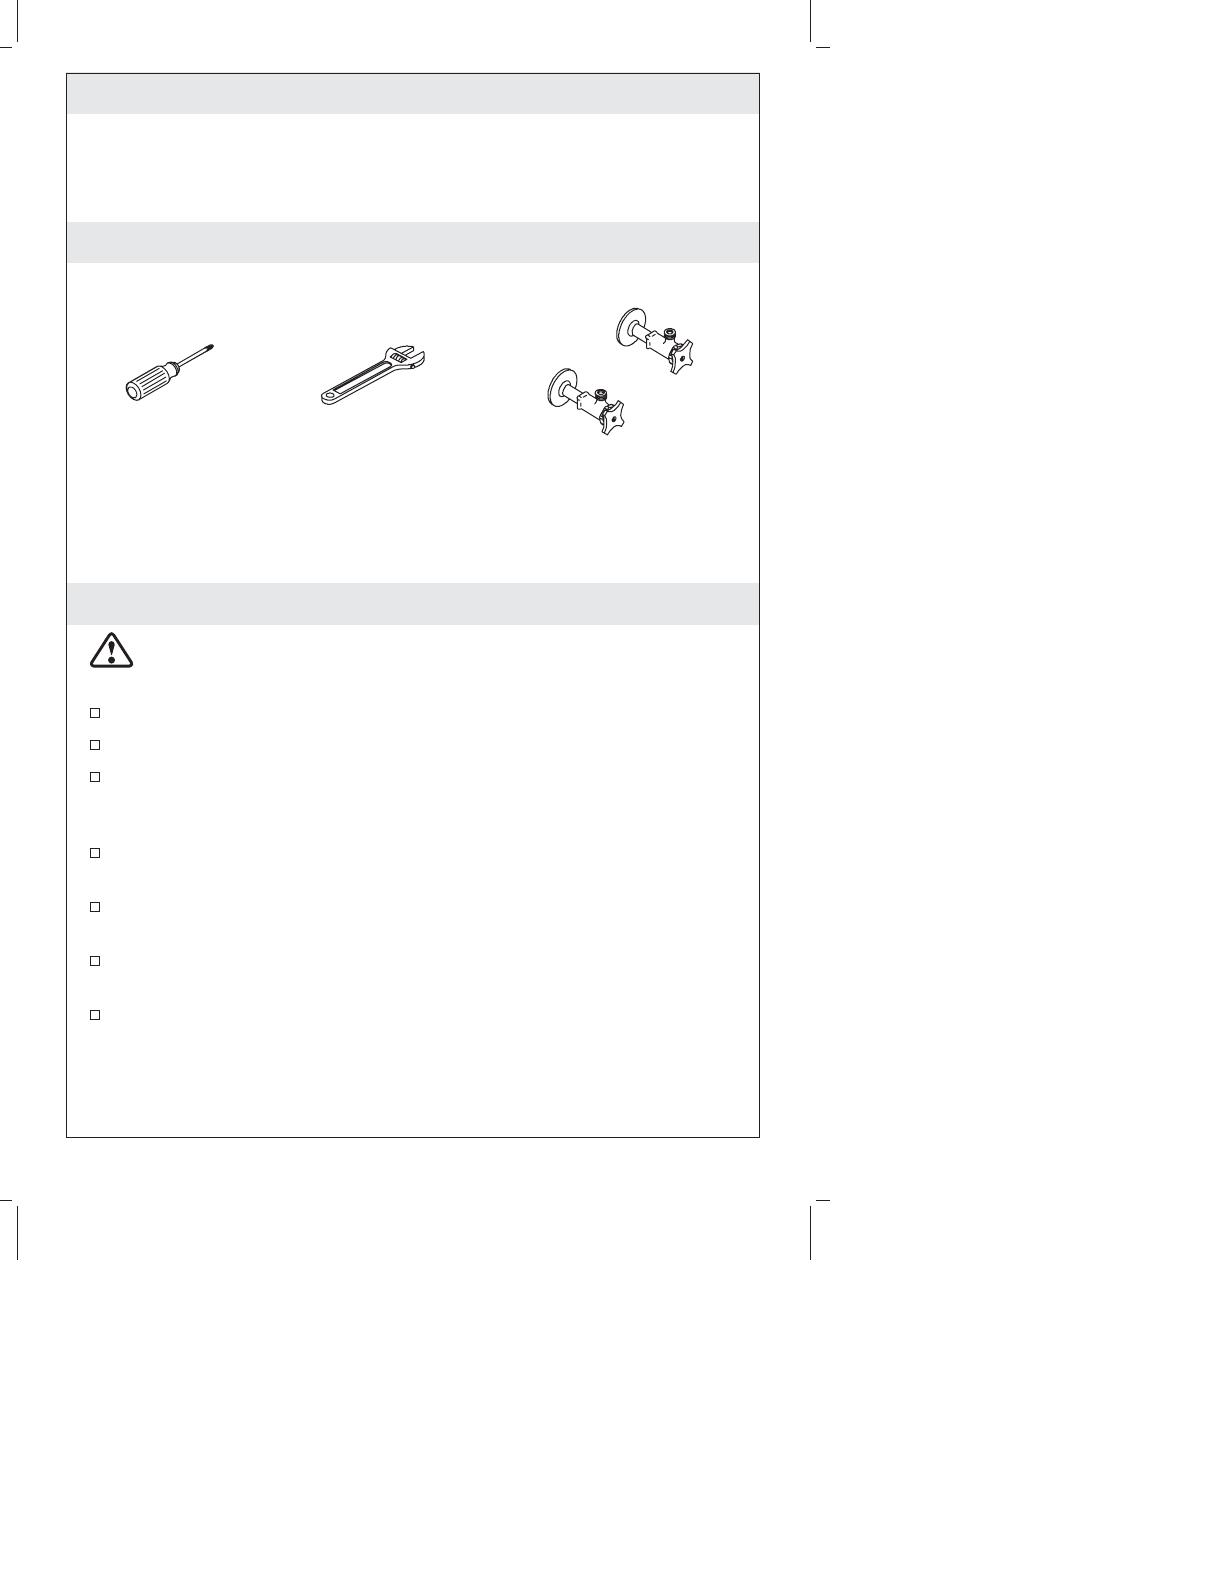
Tools and Materials
Before You Begin
CAUTION: Risk of restricted water flow and product damage.
Use extreme care when connecting all hoses to avoid kinking
and twisting.
Observe all local plumbing and building codes.
Shut off the water supplies.
Before installation, unpack the new faucet and inspect it for
damage. Return the faucet to the carton until you are ready to
install it.
Carefully inspect waste and supply tubing for any sign of
damage and replace if necessary.
This product is for use on a two-hole sink. A third hole is needed
to install the soap dispenser (optional).
The maximum fixture or deck thickness for installation of this
faucet is 1-1/2 (3.8 cm).
Kohler Co. reserves the right to make revisions in the design of
faucets without notice, as specified in the Price Book.
Two 3/8" Male
Supply Connections
Adjustable
Wrench
Phillips
Screwdriver
1048033-2-B 2 Kohler Co.
1. Install the Faucet
Slide the O-ring up to the base of the spout, then fit the faucet
through the drilled hole.
Partially thread two screws into the threaded ring until they
protrude slightly from the backside of the threaded ring.
IMPORTANT! Due to the asymmetrical design of the faucet, the
spout must be positioned with the Kohler logo facing away from the
user’s normal operating position.
Properly position the spout with the Kohler logo facing away
from the user’s normal operating position.
Rotate the spray wand to the intended position or to the user’s
preference.
Slide the metal washer onto the shank from the underside of the
sink.
Thread the threaded ring up the shank until it is about 1/4 (6
mm) away from the underside of the sink. Ensure the screw holes
face the front and back of the faucet.
Tighten the screws.
IMPORTANT! The intended position of the spray wand is to face
the buttons away from the user’s normal operating position. This
position is adjustable to provide the user with additional flexibility
to suit their personal preferences.
Spout
Threaded Ring
Screws
Shank
Metal Washer
O-Ring
Spray Wand
Kohler Co. 3 1048033-2-B
2. Install the Remote Valve
NOTE: The remote valve must be located within 12 (30.5 cm) of the
spout.
Slide the O-ring over the supply hoses onto the base of the
remote valve.
Insert the remote valve through the hole in the mounting surface.
Assemble the bracket and nut to the stud from underneath the
mounting surface.
Align the handle and securely tighten the nut.
Remote Valve
Handle
Stud
Supply Hoses
Bracket
Nut
O-Ring
Inlet Hose
Sink
1048033-2-B 4 Kohler Co.
3. Install the Soap/Lotion Dispenser
If assembled, turn the bottle clockwise to remove it.
Remove the nut from the pump assembly.
Ensure the washer is placed underneath the escutcheon.
Insert the pump assembly through the desired mounting hole.
From underneath the mounting surface, reinstall the nut. Tighten
the nut until the escutcheon is firmly held in place.
From underneath the mounting surface, reinstall the bottle.
Remove the pump assembly from the mounting hole.
Fill the bottle with soap or lotion.
Reinsert the pump assembly.
Pump Assembly
Nut
Bottle
Escutcheon
Kohler Co. 5 1048033-2-B
4. Install the Supplies
CAUTION: Risk of restricted waterflow and product damage.
Use extreme care to avoid kinking and twisting the supply
hoses. Hoses must not be taut after installation.
NOTE: If the sink installation requires that you coil the supply hoses
to obtain a good connection, maintain an inside coil diameter of at
least 3 (7.6 cm).
Carefully position the hot and cold water supplies so they will
not interfere with other hoses.
Connect the supply hoses to the supply stops. Left is hot, right is
cold.
Tighten all connections.
5. Flush the Supply Lines
Place the valve outlet hose into a bucket or suitable container.
Slowly turn on the hot and cold supplies.
Slowly turn the faucet handle to the full cold ON position.
Let the water run for one minute to remove any debris.
Rotate the faucet handle to the full hot position.
Let the water run for one minute to remove any debris.
Turn the faucet handle to the OFF position.
3" (7.6 cm)
or Larger
Cold
Cold
Hot
1048033-2-B 6 Kohler Co.
6. Connect the Spray Hose
Slide the weight onto the spray hose.
Verify that the hose ends are clean and that the O-ring is in place.
Fully engage the hose ends.
Extend and retract the spray hose to check for smooth operation.
Reposition the supply hoses if necessary.
7. Optional Water Temperature Limiting Adjustment
NOTE: Before adjusting the water temperature, ensure the handle is
turned all the way to the left. This is the maximum hot position.
Remove the plug button, setscrew, handle, and bonnet.
Reposition the indexer to stop the valve stem at the desired
maximum temperature.
Allow the water to flow through the spout and rotate the valve
stem to the full hot position to confirm the temperature setting.
Repeat the above procedures until the desired temperature is
reached.
Reinstall the bonnet and handle onto the faucet body. Secure the
handle with the setscrew.
Reinstall the plug button.
Weight
Spray Hose
O-Ring
Valve Outlet
Hose
Setscrew
Handle
Bonnet
Indexer
Splines
Valve Stem
Plug Button
Kohler Co. 7 1048033-2-B
  • Page 1 1
  • Page 2 2
  • Page 3 3
  • Page 4 4
  • Page 5 5
  • Page 6 6
  • Page 7 7
  • Page 8 8
  • Page 9 9
  • Page 10 10
  • Page 11 11
  • Page 12 12
  • Page 13 13
  • Page 14 14
  • Page 15 15
  • Page 16 16
  • Page 17 17
  • Page 18 18
  • Page 19 19
  • Page 20 20
  • Page 21 21
  • Page 22 22
  • Page 23 23
  • Page 24 24
  • Page 25 25
  • Page 26 26
  • Page 27 27
  • Page 28 28

Kohler K-647-VS Installation guide

Category
Sanitary ware
Type
Installation guide
This manual is also suitable for

Ask a question and I''ll find the answer in the document

Finding information in a document is now easier with AI