Brother MFC-7320 User manual

Category
Copiers
Type
User manual

The Brother MFC-7320 is a multi-function device that offers printing, copying, scanning, and faxing capabilities, making it a versatile addition to any home or small office. With its ability to handle various tasks, the MFC-7320 streamlines your workflow and enhances productivity.

The Brother MFC-7320 is a multi-function device that offers printing, copying, scanning, and faxing capabilities, making it a versatile addition to any home or small office. With its ability to handle various tasks, the MFC-7320 streamlines your workflow and enhances productivity.

STEP 1
STEP 2
Setup is Complete!
Quick Setup Guide
Setting Up the Machine
Installing the Driver & Software
MFC-7440N
MFC-7320
Before you can use the machine, you must set up the hardware and install the driver. Please read
this ‘Quick Setup Guide’ for proper set up and installation instructions.
Keep this ‘Quick Setup Guide’ and the supplied CD-ROM in a convenient place for quick and easy
reference at all times.
Version A
EEU-ENG
1
Symbols used in this guide
Warning
Caution
Improper Setup
Warnings tell you what to do to prevent
possible personal injury.
Cautions specify procedures you must
follow or avoid to prevent possible
damage to the machine or other objects.
Improper Setup icons alert you to
devices and operations that are not
compatible with the machine.
Note
User's Guide, Software User's Guide or
Network User's Guide
Notes tell you how you should respond
to a situation that may arise or give tips
about how the current operation works
with other features.
Indicates reference to the User's Guide,
Software User's Guide or Network
User's Guide which is on the CD-ROM
we have supplied.
Table of Contents
1
Safety Precautions
To use the machine safely ........................................................................................................................... 2
Regulations .................................................................................................................................................. 3
STEP 1 –
Setting Up the Machine
Installing the drum unit and toner cartridge assembly.................................................................................. 4
Loading paper in the paper tray ................................................................................................................... 5
Install the power cord and phone line .......................................................................................................... 6
Set Your Country ........................................................................................................................................ 7
Setting the date and time ............................................................................................................................. 7
Setting your station ID.................................................................................................................................. 8
Tone and pulse dialling mode ..................................................................................................................... 8
Selecting a receive mode............................................................................................................................. 9
Setting the phone line type......................................................................................................................... 10
Setting the LCD contrast ............................................................................................................................ 10
STEP 2 –
Installing the Driver & Software
Windows®
For USB Interface Cable Users
(For Windows® 2000 Professional/XP/XP Professional x64 Edition/Windows Vista®) ............................. 12
For Wired Network Interface Users (MFC-7440N only)
(For Windows® 2000 Professional/XP/XP Professional x64 Edition/Windows Vista®) ............................. 14
For Windows Server® 2003, see the Network User’s Guide on the CD-ROM.
Macintosh®
For USB Interface Cable Users................................................................................................................. 16
For Mac OS® X 10.2.4 or greater......................................................................................................... 16
For Wired Network Interface Users (MFC-7440N only) ........................................................................... 17
For Mac OS® X 10.2.4 or greater......................................................................................................... 17
Consumables and Options
Consumables ............................................................................................................................................. 19
Note
When you move the machine, grasp the side handholds that are under the scanner. Do NOT carry the MFC by
holding it at the bottom.
Ilustration in this Quick Setup Guide are based on MFC-7440N.
Safety Precautions
2
To use the machine safely
Please keep these instructions for later reference and read them before attempting any maintenance.
Warning
Note
Before cleaning the inside of the machine, first unplug the
telephone line cord, and then the power cord from the
electrical socket.
DO NOT handle the plug with wet hands. Doing
this might cause an electrical shock.
DO NOT use flammable substances, any type of spray or
organic solvent/liquids containing alcohol/ammonia to clean
the inside or outside of the machine. Doing this may cause a
fire or electrical shock. Refer to Routine maintenance for
how to clean the machine in the User’s Guide.
Always make sure the plug is fully inserted.
After you have just used the machine, some internal parts of
the machine will be extremely hot. When you open the front
or back cover of the machine, DO NOT touch the shaded
parts shown in the illustration.
To prevent injuries, be careful not to put your hands on the
edge of the machine under the document cover or scanner
cover as shown in the illustration.
To prevent injuries, DO NOT put your fingers in the area
shown in the illustrations.
DO NOT use a vacuum cleaner to clean up scattered toner. Doing this might cause the toner dust to ignite inside
the vacuum cleaner, potentially starting a fire. Please carefully clean the toner dust with a dry, lint-free cloth and
dispose of it according to local regulations.
If moving your machine, use the handholds provided. First making sure to disconnect any cables.
Plastic bags are used in the packaging of your machine. To avoid danger of suffocation, keep these bags away
from babies and children.
The fuser unit is marked with a caution label. DO NOT
remove or damage the label.
Safety Precautions
3
Regulations
EC Declaration of Conformity
IEC60825-1+A2:2001 Specification
This machine is a Class 1 laser product as defined in
IEC60825-1+A2:2001 specifications. The label
shown below is attached in countries where required.
This machine has a Class 3B Laser Diode which emits
invisible laser radiation in the Scanner Unit. The Scanner
Unit should not be opened under any circumstances.
Internal laser radiation
Wave length: 780 - 800 nm
Output: 10 mW max.
Laser Class: Class 3B
Warning
Use of controls, adjustments or performance of
procedures other than those specified in this
manual may result in hazardous radiation
exposure.
Disconnect device
This product must be installed near an AC power
outletelectrical socket that is easily accessible. In
case of emergencies, you must disconnect the power
cord from the AC power outletelectrical socket to shut
off power completely.
Warning - This printer must be earthed.
The wires in the mains lead are coloured in line with
the following code:
Green and Yellow: Earth
Blue: Neutral
Brown: Live
LAN connection (MFC-7440N only)
Caution
DO NOT connect this product to a LAN connection
that is subject to over-voltages.
Radio interference
This product complies with EN55022 (CISPR
Publication 22)/Class B. When connecting the
machine to a computer, ensure that you use the
following interface cables.
A USB cable which must not exceed 2.0 metres in
length.
EU Directive 2002/96/EC and EN50419
This equipment is marked with the above recycling
symbol. It means that all the end of the life of the
equipment you must dispose of it separately at an
appropriate collection point and not place it in the
normal domestic unsorted waste stream. This will
benefit the environment for all. (European Union only)
International ENERGY STAR® Compliance
Statement
The purpose of the International ENERGY STAR®
Program is to promote the development and
popularization of energy-efficient office equipment.
As an ENERGY STAR® Partner, Brother Industries,
Ltd. has determined that this product meets the
ENERGY STAR® guidelines for energy efficiency.
CLASS 1 LASER PRODUCT
APPAREIL À LASER DE CLASSE 1
LASER KLASSE 1 PRODUKT
Setting Up the Machine
4
STEP 1
1
1 Installing the drum unit and
toner cartridge assembly
Improper Setup
DO NOT connect the interface cable.
Connecting the interface cable is done when
installing the driver.
1Open the front cover.
2Unpack the drum unit and toner cartridge
assembly.
3Gently shake it from side to side several times
to distribute the toner evenly inside the
assembly.
4Put the drum unit and toner cartridge assembly
into the machine.
5Close the front cover of the machine.
Setting Up the Machine
5
2 Loading paper in the paper
tray
1Pull the paper tray completely out of the
machine.
2While pressing the green paper-guide release
lever, slide the paper guides to fit the paper
size you are using. Make sure that the guides
are firmly in the slots.
3Fan the stack of paper well to avoid paper jams
and misfeeds.
4Put paper in the paper tray. Make sure that the
paper is flat in the tray and below the maximum
paper mark (1).
Caution
Make sure the paper guides touch the sides of the
paper so it will feed properly. If you do not this, it
may cause damage to your machine.
5Put the paper tray firmly back into the machine.
Make sure that it is completely inserted into the
machine.
1
Setting Up the Machine
6
STEP 1
3 Install the power cord and
phone line
1Make sure that the machine’s power switch is
off. Connect the AC power cord to the machine.
2Plug the AC power cord into an AC outlet. Turn
the power switch on.
3Connect one end of the telephone line cord to
the socket on the machine marked LINE and
the other end to a modular wall socket.
Warning
The machine must be fitted with an earthed plug.
Since the machine is grounded through the power
outlet, you can protect yourself from potentially
hazardous electrical conditions on the telephone
network by keeping the power cord connected to
your machine when you connect it to a telephone
line. Similarly, you can protect yourself when you
want to move your machine by disconnecting the
telephone line first and then the power cord.
Note
If you are sharing one phone line with an external
telephone, connect it as shown below.
Note
If you are sharing one phone line with an external
telephone answering device, connect it as shown
below.
Please set the receive mode to
External TAD.
For more details, see Selecting a receive
mode on page 9 and Connecting an external
TAD in Chapter 7 of the User’s Guide.
Setting Up the Machine
7
4
Set Your Country
You must set your country so that the machine works
correctly on local telecommunication lines in each
country.
1Check that the power is turned on by plugging
in the power cord and turn the power switch on.
Press OK.
Set Country
Press OK Key
2Press or to choose the country.
3Press OK when the LCD shows your country.
4The LCD prompts you to make sure of the
country again.
5If the LCD shows the correct country, press 1
to go to step 6.
Or press 2 to go back to step 2 to choose the
country again.
6After the LCD shows Accepted, the machine
will restart automatically. After the restart, the
LCD shows Please Wait.
5 Setting the date and time
The machine displays the date and time, and if you
set up the station ID, it will add it to each fax you send.
1Press Menu.
2Press 0.
3Press 2.
4Enter the last two digits of the year on the dial
pad, and then press OK.
Date&Time
Year:2008
(e.g. Enter 0, 8 for 2008.)
5Enter the two digits for the month on the dial
pad, and then press OK.
Date&Time
Month:03
(e.g. Enter 0, 3 for March.)
6Enter the two digits for the day on the dial pad,
and then press OK.
Date&Time
Day:25
(e.g. Enter 2, 5.)
7Enter the time in 24-hour format on the dial
pad, and then press OK.
Date&Time
Time:15:25
(e.g. Enter 1, 5, 2, 5 for 3:25 P.M.)
8Press Stop/Exit.
Note
If you make a mistake and want to start again,
press Stop/Exit and go back to step 1.
Setting Up the Machine
8
STEP 1
6 Setting your station ID
You should store your name and fax number to be
added on all fax pages that you send.
1Press Menu.
2Press 0.
3Press 3.
4Enter your fax number (up to 20 digits) on the
dial pad, and then press OK. To enter a “+” for
international dialling codes, press l. For
example, to enter the UK dialling code “+44 ”,
press l, 4, 4, and then the rest of your number.
Station ID
Fax:+44XXXXXXXXX
5Enter your tel number (up to 20 digits) on the
dial pad, and then press OK. (If your telephone
number and fax number are the same, enter
the same number again.)
Station ID
Tel:+44XXXXXXXXX
6Use the dial pad to enter your name (up to 20
characters), and then press OK.
Station ID
Name:
Note
Refer to the following chart for entering your name.
If you need to enter a character that is on the same
key as the previous character, press to move
the cursor to the right.
If you entered a letter incorrectly and want to
change it, press or to move the cursor
to the incorrect character, press Clear/Back.
For more details, see “Entering Text” of the
User’s Guide.
7Press Stop/Exit.
7 Tone and pulse dialling
mode
Your machine comes set for Tone dialling service. If
you have Pulse dialling service (rotary), you need to
change the dialling mode.
1Press Menu.
2Press 0.
3Press 4.
4Press or to select Pulse (or Tone).
Press OK.
5Press Stop/Exit.
Press
key
One
time
Two
times
Three
times
Four
times
Five
times
2ABC2A
3DEF 3D
4GH I 4G
5JKL5J
6MNO 6M
7PQRS7
8TUV8T
9WX Y Z 9
Setting Up the Machine
9
8 Selecting a receive mode
There are four possible receive modes: Fax Only,
Fax/Tel, External TAD and Manual. Choose the
Receive Mode which best suits your needs.
1Press Menu.
2Press 0.
3Press 1.
4Press or to select the mode.
Press OK.
5Press Stop/Exit.
For more details, see Receiving a fax in
Chapter 6 of the User’s Guide.
Do you want to use the telephone features of your
machine (if available) or an external telephone or
external telephone answering device connected on the
same line as the machine?
Your machine
automatically answers
every call as a fax.
Your machine controls
the line and
automatically answers
every call. If the call is
not a fax, the phone will
ring for you to pick up
the call.
Your external telephone
answering device (TAD)
automatically answers
every call. Voice
messages are stored
on the external TAD.
Fax messages are
automatically printed.
You control the phone
line and must answer
every call yourself.
Do you want the machine to
answer fax and telephone calls
automatically?
Manual
Fax Only
Fax/Tel
External TAD
No
Yes
Yes
No
No
Yes
Are you using the voice message
function of an external telephone
answering device?
Setting Up the Machine
10
STEP 1
9 Setting the phone line type
If you are connecting the machine to a line that
features a PABX (PBX) or ISDN to send and receive
faxes, it is also necessary to change the phone line
type accordingly by completing the following steps.
1Press Menu.
2Press 0.
3Press 6.
4Press or to choose PBX, ISDN
or Normal.
Press OK.
Do one of the following:
If you choose ISDN or Normal, go to step
8.
If you choose PBX, go to step 5.
5Do one of the following:
If you want to change the current prefix
number, press 1 and go to step 6.
If you do not want to change the current
prefix number, press 2 and go to step 8.
Note
The default setting is “!“. When you press Tel/R,
!“ will be displayed on the LCD.
6Enter the Prefix number (up to 5 digits) on the
dial pad, and then press OK.
Note
You can use the number 0 to 9 , # ,
l
and !.
(Press Tel/R to display “!“.)
You cannot use ! with any other numbers or
characters.
If your telephone system requires a timed break
recall, press Tel/R to enter the break.
7Press or to choose On or Always and
press OK.
Note
If you choose On, pressing Tel/R (the screen
displays “!“) will let you access an outside line.
If you choose Always, you can access an outside
line without pressing Tel/R.
8Press Stop/Exit.
Note
PBX and TRANSFER
The machine is initially set to Normal, which lets
the machine connect to a standard PSTN (Public
Switched Telephone Network) line. However,
many offices use a central telephone system or
Private Automatic Branch Exchange (PABX). Your
machine can be connected to most types of PABX
(PBX). The machine’s recall feature supports
timed break recall only (TBR). TBR will work with
most PABX (PBX) systems allowing you to gain
access to an outside line, or transfer calls to
another extension. The feature works when Tel/R
is pressed.
10 Setting the LCD contrast
You can change the contrast to help the LCD look
lighter or darker.
1Press Menu.
2Press 1.
3Press 7.
4Press to increase the contrast.
—OR—
Press to decrease the contrast.
Press OK.
5Press Stop/Exit.
Windows®
Macintosh®
Installing the Driver & Software
11
STEP 2
Follow the instructions on this page for your operating system and interface.
For the latest drivers, documentation, and to find the best solution for your problem, access the Brother Solution Center
directly from the CD-ROM / Driver or visit http://solutions.brother.com.
For USB Interface Cable Users ..................................................................................... 12
For Wired Network Interface Users (MFC-7440N only) .............................................. 14
For Windows Server® 2003, see Chapter 5 of the Network User’s Guide
For USB Interface Cable Users...................................................................................... 16
For Wired Network Interface Users (MFC-7440N only) ............................................... 17
The screens for Windows® in this Quick Setup Guide are based on Windows® XP.
The screens for Mac OS® X in this Quick Setup Guide are based on Mac OS® X 10.4.
Installing the Driver & Software
12
STEP 2
Windows®
USB
Windows®
1
1
For USB Interface Cable Users (For Windows
®
2000
Professional/XP/XP Professional x64 Edition/Windows Vista
®
)
Important
Make sure that you have finished the
instructions from step 1 Setting Up the
Machine on pages 4 through 10.
Note
Please close any applications running before
installing the MFL-Pro Suite.
The supplied CD-ROM includes ScanSoft™
PaperPort™ 11SE. This software supports
Windows® 2000 (SP4 or greater), XP (SP2 or
greater), XP Professional x64 Edition and
Windows Vista® only. Please update to the latest
Windows® Service Pack before installing
MFL-Pro Suite.
1Turn off and unplug the machine from the AC
outlet and disconnect it from your computer, if
you already connected an interface cable.
2Turn on your computer. (You must be logged
on with administrator rights.)
3Put the supplied CD-ROM for Windows® into
your CD-ROM drive. Follow the on-screen
instructions.
4The CD-ROM main menu will appear. Click
Install MFL-Pro Suite.
5After reading and accepting the ScanSoft™
PaperPort™ 11SE License Agreement, click
Yes.
The installation of ScanSoft™ PaperPort™
11SE will automatically start and is followed by
the installation of MFL-Pro Suite.
6When the Brother MFL-Pro Suite Software
License Agreement window appears, click Yes
if you agree to the Software License
Agreement.
7Choose Standard (MFC-7320) or Local
Connection (USB) (MFC-7440N), and then
click Next. The installation will continue.
8When this screen appears, connect the USB
interface cable to your PC, and then connect it
to the machine.
Improper Setup
DO NOT connect the machine to a USB port on
a keyboard or a non-powered USB hub.
Brother recommends that you connect the
machine directly to your computer.
Installing the Driver & Software
13
Windows®
USB
Windows®
9Plug the AC power cord into an AC outlet. Turn
the power switch on.
The installation of the Brother drivers will
automatically start. The installation screens
appear one after another, please wait for a
while.
Improper Setup
DO NOT try to cancel any of the screens during
this installation.
10 When the On-Line Registration screen is
displayed, make your selection and follow the
on-screen instructions.
11 Click Finish to restart your computer. (After
restarting the computer, you must be logged on
with Administrator rights.)
Note
XML Paper Specification Printer Driver
The XML Paper Specification Printer Driver is the
most suitable driver when printing from the
applications that use the XML Paper Specification
documents. Please download the latest driver by
accessing the Brother Solutions Center at
http://solutions.brother.com/.
The MFL-Pro Suite (including printer
driver and scanner driver) has been
installed and the installation is now
complete.
Installing the Driver & Software
14
STEP 2
Windows®
Windows®
Wired
Network
2
For Wired Network Interface Users (MFC-7440N only)
(For Windows
®
2000 Professional/XP/XP Professional x64
Edition/Windows Vista
®
)
Important
Make sure that you have finished the
instructions from step 1 Setting Up the
Machine on pages 4 through 10.
Note
The supplied CD-ROM includes ScanSoft™
PaperPort™ 11SE. This software supports
Windows® 2000 (SP4 or greater), XP (SP2 or
greater), XP Professional x64 Edition and
Windows Vista® only. Please update to the latest
Windows® Service Pack before installing
MFL-Pro Suite.
1Turn off and unplug the machine from the AC
outlet.
2Connect the network interface cable to the
machine, and then connect it to your network.
3Plug the AC power cord into an AC outlet. Turn
the power switch on.
4Turn on your computer. (You must be logged
on with Administrator rights.) Close any
applications running before installing the MFL-
Pro Suite.
Note
Before installation, if you are using personal
firewall software, disable it. After the installation,
restart your personal firewall software.
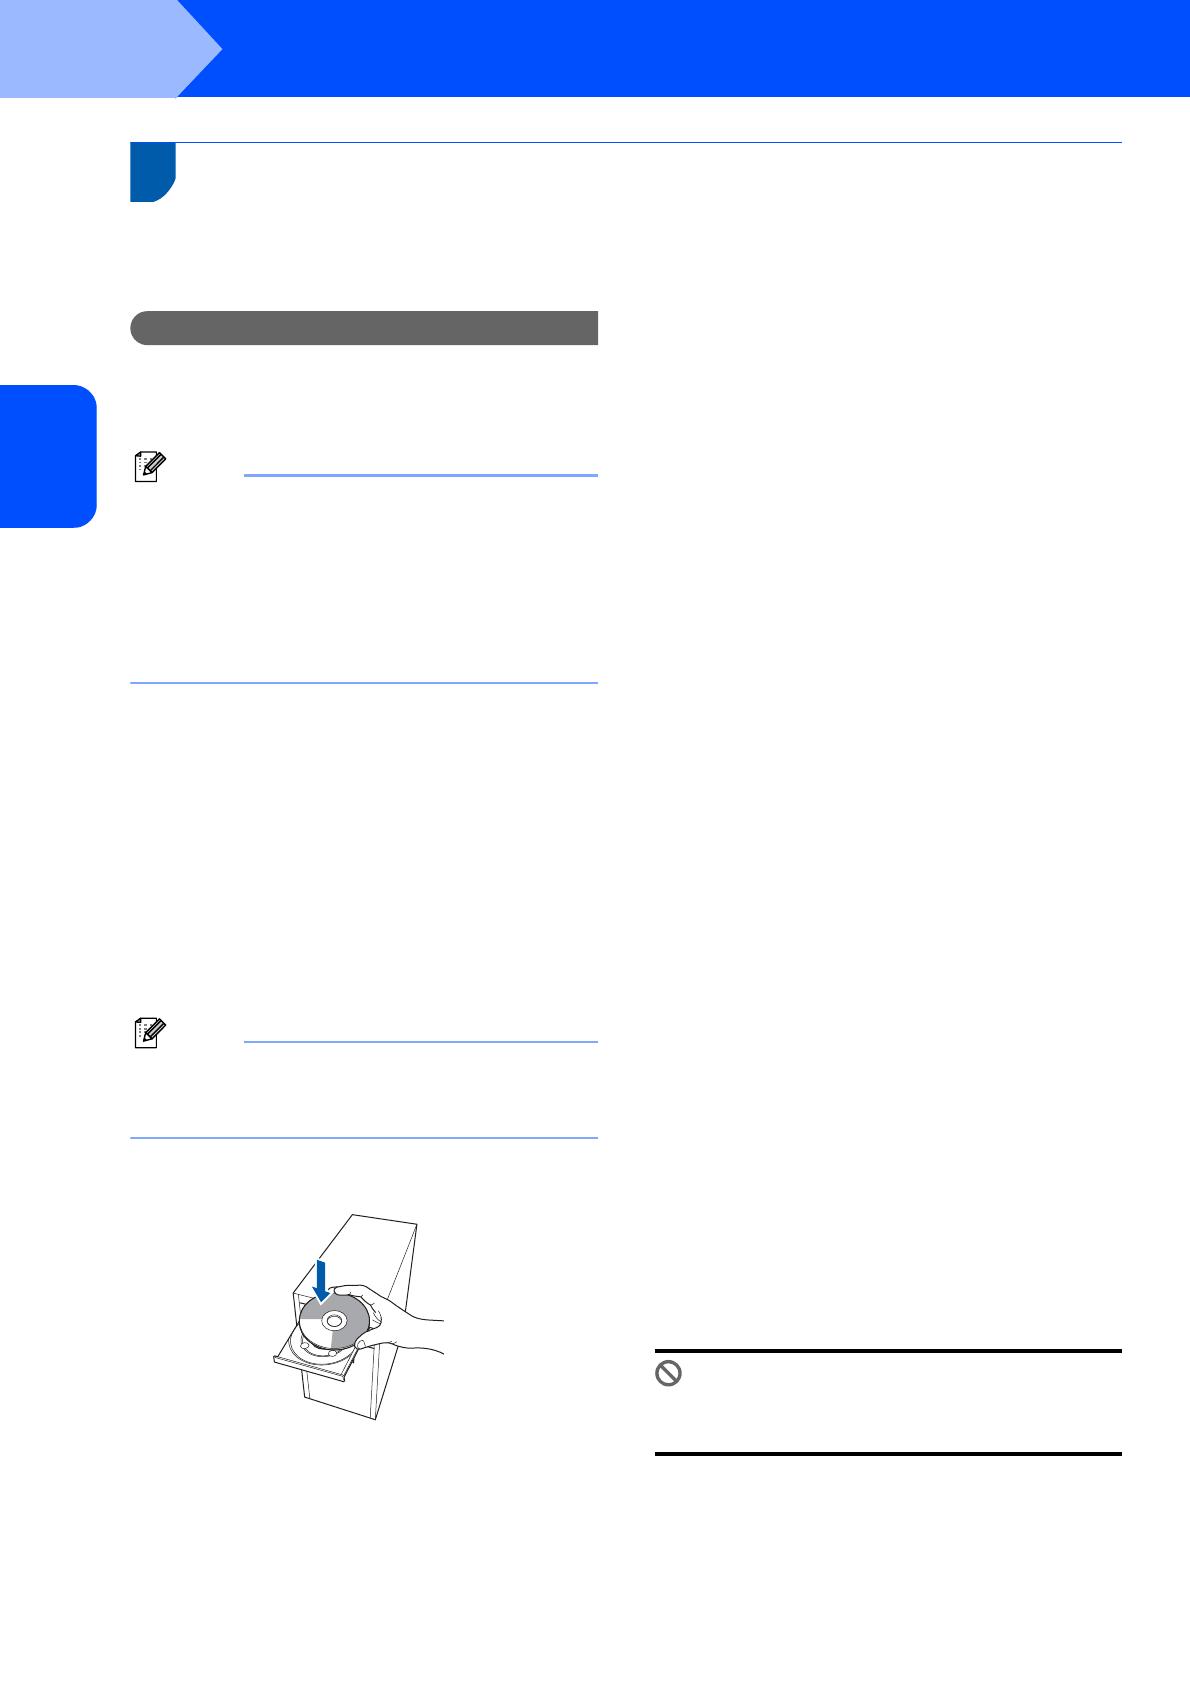
5Put the supplied CD-ROM into your CD-ROM
drive. Follow the on-screen instructions.
6The CD-ROM main menu will appear. Click
Install MFL-Pro Suite.
7After reading and accepting the ScanSoft™
PaperPort™ 11SE License Agreement, click
Yes.
The installation of ScanSoft™ PaperPort™
11SE will automatically start and is followed by
the installation of MFL-Pro Suite.
8When the Brother MFL-Pro Suite Software
License Agreement window appears, click Yes
if you agree to the Software License
Agreement.
9Choose Network Connection (Ethernet),
and then click Next.
10 For Windows® XP SP2/Windows Vista® users,
choose Change the Firewall port settings to
enable network connection and continue
with the installation. (Recommended) and
click Next.
If you are not using the Windows® Firewall, see
the User’s Guide for your software for
information on how to add the following
network ports.
For network scanning, add UDP port
54925.
For network PC-Fax receiving, add UDP
port 54926.
If you still have trouble with your network
connection, add UDP port 137.
11 If the machine is configured for your network,
choose the machine from the list, and then click
Next.
If your machine shows APIPA in the IP
Address Field, click Configure IP Address
and enter an IP address for your machine that
is suitable for your network.
12 The installation of the Brother drivers will
automatically start. The installation screens
appear one after another, please wait for a
while.
Improper Setup
DO NOT try to cancel any of the screens during
this installation.
13 When the On-Line Registration screen is
displayed, make your selection and follow the
on-screen instructions.
Installing the Driver & Software
15
Windows®
Windows®
Wired
Network
14 Click Finish to restart your computer.
(After restarting the computer, you must be
logged on with Administrator rights.)
The MFL-Pro Suite has been installed and
the installation is now complete.
Note
XML Paper Specification Printer Driver
The XML Paper Specification Printer Driver is the
most suitable driver when printing from the
applications that use the XML Paper Specification
documents. Please download the latest driver by
accessing the Brother Solutions Center at
http://solutions.brother.com/.
MFL-Pro Suite includes the Network Printer
Driver, Network Scanner Driver, Brother
ControlCenter3 and ScanSoft™ PaperPort™
11SE with OCR.
ScanSoft™ PaperPort™ 11SE is a document
management application for viewing scanned
documents.
Installing the Driver & Software
16
STEP 2
Macintosh®
Macintosh®
USB
3
For USB Interface Cable Users
For Mac OS® X 10.2.4 or greater
Important
Make sure that you have finished the
instructions from step 1 Setting Up the
Machine on pages 4 through 10.
Note
For Mac OS® X 10.2.0 to 10.2.3 users, upgrade to
Mac OS® X 10.2.4 or greater. (For the latest
information for Mac OS® X, visit
http://solutions.brother.com/)
1Plug the AC power cord into an AC outlet. Turn
the power switch on.
2Connect the USB interface cable to your
computer, and then connect it to the machine.
Improper Setup
DO NOT connect the machine to a USB port on
a keyboard or a non-powered USB hub.
Brother recommends that you connect the
machine directly to your computer.
3Turn on your Macintosh®.
4Put the supplied CD-ROM for Macintosh® into
your CD-ROM drive.
5Double-click the Start Here OSX icon to install.
Follow the on-screen instructions.
Note
Please wait, it will take a few seconds for the
software to install. After the installation, click
Restart to finish installing the software.
6The Brother software will search for the Brother
device. During this time the following screen
will appear.
7When this screen appears, click OK.
For Mac OS® X 10.3.x or greater users:
The MFL-Pro Suite, Brother printer driver,
scanner driver and Brother
ControlCenter2 have been installed and
the installation is now complete.
Go to step 12.
8For Mac OS® X 10.2.4 to 10.2.8 users:
Click Add.
9Choose USB.
10 Choose your model name, and then click Add.
11 Click Print Center, then Quit Print Center.
The MFL-Pro Suite, Brother printer driver,
scanner driver and Brother
ControlCenter2 have been installed and
the installation is now complete.
12 To install Presto!® PageManager®, double-
click the Presto! PageManager icon and
follow the on-screen instructions.
Presto!® PageManager® has been
installed and the installation is now
complete.
Installing the Driver & Software
17
Macintosh®
Macintosh®
Wired
Network
4
For Wired Network Interface Users (MFC-7440N only)
For Mac OS® X 10.2.4 or greater
Important
Make sure that you have finished the
instructions from step 1 Setting Up the
Machine on pages 4 through 10.
1Plug the AC power cord into an AC outlet. Turn
the power switch on.
2Connect the network interface cable to the
machine, and then connect it to your network.
3Turn on your Macintosh®.
4Put the supplied CD-ROM for Macintosh®into
your CD-ROM drive.
5Double-click the Start Here OSX icon to install.
Follow the on-screen instructions.
6The Brother software will search for the Brother
device. During this time the following screen
will appear.
Note
If the machine is configured for your network,
choose the machine from the list, and then click
OK. This window will not appear if there is only one
machine connected on the network, it will be
chosen automatically. Go to step 7.
If this screen appears click OK.
Enter a name for your Macintosh® in Display
Name up to 15 characters long and click OK.
Go to step 7.
If you want to use the machine’s Scan key to scan
over the network you must check the Register
your computer with the "Scan To" function on
the machine box.
The name you enter will appear on the machine’s
LCD when you press the Scan key and choose a
scan option. (For more information, see Network
Scanning in the Software User’s Guide on the CD-
ROM.)
Installing the Driver & Software
18
STEP 2
Macintosh®
Macintosh®
Wired
Network
7When this screen appears, click OK.
For Mac OS® X 10.3.x or greater users:
The MFL-Pro Suite, Brother printer driver,
scanner driver and Brother
ControlCenter2 have been installed and
the installation is now complete.
Go to step 12.
8For Mac OS® X 10.2.4 to 10.2.8 users:
Click Add.
9For Mac OS® X 10.2.4 to 10.2.8 users:
Make the selection shown below.
10 Choose your model name, and then click Add.
11 Click Print Center, then Quit Print Center.
The MFL-Pro Suite, Brother printer driver,
scanner driver and Brother
ControlCenter2 have been installed and
the installation is now complete.
12 To install Presto!® PageManager®, double-
click the Presto! PageManager icon and
follow the on-screen instructions.
Presto!® PageManager® has been
installed and the installation is now
complete.
  • Page 1 1
  • Page 2 2
  • Page 3 3
  • Page 4 4
  • Page 5 5
  • Page 6 6
  • Page 7 7
  • Page 8 8
  • Page 9 9
  • Page 10 10
  • Page 11 11
  • Page 12 12
  • Page 13 13
  • Page 14 14
  • Page 15 15
  • Page 16 16
  • Page 17 17
  • Page 18 18
  • Page 19 19
  • Page 20 20
  • Page 21 21
  • Page 22 22
  • Page 23 23
  • Page 24 24

Brother MFC-7320 User manual

Category
Copiers
Type
User manual

The Brother MFC-7320 is a multi-function device that offers printing, copying, scanning, and faxing capabilities, making it a versatile addition to any home or small office. With its ability to handle various tasks, the MFC-7320 streamlines your workflow and enhances productivity.

Ask a question and I''ll find the answer in the document

Finding information in a document is now easier with AI