17
Other Information
Compilation and Publication
Under the supervision of Brother Industries, Ltd., this manual has been compiled and published,
covering the latest product descriptions and specifications.
The contents of this manual and the specifications of this product are subject to change without notice.
Brother reserves the right to make changes without notice in the specifications and materials contained
herein and shall not be responsible for any damages (including consequential) caused by reliance on
the materials presented, including but not limited to typographical and other errors relating to the
publication.
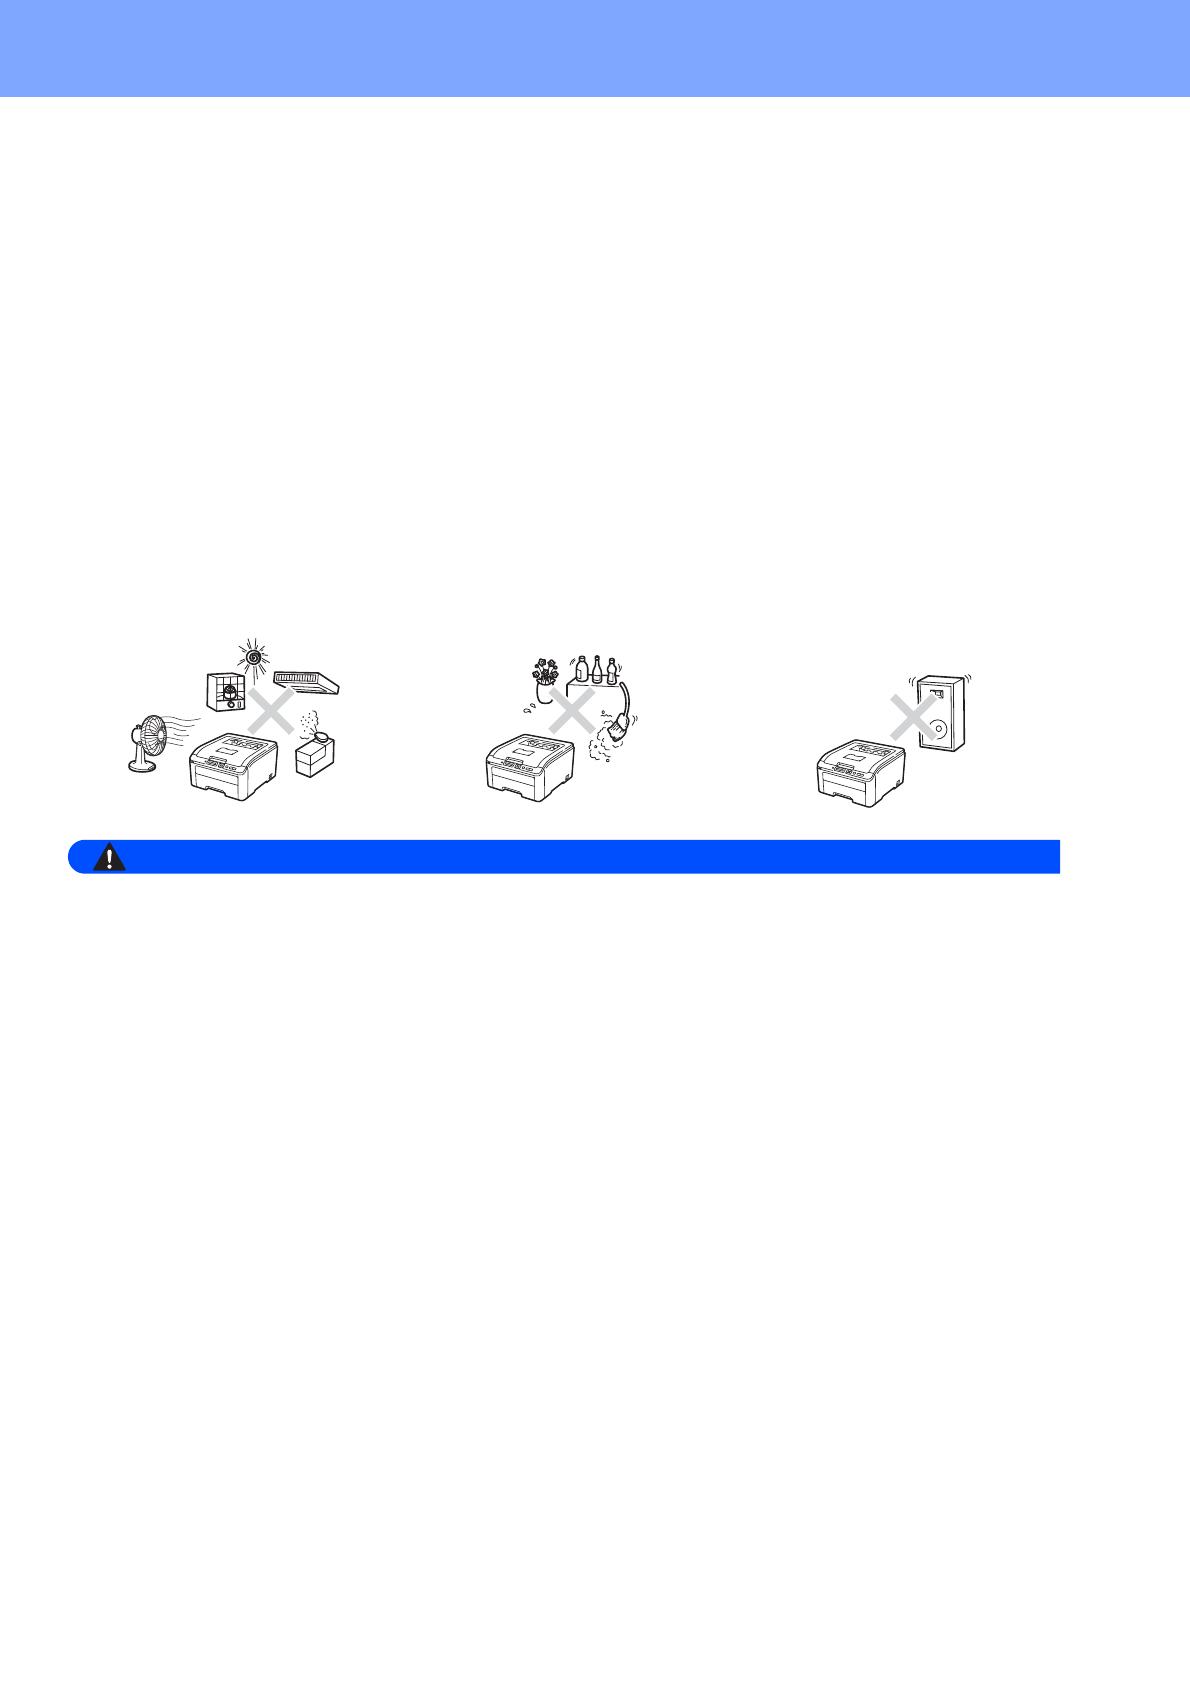
Choosing a location
Put your product on a flat, level, stable surface that is free of vibration and shocks, such as a desk. Put
the product near a standard grounded AC power outlet. Choose a location where the temperature
remains between 50F and 90.5F (10C and 32.5C) and the humidity is between 20% to 80% (without
condensation).
• DO NOT expose the product to direct sunlight, excessive heat, open flames, corrosive gasses,
moisture or dust. Doing so may create a risk of an electrical short or fire. It may also damage the
product and/or render it inoperable.
• DO NOT place the product near heaters, air conditioners, electrical fans, refrigerators, or water. Doing
so may create the risk of a short circuit or fire, should water come into contact with the product
(including condensation caused by heating, air conditioning, or ventilation equipment).
• DO NOT place the product near chemicals. Should the chemicals come into contact with the product,
there may be a risk of fire. The chemicals may also cause the product to malfunction or become
discolored.
• DO NOT put the product in a location where any slot or opening in the product is obstructed or blocked.
These slots and openings are provided for ventilation. Blocking the product’s ventilation could create
a risk of overheating and/or fire.
Instead:
Keep a gap of roughly 4 inches. (100 mm) between the ventilation hole and the wall.
Place the product on a solid surface.
DO NOT place the product on a bed, sofa, rug, or other similar soft surface.
DO NOT place this product near or over a radiator or heater.
DO NOT place this product in a “built-in” installation unless adequate ventilation is provided.
• DO NOT put objects on top of the product. Doing so could increase the risk of overheating and/or fire
should the product malfunction.
• DO install your product near an AC power outlet that is easily accessible. In the event of an emergency,
easy access to the plug and outlet will allow you to shut off power to the product quickly and
completely.
• Plastic bags are used in the packing of your product and drum unit. Plastic bags are not toys. To avoid
the danger of suffocation, keep these bags away from babies and children and dispose of them
properly.


