8
FIND NEW COLOR SCHEMES WITH THE COLOR
SHUFFLING FUNCTION
The Color Shuffling Function
With the Color Shuffling function, the machine suggests
new color schemes for the embroidery pattern that you
have selected. After you select the desired effect from
one of the four available color schemes (“RANDOM”,
“VIVID”, “GRADIENT” and “SOFT”) the sample for the
selected effect is displayed.
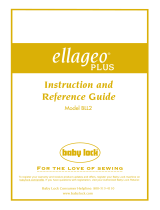
a
Press .
→ The thread color palette screen appears.
b
Press .
c
Select the color group you want to use.
→ You can select the color shuffling function from the
following color groups. 1 Thread colors currently
on the spool stand, 2 thread table (64 colors: preset
color table) and 3 custom thread table (300 colors:
color table that you can set as you like).
By setting the embroidery thread colors of the brand
you have on the custom thread table, you can create
your embroidery pattern with your own thread
colors.
a
Thread colors currently on the spool stand
b Thread table (64 colors)
c Custom thread table (300 colors)
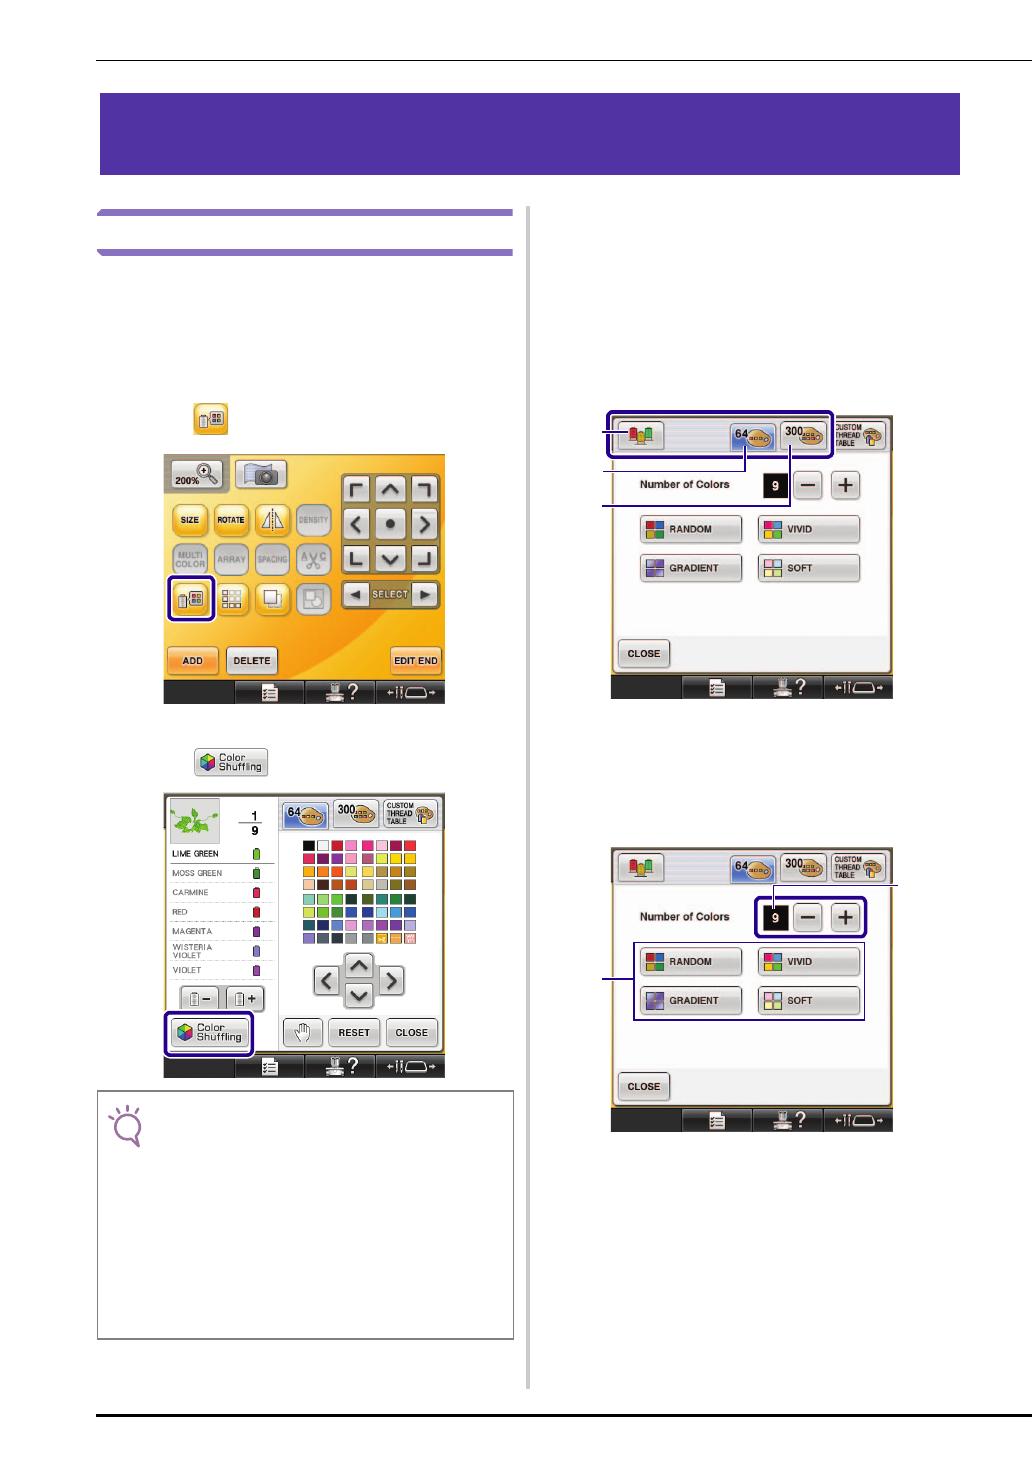
d
Select the number of colors you want to use
and then select the desired effect.
a Number of colors to be used in the pattern
b Effects for schemes
• This function may not be available depending on the
pattern you select (ex. a bordered embroidery
pattern).
If the color shuffling key is grayed out, select
another pattern.
• If you have not created a custom thread table, the
color shuffling key will be grayed out. In that case,
use the thread table (64 colors) instead or create
colors in the custom thread table. Refer to “Creating
a custom thread table” in the Operation Manual of
the machine for the details.