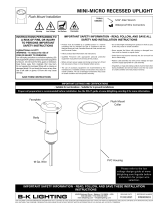
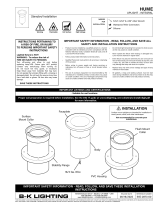
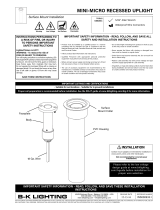
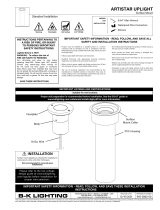
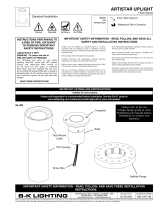
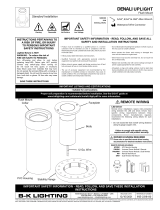
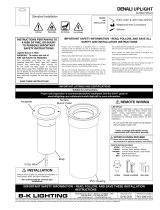
B-K lighting WELL STAR is a low voltage, waterproof lighting fixture suitable for wet locations and recessed in-ground installations. It features a 6-inch diameter cast iron faceplate with a 7/8-inch soil preparation depth and a steel housing. The fixture requires a 5’ of 18 Gauge Wire conduit trench and is compatible with remote 12V transformers. It comes with a temporary cover with alignment arrows for easy installation and maintenance.
B-K lighting WELL STAR is a low voltage, waterproof lighting fixture suitable for wet locations and recessed in-ground installations. It features a 6-inch diameter cast iron faceplate with a 7/8-inch soil preparation depth and a steel housing. The fixture requires a 5’ of 18 Gauge Wire conduit trench and is compatible with remote 12V transformers. It comes with a temporary cover with alignment arrows for easy installation and maintenance.


-
 1
1
-
 2
2


B-K lighting WELL STAR Installation guide
- Type
- Installation guide
- This manual is also suitable for
B-K lighting WELL STAR is a low voltage, waterproof lighting fixture suitable for wet locations and recessed in-ground installations. It features a 6-inch diameter cast iron faceplate with a 7/8-inch soil preparation depth and a steel housing. The fixture requires a 5’ of 18 Gauge Wire conduit trench and is compatible with remote 12V transformers. It comes with a temporary cover with alignment arrows for easy installation and maintenance.
Ask a question and I''ll find the answer in the document
Finding information in a document is now easier with AI
Related papers
-
 B-K lighting Square Adjustable Well Star - MR16 Installation guide
-
 B-K lighting Mini-Micro Flush Mount Installation guide
-
 B-K lighting Hume Flush/Surface Mount Installation guide
-
 B-K lighting Mini-Micro Surface Mount Installation guide
-
 B-K lighting ArtiStar Surface Mount Installation guide
-
 B-K lighting Denali Integral Flush Mount Installation guide
-
 B-K lighting ArtiStar Flush Mount Installation guide
-
 B-K lighting Denali Integral Surface Mount Installation guide
-
 B-K lighting Denali Flush Mount Installation guide
-
 B-K lighting Denali Surface Mount Installation guide


