19
3.1.9 Parking Mode
To monitor the vehicle when it is parked, you can activate Motion
Detection or Vibration Detection.
1. If recording is in progress, press the button to stop recording.
2. Press the button to enter the OSD menu.
3. Press the / button, select Parking Mode, and then press the
button.
4. Press the / button, select Vibration Detection or Motion
Detection, and then press the button.
5. Press the button to exit the menu.
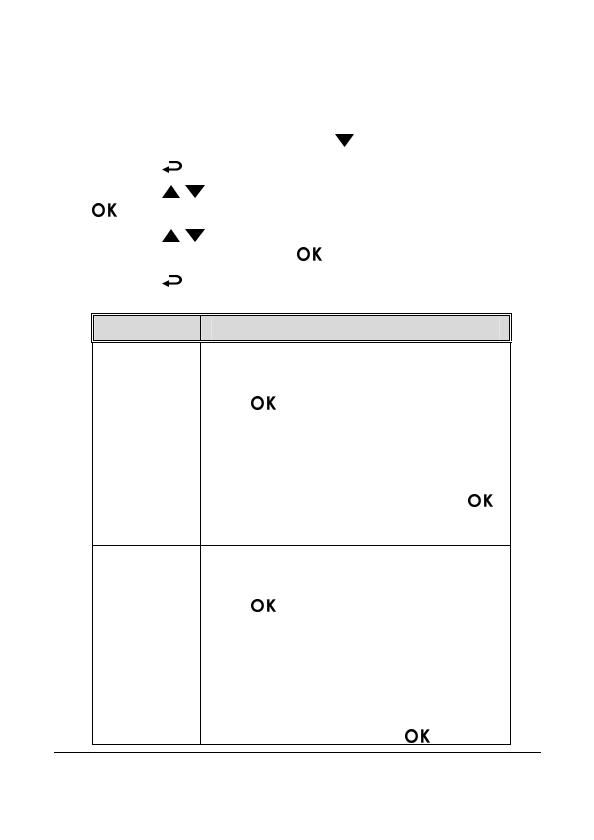
Item Description
Vibration
Detection
If disconnected from power when the camcorder
is powered on, the system alert message “Wait
for 60 seconds to enter Vibration Detection or
press to cancel and power off.” This
means the system will enter Vibration Detection
automatically in 60 seconds; when the camcorder
detects any external vibration applied to the
vehicle after three minutes when all passengers
have alighted, Video Record will be 90 seconds
and the recording will be protected. If press
within 60 seconds, the camcorder will be powered
off instead of entering Vibration Detection mode.
Motion
Detection
If disconnected from power when the camcorder
is powered on, the system alert message “Wait
for 10 seconds to enter Motion Detection, or
press
to power off.” This means the
system will be displayed on the screen. This
means the system will enter Motion Detection
automatically in 10 seconds, when the camcorder
detects any motion in front of lens or detects any
external vibration, Video Record will be 10
seconds, if the screen detects any vibration, the
camcorder will keep recording next 10 seconds
until the vibration stops. If press
within 10


