Page is loading ...

Nortel Communication Server 1000
IP Phone 2004
Call Center User Guide
Title page


Revision history
3
Revision history
July 2006
Standard 5.00. This document is up-issued to support Nortel
Communication Server 1000 Release 4.5. LOGOs and trademark
information was updated. URL for document feedback added to
back page.
August 2005
Standard 4.00. This document is up-issued to support Nortel
Communication Server 1000 Release 4.5.
September 2004
Standard 3.00. This document is up-issued to support Nortel
Communication Server 1000 Release 4.0.
October 2003
Standard 2.00. This document is up-issued to support
Succession 3.0 Software.
September 2002
Standard 1.00. This document is issued to support Meridian 1
Release 25.40 and Nortel Communication Server 1000, Release
2.0.

Revision history
4

Contents
5
Contents
About the phone . . . . . . . . . . . . . . . . . . . . . . . . . . . . . . . . . . . 7
Basic features . . . . . . . . . . . . . . . . . . . . . . . . . . . . . . . . . . . . . . 8
Telephone controls . . . . . . . . . . . . . . . . . . . . . . . . . . . . . . . . . . 9
Telephone display . . . . . . . . . . . . . . . . . . . . . . . . . . . . . . . . . 14
Agent and supervisor features . . . . . . . . . . . . . . . . . . . . . . 15
Logging in as agent . . . . . . . . . . . . . . . . . . . . . . . . . . . . . . . . 15
Logging in with Agent ID and Multiple Queue Assignments . . 16
Logging in with Agent ID and MQA login options . . . . . . . 17
Using Default Login . . . . . . . . . . . . . . . . . . . . . . . . . . . . . 19
Logging out as agent . . . . . . . . . . . . . . . . . . . . . . . . . . . . . . . 20
Agent features . . . . . . . . . . . . . . . . . . . . . . . . . . . . . . . . . . . 21
Answering ACD calls . . . . . . . . . . . . . . . . . . . . . . . . . . . . . . . 21
Using Call Force . . . . . . . . . . . . . . . . . . . . . . . . . . . . . . . . . . . 22
Using Activity Code . . . . . . . . . . . . . . . . . . . . . . . . . . . . . . . . 23
Using Emergency . . . . . . . . . . . . . . . . . . . . . . . . . . . . . . . . . . 24
Using Not Ready . . . . . . . . . . . . . . . . . . . . . . . . . . . . . . . . . . 24
Placing or answering non-ACD calls . . . . . . . . . . . . . . . . . . . 25
Contacting your supervisor . . . . . . . . . . . . . . . . . . . . . . . . . . . 26
Supervisor features . . . . . . . . . . . . . . . . . . . . . . . . . . . . . . . 29
Using Answer Agent . . . . . . . . . . . . . . . . . . . . . . . . . . . . . . . . 29
Using the Agent key . . . . . . . . . . . . . . . . . . . . . . . . . . . . . . . . 30
Using Answer Emergency . . . . . . . . . . . . . . . . . . . . . . . . . . . 31
Using Call Agent . . . . . . . . . . . . . . . . . . . . . . . . . . . . . . . . . . . 31
Using Interflow . . . . . . . . . . . . . . . . . . . . . . . . . . . . . . . . . . . . 32
Using Night Service . . . . . . . . . . . . . . . . . . . . . . . . . . . . . . . . 32

Contents
6
Observing a call . . . . . . . . . . . . . . . . . . . . . . . . . . . . . . . . . . . 34
Displaying the queue . . . . . . . . . . . . . . . . . . . . . . . . . . . . . . . 34
Displaying agent status . . . . . . . . . . . . . . . . . . . . . . . . . . . . . 36
Accessories . . . . . . . . . . . . . . . . . . . . . . . . . . . . . . . . . . . . . 38
IP Phone Key Expansion Module (KEM) . . . . . . . . . . . . . . . . 38
Terms you should know . . . . . . . . . . . . . . . . . . . . . . . . . . . 39
Index . . . . . . . . . . . . . . . . . . . . . . . . . . . . . . . . . . . . . . . . . . . 45

About the phone
7
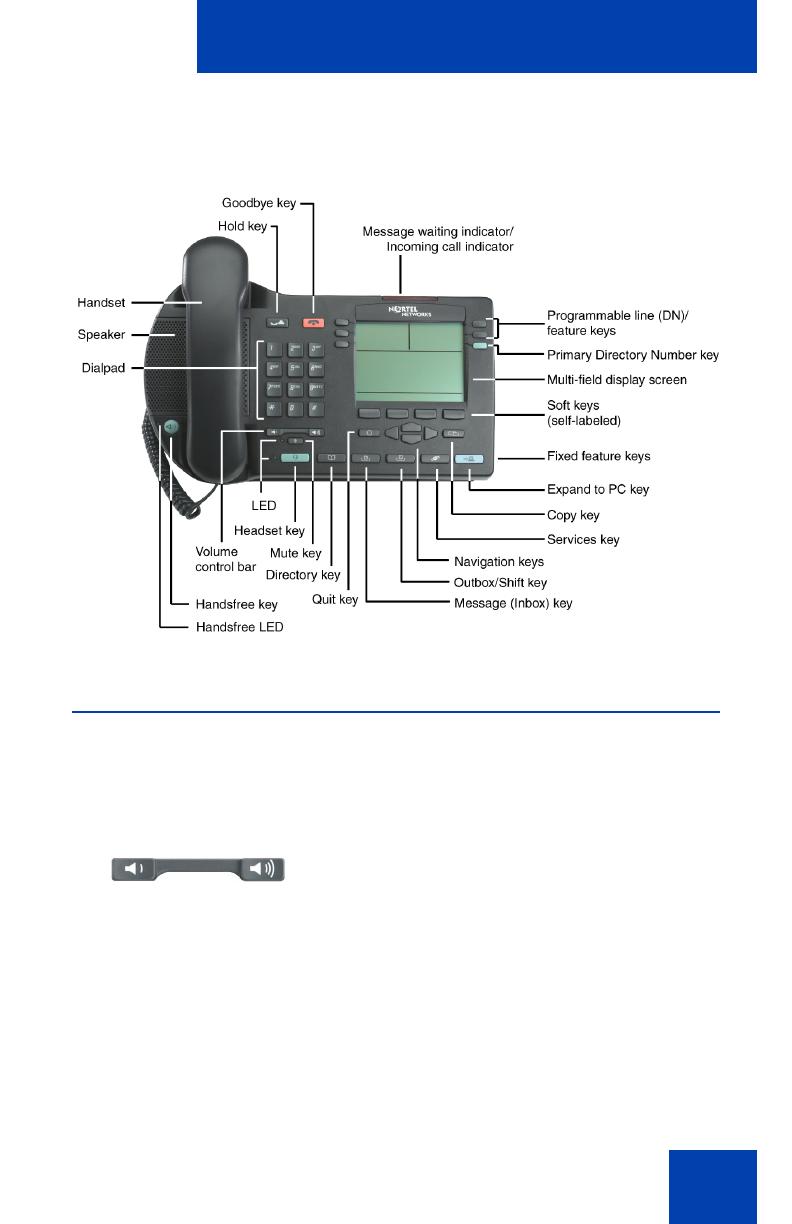
About the phone
The Nortel IP Phone 2004 brings voice and data to the desktop by
connecting directly to a Local Area Network (LAN) through an Ethernet
connection.
Note 1: All features are not available on some telephones. Consult
your system administrator to verify which features are available for
your use.
Note 2: In this guide, programmable line (DN)/feature key labels
display beside the key, and soft key labels display directly above the
key. Figure 1 shows key labels.
Figure 1: Programmable line (DN)/feature keys and soft key
labels

About the phone
8
Basic features
The IP Phone 2004 supports the following features:
• 12 programmable feature keys: six (physical) user-defined feature
key labels and six lines/features accessed by pressing the Shift key
• four soft keys (self-labeled) providing access to a maximum of
10 features
Note: Some IP Phone 2004 phones are not configured to support soft
key functionality. Consult your system administrator.
• multi-field LCD display screen
• speaker for on-hook dialing or on-hook listening
• volume control bar for adjusting ringer, speaker, handset, and
headset volume
• six specialized fixed keys:
—Quit
— Directory
— Message (Inbox)
— Outbox/Shift
— Services
— Expand to PC
• four call processing fixed keys:
—Hold
— Goodbye
— Handsfree
—Mute
• shared LAN access with a PC
• headset jack with On/Off key
• automatic network configuration
• hearing-aid compatibility
About the phone
9
Figure 2 shows the IP Phone 2004.
Figure 2: IP Phone 2004
Telephone controls
Note: Some IP Phone 2004 phones are shipped with optional key
caps installed. Text in parenthesis indicates labels appearing on the
key caps. For example, (Services).
Use the Volume control bar to adjust the
volume of the ringer, handset, headset,
speaker, and the Handsfree feature. Press
the right side of the rocker bar to increase
volume, the left side to decrease volume.
About the phone
10
The green InCalls key is the primary DN key
located at the bottom right-side of the LCD
display screen.
Programmable line (DN)/feature keys are
extra DNs or feature keys used to access
additional features.
A steady LCD light beside a line (DN) key
indicates that the line is active. A flashing
LCD indicates that the line is on hold.
A steady LCD light beside a feature key
indicates that the feature is active. A flashing
LCD indicates that the feature is being
programmed.
Use the Goodbye key to terminate an active
call.
Press the Hold key to put an active call on
hold. Press the line (DN) key beside the
flashing LED indicator to return to the caller
on hold.
Press the Message (Inbox) key to access
your voice mailbox.
Use the Navigation keys to scroll through
menus and lists appearing on the LCD
display screen.
(Goodbye)
(Hold)
(Msg/Inbox)

About the phone
11
Press the Services key and use the
navigation keys to access the following
items:
• Telephone Options:
— Volume adjustment
— Contrast adjustment
— Language
— Date/Time
— OnHook Default Path
— Call Timer
— Display diagnostics
— Local DialPad Tone
— Ring type
— Change feature key label
— Set Information
• Password Admin:
— Station Control Password
• Display Network Diagnostics Utilities
Note: Only your system administrator
or service provider can use Display
Network Diagnostics Utilities to perform
Internet diagnostics.
• Virtual Office Login and Virtual Office
Logout (if Virtual Office is configured)
• Test Local Mode and Resume Local
Mode (if Media Gateway 1000B is
configured)
(Services)

About the phone
12
Note: Press the Services key to exit
from any menu or menu item.
•The Password Admin menu many not
be available on your IP Phone 2004.
Consult your system administrator.
Press the Headset key to answer a call
using the headset or to switch a call from the
handset or handsfree to the headset.
Press the Speaker key to activate
handsfree. The speaker LED indicator lights
to indicate when handsfree is active.
Press the Outbox/Shift key to toggle
between two feature key pages and to
access an additional six lines/features and
an additional 24 lines on the Nortel IP Phone
KEM.
Press the Directory key to access directory
services.
Press the Mute key to listen to the receiving
party without transmitting. Press the Mute
key again to return to two-way conversation.
The Mute key applies to handsfree, handset,
and headset microphones. The Mute LED
indicator flashes when the Mute option is in
use.
(Shift)
(Directory)
(Mute)

About the phone
13
Press the Quit key to end an active
application. Pressing the Quit key does not
affect the status of calls currently on your
telephone.
Soft keys (self-labeled) are located below
the LCD display screen. The LCD label
above the key changes based on the active
feature.
Note: When a triangle appears before a
key label, the feature is active.
Press the More.. key to access the next
layer of Soft keys (self-labeled).
When a message is left for the user, the
Message Waiting Indicator flashes. Also,
this indicator flashes when the phone ringer
is ON.
Use the Expand to PC key to access
external server applications such as XSA.
Press the Copy Key to copy entries to your
Personal Directory from other lists, such as
the Caller List, Redial List, Corporate
Directory, etc.
(Quit)
About the phone
14
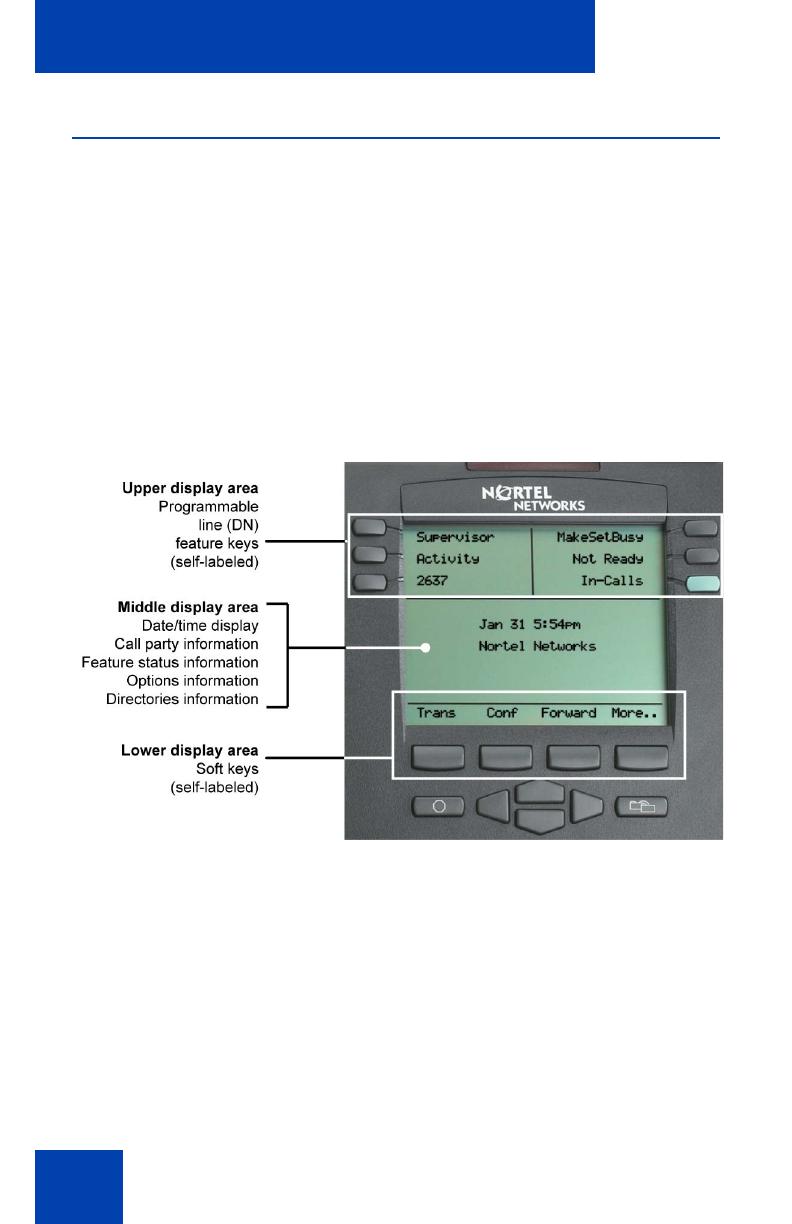
Telephone display
The IP Phone 2004 has three display areas:
• The upper display area provides line and feature key status.
• The middle display area contains single-line information for items
such as caller number, caller name, feature prompt strings, user-
entered digits, date and time information, and phone information.
• The lower display area provides feature key label information.
Figure 3 shows an idle LCD screen display.
Figure 3: IP Phone 2004 LCD display screen

Agent and supervisor features
15
Agent and supervisor features
This section describes the following login features that are common to the
Call Center Agent and Supervisor:
• “Logging in as agent” on page 15
• “Logging in with Agent ID and Multiple Queue Assignments” on
page 16
• “Logging out as agent” on page 20
Logging in as agent
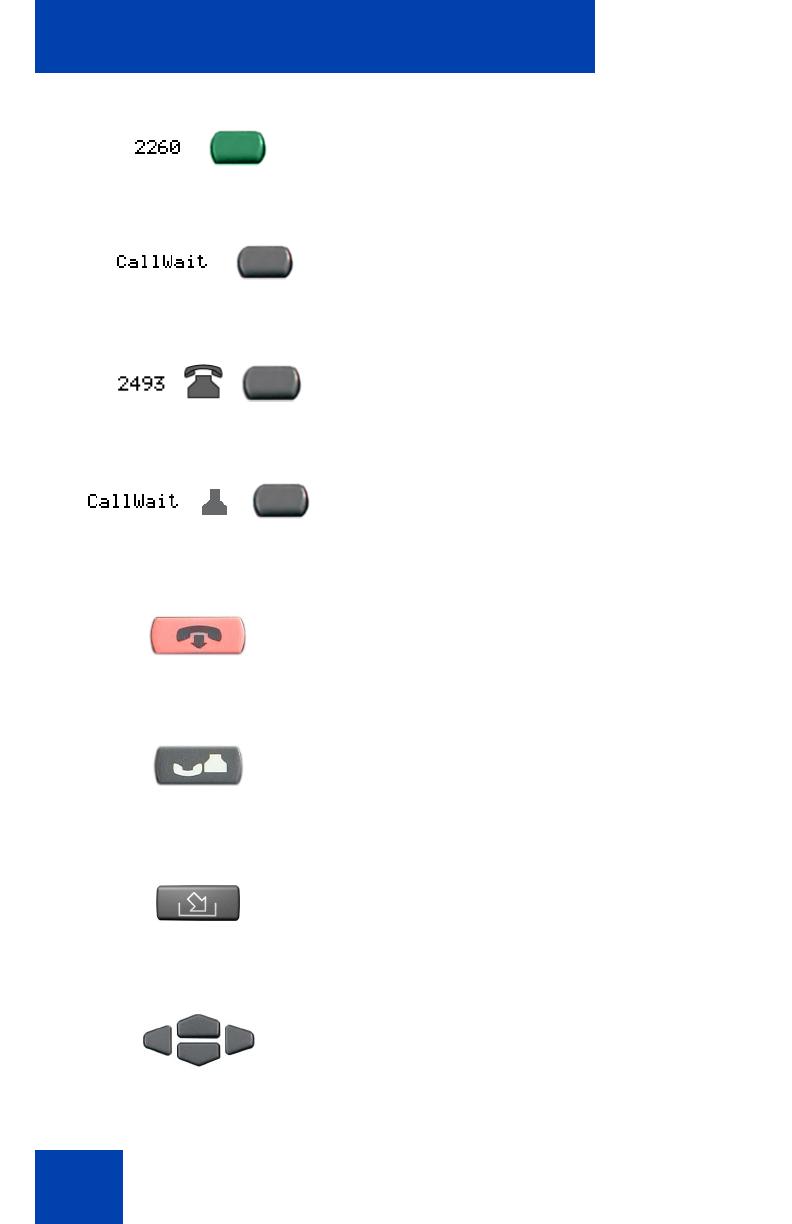
Use the Agent Login to enter an Automatic Call Distribution (ACD) queue.
If an Agent ID is assigned to you, the display screen prompts you to enter
a four-digit code.
1. Lift the handset.
2. Press the InCalls key.
3. If “Enter Agent ID” appears on the
screen, use the dialpad to enter your ID.
4. Press the # key. The phone goes into a
Not Ready state.
Agent and supervisor features
16
Logging in with Agent ID and Multiple
Queue Assignments
A Multiple Queue Assignment (MQA) login involves entering a four-digit
Agent ID and up to five ACD Directory Numbers (DN), with the option of
adding a Supervisor ID and up to five Priority values.
Choose one of the following login procedures:
• “Logging in with Agent ID and MQA login options” on page 17
• “Using Default Login” on page 19
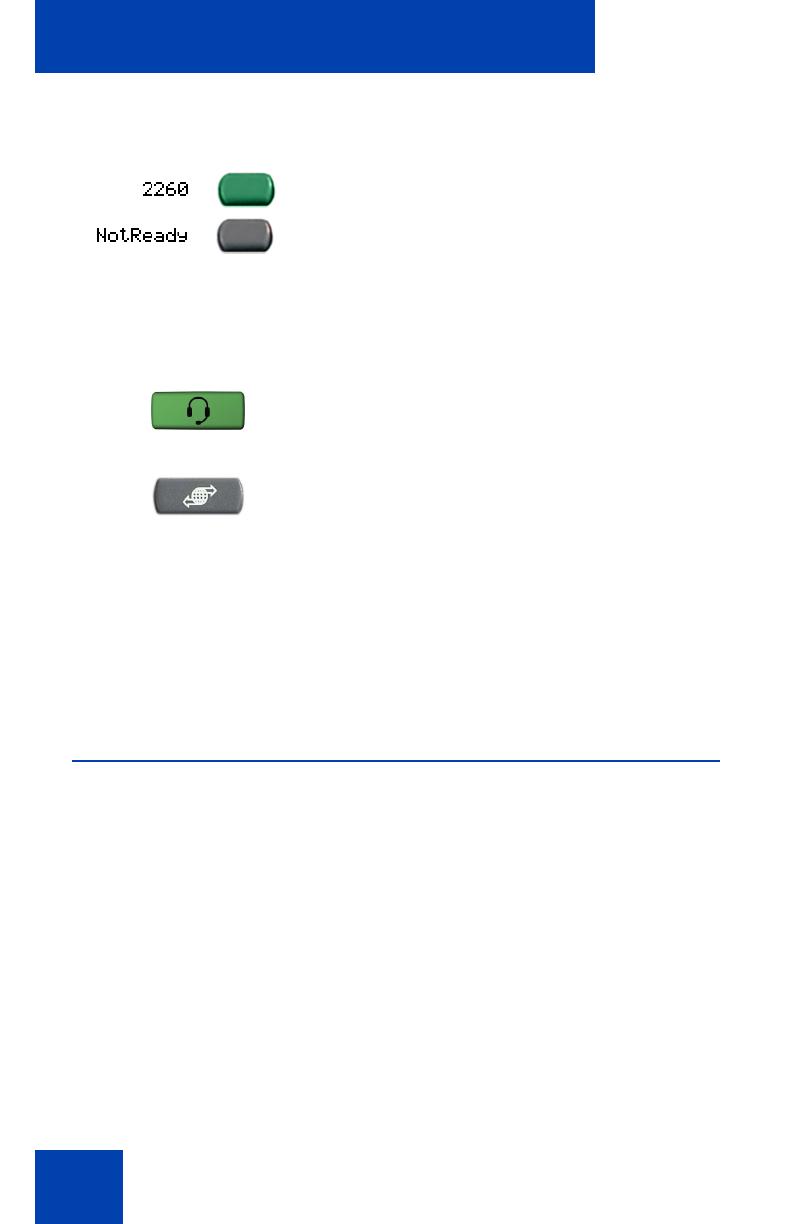
5. To join the ACD queue, choose one of
the following:
— Press the InCalls key.
— Press the NotReady key.
6. If you use a headset and Handset On-
Hook Means Log out (HOML) is set to
No by your administrator, then do the
following:
a. Press the Headset key and replace
the handset in the cradle to receive
calls on your headset.
b. Press the Services key. Change the
“On-hook default path” to “Headset
Enabled”.
Note: If HOML is set to Yes, replace the
handset to log out of the queue.
(Services)

Agent and supervisor features
17
Logging in with Agent ID and MQA login options
To enter ACD queues, use an Agent ID login with one of the MQA login
options described on page 16.
Use an Agent ID login with one of the following four MQA login options to
enter ACD queues.
Note: A supervisor logging in to accept ACD calls is prevented by the
system from entering a Supervisor ID (including logins where agents
must enter a Supervisor ID).
The login options require the following entries in sequential order:
1. a four-digit Agent ID
2. a Supervisor ID (if your queue requires one)
3. up to five ACD DNs and priority values (if priority values are being
used) terminated by # #

Agent and supervisor features
18
To log in:
1. Press the InCalls key.
2. Choose one of the following four login
options:
— For No Supervisor ID, No Priority,
dial your Agent ID # ACD DN 1 #
ACD DN 2 # ACD DN 3 # ACD DN 4
# ACD DN 5 # #.
— For Supervisor ID, No Priority, dial
your Agent ID # Supervisor ID #
ACD DN 1 # ACD DN 2 #
ACD DN 3 # ACD DN 4 #
ACD DN 5 # #.
— For No Supervisor ID, With Priority,
dial your Agent ID # ACD DN 1 #
Priority 1 # ACD DN 2 # Priority 2 #
ACD DN 3 # Priority 3 # ACD DN 4 #
Priority 4 # ACD DN 5 Priority 5 # #.
— For Supervisor ID, With Priority, dial
your Agent ID # Supervisor ID #
ACD DN 1 # Priority 1 # ACD DN 2 #
Priority # 2 ACD DN 3 # Priority 3 #
ACD DN 4 # Priority 4 #
ACD DN 5 # Priority 5 # #.
Note: To choose the default Priority
value or Supervisor ID, enter #.

Agent and supervisor features
19
Using Default Login
If you normally use the same telephone, use the Default Login to log in
just one time at the beginning of a shift. The Default Login uses your
previous shift’s login to place you in the same ACD queues and with the
same Supervisor.
3. Choose one of the following:
— Press the InCalls key.
—Press the NotReady key to enter the
ACD queue.
1. Lift the handset.
2. Press the InCalls key.
3. When “Enter Agent ID” appears on the
screen, use the dialpad to enter your ID.
4. Choose one of the following:
— If your queue requires a Supervisor
ID, press the # key three times.
— If your queue does not require a
Supervisor ID, press the # key two
times.
Agent and supervisor features
20
Logging out as agent
You can log out of the system completely or temporarily
(NotReady state).
To log out:
5. To join the ACD queue, choose one of
the following:
— Press the InCalls key.
— Press the NotReady key.
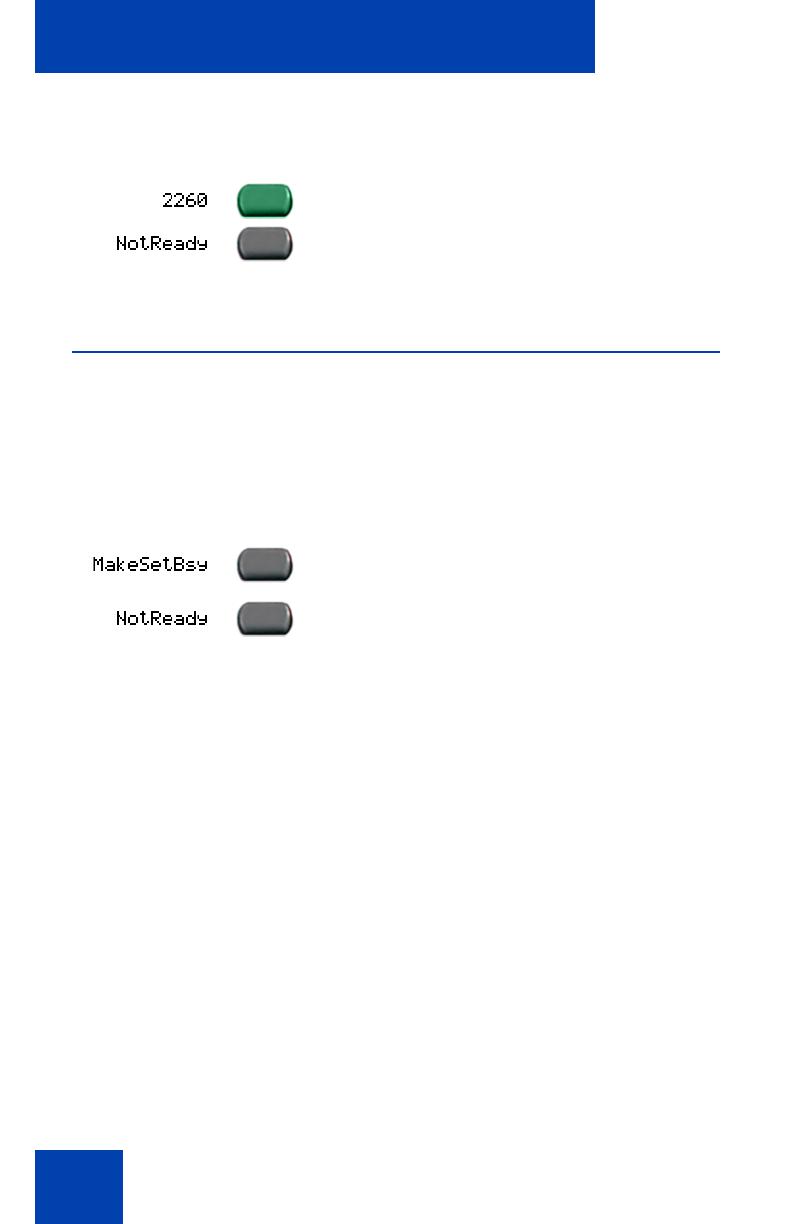
Choose one of the following:
— To log out completely, press the
MakeSetBusy key.
— To log out temporarily, press the
NotReady key.
Note: If you press the MakeSetBusy
key while on an ACD call, you log out
automatically when the call finishes.
/