- English 7 -
Explanation of settings
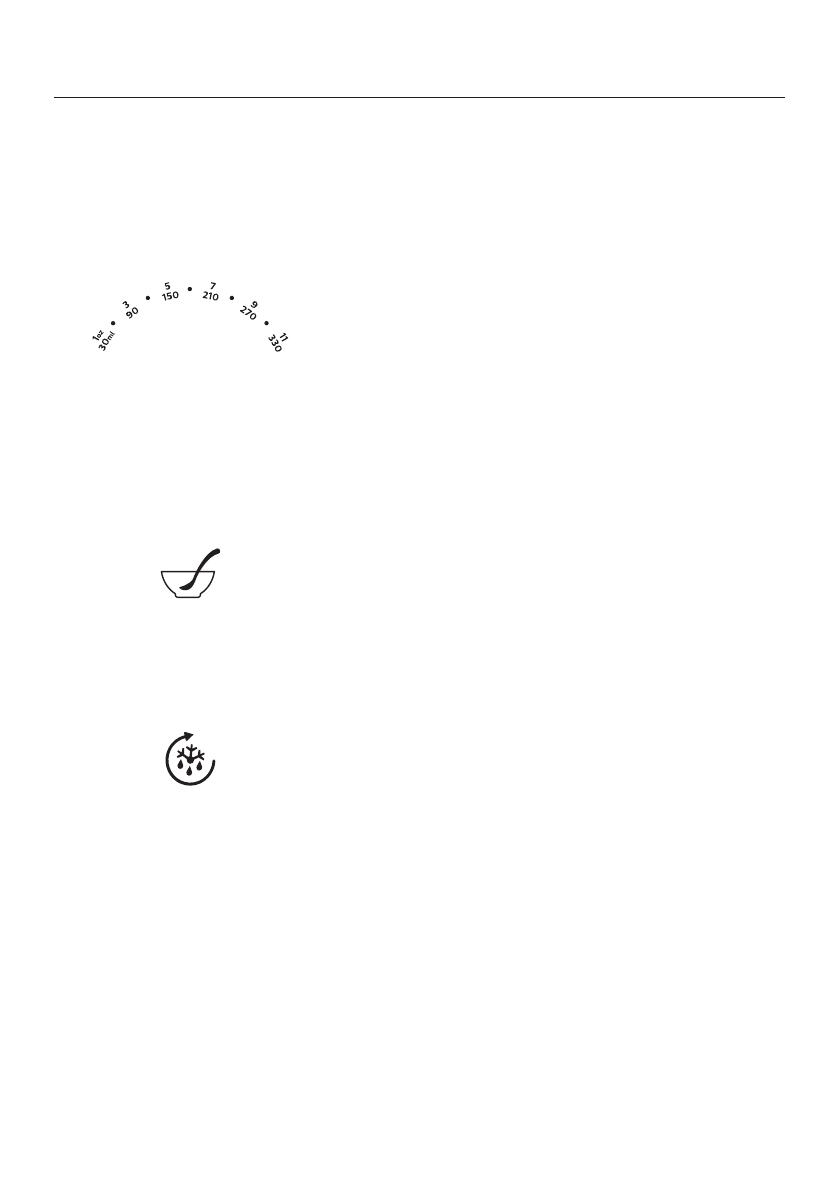
Milk volume
• Select this setting to warm milk of room temperature
or fridge temperature.
• Select the milk volume you warm. You can set from
30ml / 1 oz up to 330 ml / 11oz.
The bottle warmer warms the milk to the desired
temperature. Milk is ready for feeding when the
entire progress indicator lights up. If you want the
milk warmer, keep the bottle in the appliance until it
reaches the desired temperature. Take out the bottle
and check the temperature of the milk before you
feed your baby. You can also keep the bottle warm
in the appliance and it will switch o automatically
after about 60 minutes.
• Check the milk temperature by sprinkling a few
drops on the inside of your wrist. The milk may
feel cool to you, but it will be very pleasant for
a newborn baby. Research suggests that most
babies will accept milk that is cooler than body
temperature.
Baby food warming
• Select this setting to warm baby food.
• For optimal result, stir baby food during warming.
Keep warm / defrost
• The built-in sensor adjusts the heating pattern for
keep warm or defrost.
• If the milk/ baby food is warm, it will be warmed
gradually and kept at the right temperature.
• If the milk is frozen, it will be defrosted to liquid state
and then warmed to the right temperature. You can
defrost the milk from 30 ml/ 1 oz up to 180 ml/ 6 oz.
• If the baby food is frozen, it will be defrosted. After
that, switch o the bottle warmer and turn to baby
food setting to warm up the baby food.
• Select this setting to warm milk bag. The material of
the milk bag transfers heat very fast.
When the entire progress indicator is on but not ashing, the milk is ready for feeding. Feed
your baby when the milk is warmed. Do not rewarm the milk after it has cooled down, as
bacteria may start to develop in it.
For baby food, due to variations in baby food consistency, it is not possible for the
appliance to detect precisely how long the baby food should be warmed. When the entire
progress indicator is on but not ashing, keep the baby food in the appliance for further
warming. Stir the baby food while the jar or container is in the bottle warmer. For optimal
result, check its temperature while it is warming.


