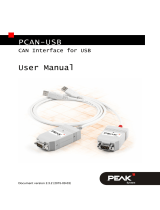
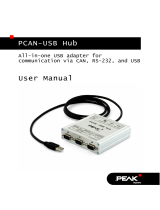
PCAN-USB Hub – User Manual
12
3.3.1 Voltage Supply of External Devices
External devices with low power consumption (e.g. bus converters)
can be directly supplied via the CAN connector. With a solder bridge
for the one CAN channel on the PCAN-USB Hub board (casing
opened), a 5-Volt supply can optionally be routed to pin 1 and the
external voltage supply, if available, can be routed to pin 9 of the
D-Sub CAN connector.
CAN D-Sub pin Voltage Max. current delivery
1 +5 V 100 mA
9 external supply voltage
(9 - 36 V)
2 A
If the solder bridge for pin 9 is set, the state of this pin can be
switched on or off by software. At delivery pin 9 is on referred to the
software part. On request we’ll provide you with additional informa-
tion and a Windows program for switching (contact information:
s
ee on page 2).
Do the
following to activate the voltage supply:
Risk of short circuit! Solder with great care to avoid unwanted
short circuits on the card.
Attention! Electrostatic discharge (ESD) can damage or destroy
components on the card. Take precautions to avoid ESD.
1. Remove the four lower corner screws from the aluminum
casing and then the bottom cover.
2. Set the solder bridge(s) on the card according to the desired
settings.
Figure 3 shows the positions of the solder fields on the PCB
of the
PCAN-USB Hub; the tables below contain the possible
settings.