in S T A l l i n g T h e di A g o n A l A n d ey e P i e c e (re f r A c T o r ) – 60AZ A n d 70AZ
in S T A l l i n g T h e di A g o n A l A n d ey e P i e c e (re f r A c T o r ) – 40AZ A n d 50AZ
in S T A l l i n g A n d uS i n g T h e bA r l o w le n S
in S T A l l i n g T h e ey e P i e c e o n T h e ne w T o n i A n
Thediagonalisaprismthatdivertslightatarightangleto
thelightpathoftherefractor.Thisallowsyoutoobservein
apositionthatismorecomfortablethanifyouhadtolook
straightthrough.Thisdiagonalisanerectimagemodel
thatcorrectstheimagetoberightsideupandoriented
correctlyleft-to-rightwhichismucheasiertousefor
terrestrialobserving.Also,thediagonalcanberotatedto
anypositionwhichismostfavorableforyou.Toinstallthe
diagonalandeyepiece:
1.Insertthesmallbarrelofthediagonalintothe1.25”
eyepieceadapterofthefocustubeontherefractor
–Figure2-13.Makesurethetwothumbscrewsonthe
eyepieceadapterdonotprotrudeintothefocusertube
beforeinstallationandtheplug-upcapisremovedfrom
theeyepieceadapter.
2.Putthechromebarrelendofoneoftheeyepiecesinto
thediagonalandtightenthethumbscrew.Again,when
doingthismakesurethethumbscrewisnotprotruding
intothediagonalbeforeinsertingtheeyepiece.
3.Theeyepiecescanbechangedtootherfocallengthsby
reversingtheprocedureinstep2above.
Thediagonalforthe50AZiscalledastardiagonalwhere
theprismcorrectstheimagetoberightsideup(erect
image)buttheimageisreversedright-to-left.Thediagonal
andeyepiecesare.96”diametersizes.Allstepsaboveare
thesamewiththe50AZ.
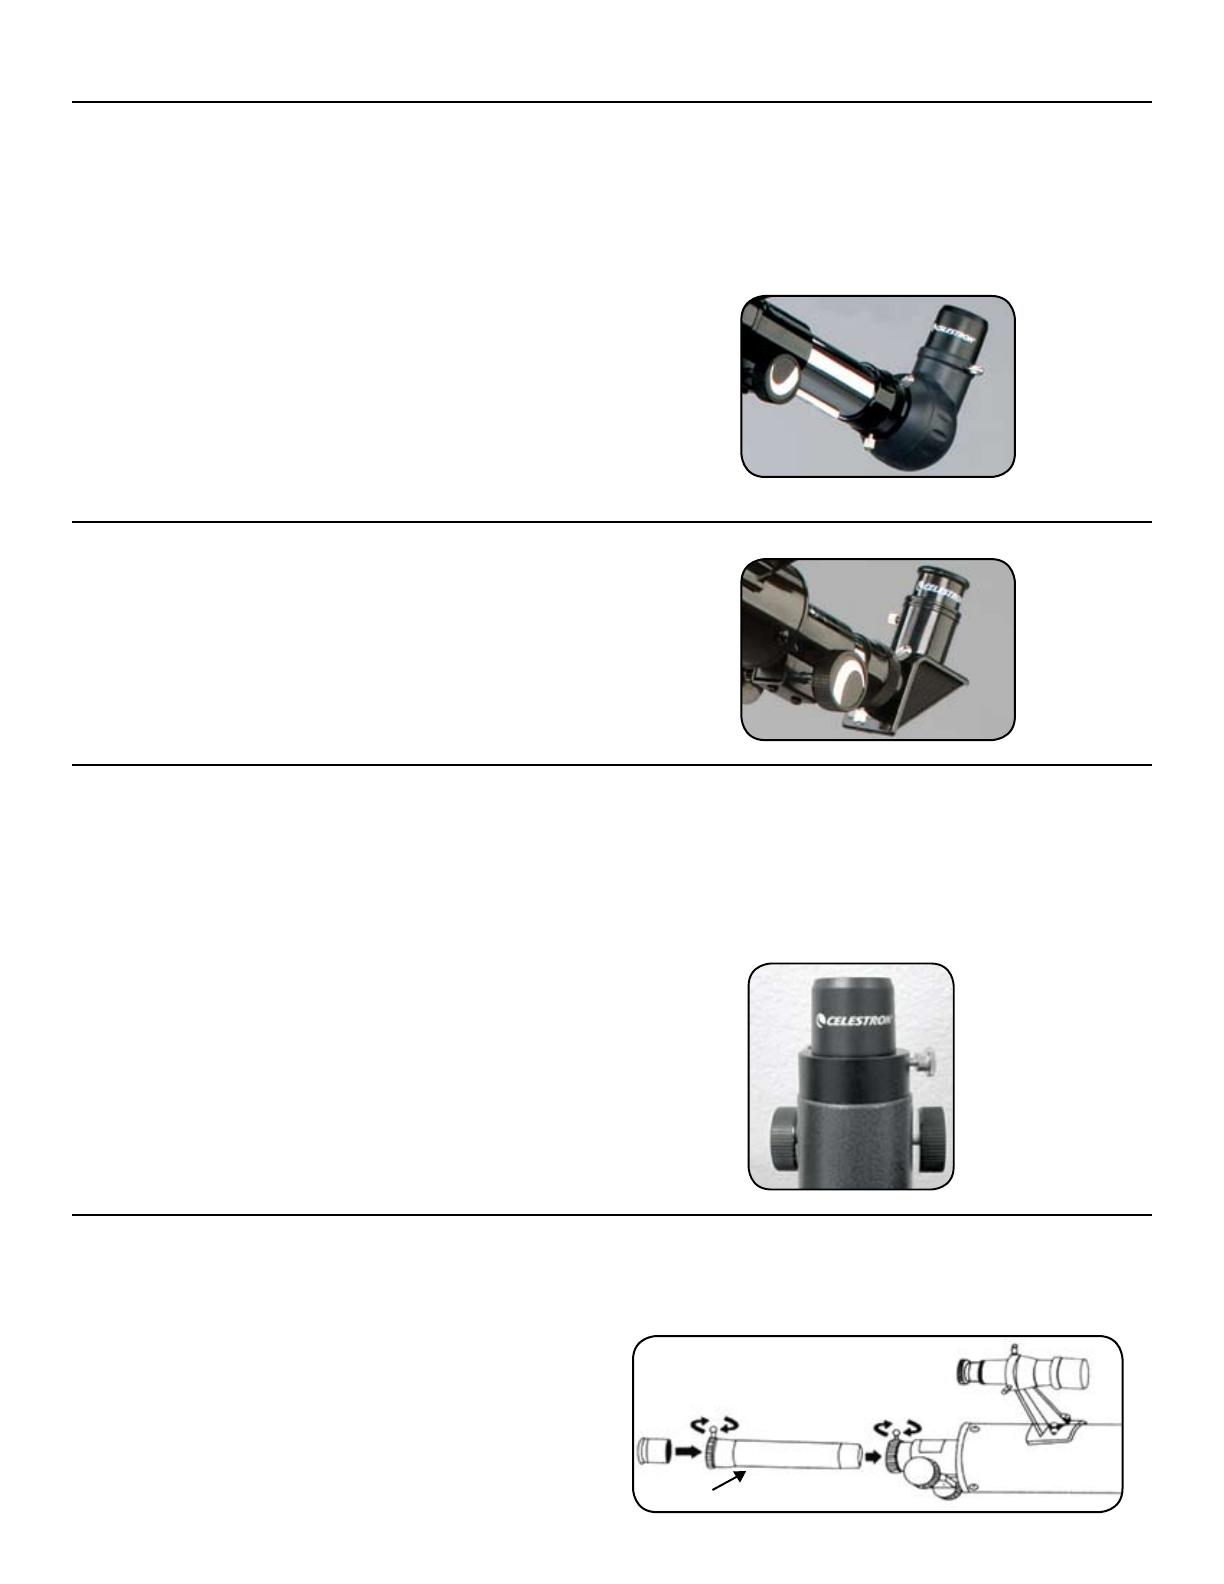
Yourtelescopealsocomeswitha3xBarlowLens(2xwith
the40AZ)whichtriplesthemagnifyingpowerofeach
eyepiece.However,thegreatlymagniedimagesshould
onlybeusedunderidealconditions–seetheCalculating
Magnicationsectionofthismanual.
TousetheBarlowlenswithrefractors,removethediagonal
andinserttheBarlowdirectlyintothefocusertube.You
theninsertaneyepieceintotheBarlowlensforviewing.
Youcanalso,insertthediagonalintotheBarlowlensand
thenuseaneyepieceinthediagonal,butyoumaynotbe
abletoreachfocuswithalleyepieces.
ForNewtoniantelescopes,inserttheBarlowlensdirectlyinto
thefocuser.Then,insertaneyepieceintotheBarlowlens.
Note: Start by using a low power eyepiece as it will be
easier to focus.
Theeyepiece(orocular)isanopticalelementthatmagnies
theimagefocusedbythetelescope.Withouttheeyepiece
itwouldbeimpossibletousethetelescopevisually.
Eyepiecesarecommonlyreferredtobyfocallengthand
barreldiameter.Thelongerfocallength(i.e.,thelarger
thenumber)thelowertheeyepiecemagnication(i.e.,
power).Generally,youwilluselow-to-moderatepower
whenviewing.Formoreinformationonhowtodetermine
power,seethesectionon“CalculatingMagnication”.The
eyepiecetsdirectlyintothefocuseroftheNewtonian.To
attachtheeyepieces:
1.Makesurethethumbscrewsarenotprotrudinginto
thefocusertube.Then,insertthechromebarrelofthe
eyepieceintothefocustube(removetheplug-upcap
ofthefocuserrst)andtightenthethumbscrews–see
Figure2-15.
2.The20mmeyepieceiscalledanerectingeyepiecesince
itcorrectstheimage,soitisrightsideupandcorrected
lefttoright.Thismakesthetelescopeusefulfor
terrestrialviewing.
3.Theeyepiecescanbechangedbyreversingthe
procedureasdescribedabove.
fi g u r e 2-13
fi g u r e 2-14
fi g u r e 2-16
fi g u r e 2-15
3x bA r l o w le n S
8


