Chapter 3
Advanced Configuration
18
Dual-Band Wireless-N Gigabit Router
connection speed between the Router and a wireless
client. The default is Auto.
N Transmission Rate The rate of data transmission
should be set depending on the speed of your Wireless-N
networking. You can select from a range of transmission
speeds or you can select Auto to have the Router
automatically use the fastest possible data rate and enable
the Auto-Fallback feature. Auto-Fallback will negotiate the
best possible connection speed between the Router and a
wireless client. The default is Auto.
CTS Protection Mode The Router will automatically
use CTS (Clear-To-Send) Protection Mode when your
Wireless-N and Wireless-G products are experiencing
severe problems and are not able to transmit to the
Router in an environment with heavy 802.11b traffic. This
function boosts the Router's ability to catch all Wireless-N
and Wireless-G transmissions but will severely decrease
performance. The default is Auto.
Beacon Interval Enter a value between 1 and 65,535
milliseconds. The Beacon Interval value indicates the
frequency interval of the beacon. A beacon is a packet
broadcast by the Router to synchronise the wireless
network. The default value is 100.
DTIM Interval This value, between 1 and 255, indicates
the interval of the Delivery Traffic Indication Message
(DTIM). A DTIM field is a countdown field informing
clients of the next window for listening to broadcast
and multicast messages. When the Router has buffered
broadcast or multicast messages for associated clients, it
sends the next DTIM with a DTIM Interval value. Its clients
hear the beacons and awaken to receive the broadcast
and multicast messages. The default value is 1.
Fragmentation Threshold This value specifies the
maximum size for a packet before data is fragmented
into multiple packets. If you experience a high packet
error rate, you may slightly increase the Fragmentation
Threshold. Setting the Fragmentation Threshold too low
may result in poor network performance. Only minor
reduction of the default value is recommended. In most
cases, it should remain at its default value of 2346.
RTS Threshold Should you encounter inconsistent data
flow, only a minor reduction of the default value, 2347,
is recommended. If a network packet is smaller than the
preset RTS threshold size, the RTS/CTS mechanism will
not be enabled. The Router sends Request to Send (RTS)
frames to a particular receiving station and negotiates
the sending of a data frame. After receiving an RTS, the
wireless station responds with a Clear to Send (CTS) frame
to acknowledge the right to begin transmission. The RTS
Threshold value should remain at its default value of
2347.
Click Save Settings to apply your changes or click Cancel
Changes to cancel your changes.
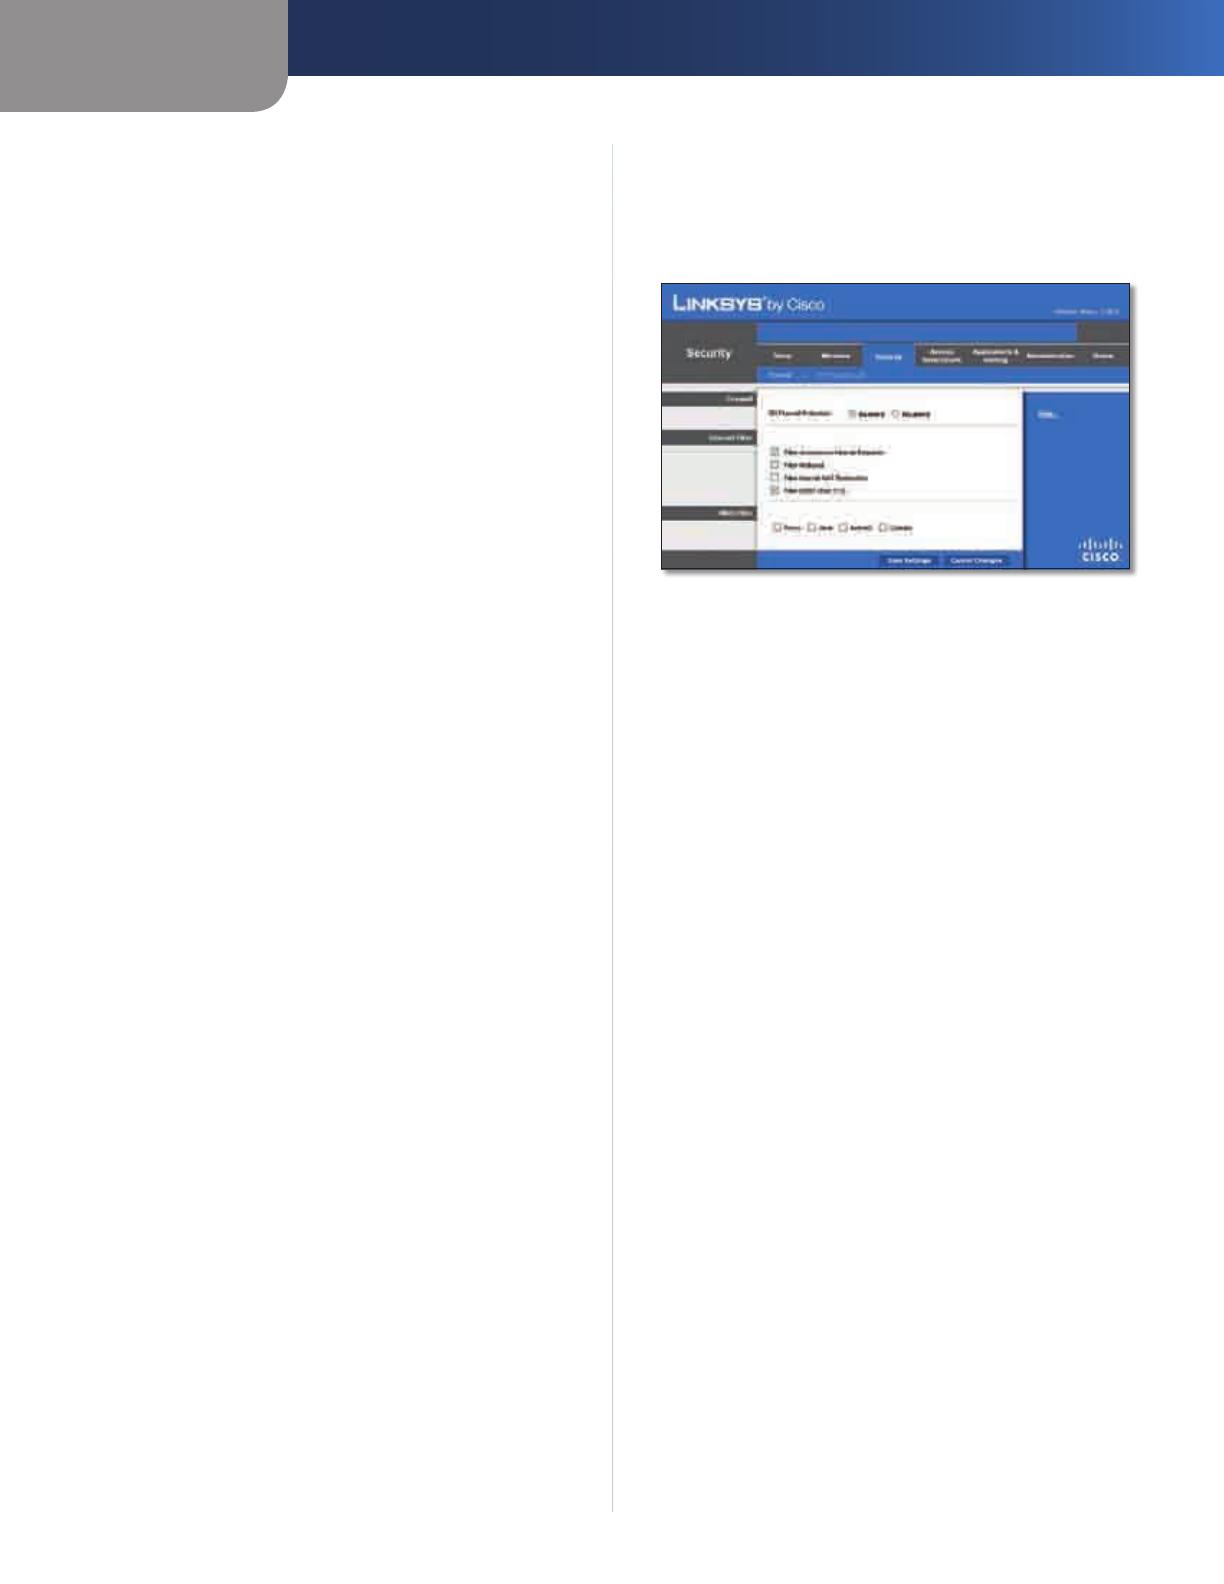
Security > Firewall
The Firewall screen is used to configure a firewall that can
filter out various types of unwanted traffic on the Router's
local network.
Security > Firewall
Firewall
SPI Firewall Protection To use firewall protection,
keep the default selection, Enabled. To turn off firewall
protection, select Disabled.
Internet Filter
Filter Anonymous Internet Requests This feature
makes it more difficult for outside users to work their
way into your network. This feature is selected by default.
Deselect the feature to allow anonymous Internet
requests
.
Filter Multicast Multicasting allows for multiple
transmissions to specific recipients at the same time. If
multicasting is permitted, then the Router will allow IP
multicast packets to be forwarded to the appropriate
computers. Select this feature to filter multicasting. This
feature is not selected by default.
Filter Internet NAT Redirection This feature uses port
forwarding to block access to local servers from local
networked computers. Select this feature to filter Internet
NAT redirection. It is not selected by default.
Filter IDENT (Port 113) This feature keeps port 113 from
being scanned by devices outside of your local network.
This feature is selected by default. Deselect this feature to
disable it.
Web Filter
Proxy Use of WAN proxy servers may compromise the
Gateway's security. Denying Proxy will disable access to
any WAN proxy servers. Select this feature to enable proxy
filtering. Deselect the feature to allow proxy access
.
Java Java is a programming language for websites. If you
deny Java, you run the risk of not having access to Internet


