INSTALLATION
INSTRUCTIONS
TOOLS REQUIRED:
ESTIMATED ASSEMBLY
TIME:
30 MIN
CARE AND
MAINTENANCE:
Clean with a damp cloth
and wipe parts dry.
Parts List:
20
2400 Earl Jones Way • Louisville, KY 40299
(800) 626-1126
www.rev-a-shelf.com
I-59SC-0614
Note 1: Be sure to measure cabinet opening and basket width to make sure basket will clearly pull-out
of the cabinet without interference.
Note 2: All cabinets are built and constructed dierently, some have a built-in shelf that is not easily removeable. This organizer
can still be installed with the shelf in place, but note some taller items could hit the shelf when opening and closing.
(4)
3/4” Wood Screws
(16)
Machine Screws
(3)
1/2” Wood Screws
(2)
U-Shaped Support Brackets
(1)
Bottom Basket
(1)
Top Basket

I-59SC-0614
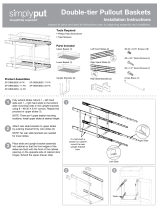
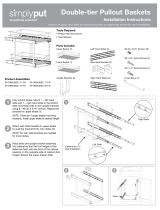
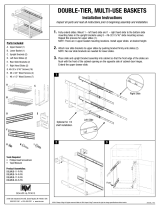
1) Begin by removing the slides from the upper and lower slide basket.
(Note: in order to do so, you will need to press the black triggers on both sides of the basket to remove.)
2) Attach the pair of bottom basket slides to the bottom hole position into the U-shaped Support bracket
using (8) of the provided machine screws.
3) Attach the pair of upper basket slides to one of the (3) height options and repeat step (2).
4) Now that all (4) slides are attached to the support bracket, carefully slide the entire unit into your cabinet and move unit to the
opposite side of your cabinet hinges. This will allow the proper clearance so your baskets do not interfere with the cabinet door hinges.
(Note: start with the circular hole rst and then proceed to the slotted hole next.)
Hinge

6) Use the (4) ¾” wood screws to attach U-shaped supports into
oor of the cabinet.
7) Push the (2) rear metal sockets to the rear of the cabinet and attach both
sides using the (2) ½” wood screws.
This will ensure complete stability of your baskets.
5) Using the provided ½” wood screw, attach slide to face frame of cabinet while making sure that the front of the slide is ¼” back
from the opening.
1/4”
8) Carefully re-engage the baskets into the slides. Be careful not to force the baskets into the slides as this could cause damage.
(Note: if installing into a frameless application you can simply use the same ½” screw and install into the side wall of the cabinet.)
Note: To ensure optimal
performance it is
recommended that the rear
sockets are perfectly aligned.

An optional Door Mount Kit (Sold Separately) will attach your
cabinet door to your Rev-A-Shelf® product.
Part #
RV-DM17KIT-5
5WB-DMKIT
Page is loading ...
Page is loading ...
Page is loading ...
Page is loading ...
/


