- 2 -
To congure SATA hard drive(s), follow the steps below:
A. Installharddrive(s)inyourcomputer.
B. CongureSATAcontrollermodeinBIOSSetup.
C. CongureaRAIDarrayinRAIDBIOS(Note1)
D. InstalltheSATARAID/AHCIdriverandoperatingsystem
Before you begin
•AtleasttwoSATAharddrivesorSSDs(Note2)(toensureoptimalperformance,itisrecommendedthatyou
usetwoharddriveswithidenticalmodelandcapacity).(Note3)
•AWindowssetupdisk.
•Motherboarddriverdisk.
•AUSBthumbdrive.
1-1 Conguring SATA Controllers
A. Installing SATA hard drive(s) in your computer
Installtheharddrives/SSDsintheSATA/M.2 connectors on the motherboard. Then connect the power
connectorsfromyourpowersupplytotheharddrives.
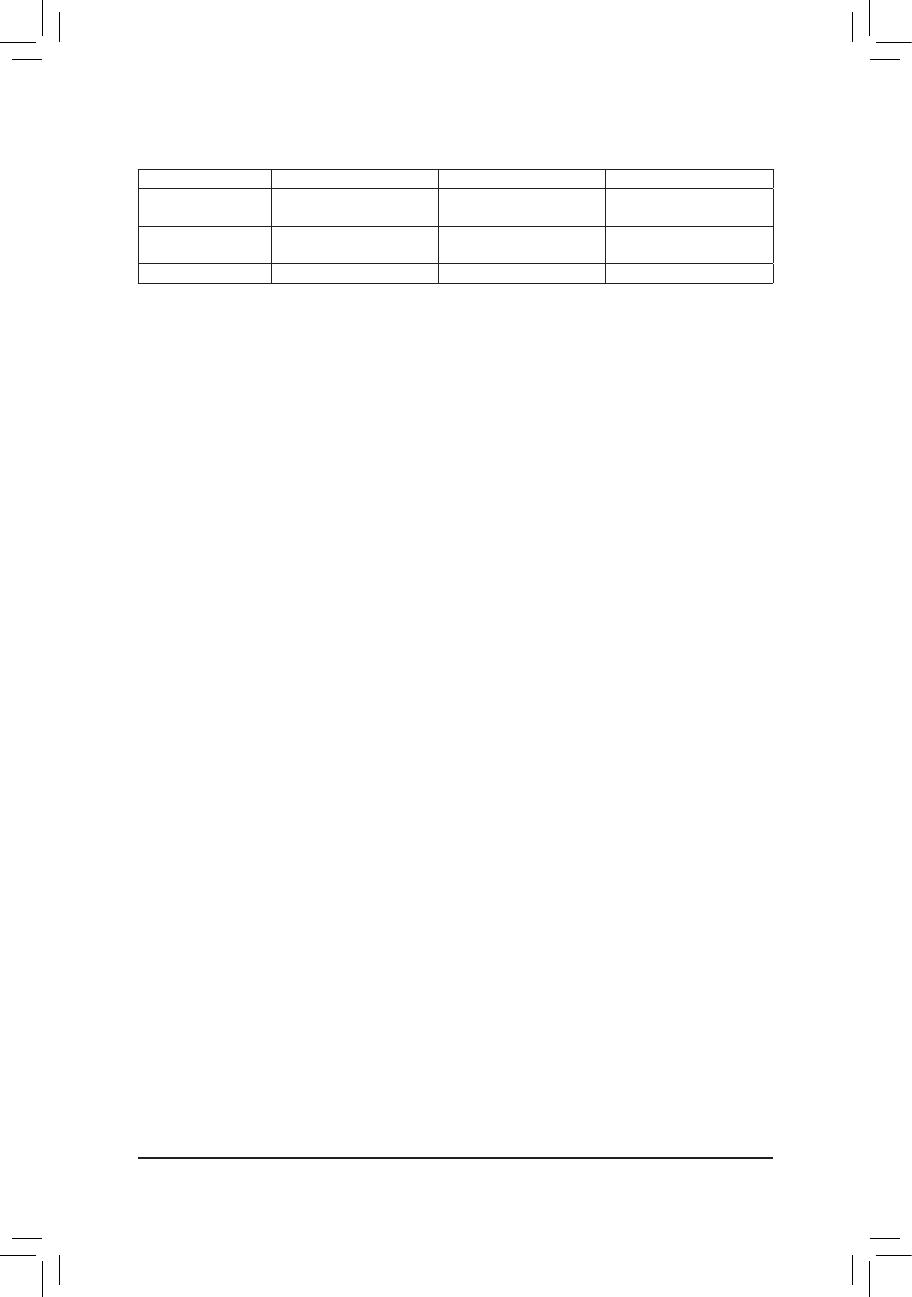
RAID Levels
RAID 0 RAID 1 RAID 10
MinimumNumberof
HardDrives ≥2 2 4
ArrayCapacity Numberofharddrives*
Sizeofthesmallestdrive
Sizeofthesmallestdrive (Numberofharddrives/2)*
Sizeofthesmallestdrive
FaultTolerance No Yes Yes
(Note1) SkipthisstepifyoudonotwanttocreateRAIDarrayontheSATAcontroller.
(Note2) AnM.2PCIeSSDcannotbeusedtosetupaRAIDseteitherwithanM.2SATASSDoraSATAharddrive.
(Note3) Referto"InternalConnectors,"fortheinstallationnoticesfortheM.2,andSATAconnectors.


