Using the Scanner Buttons
11
English
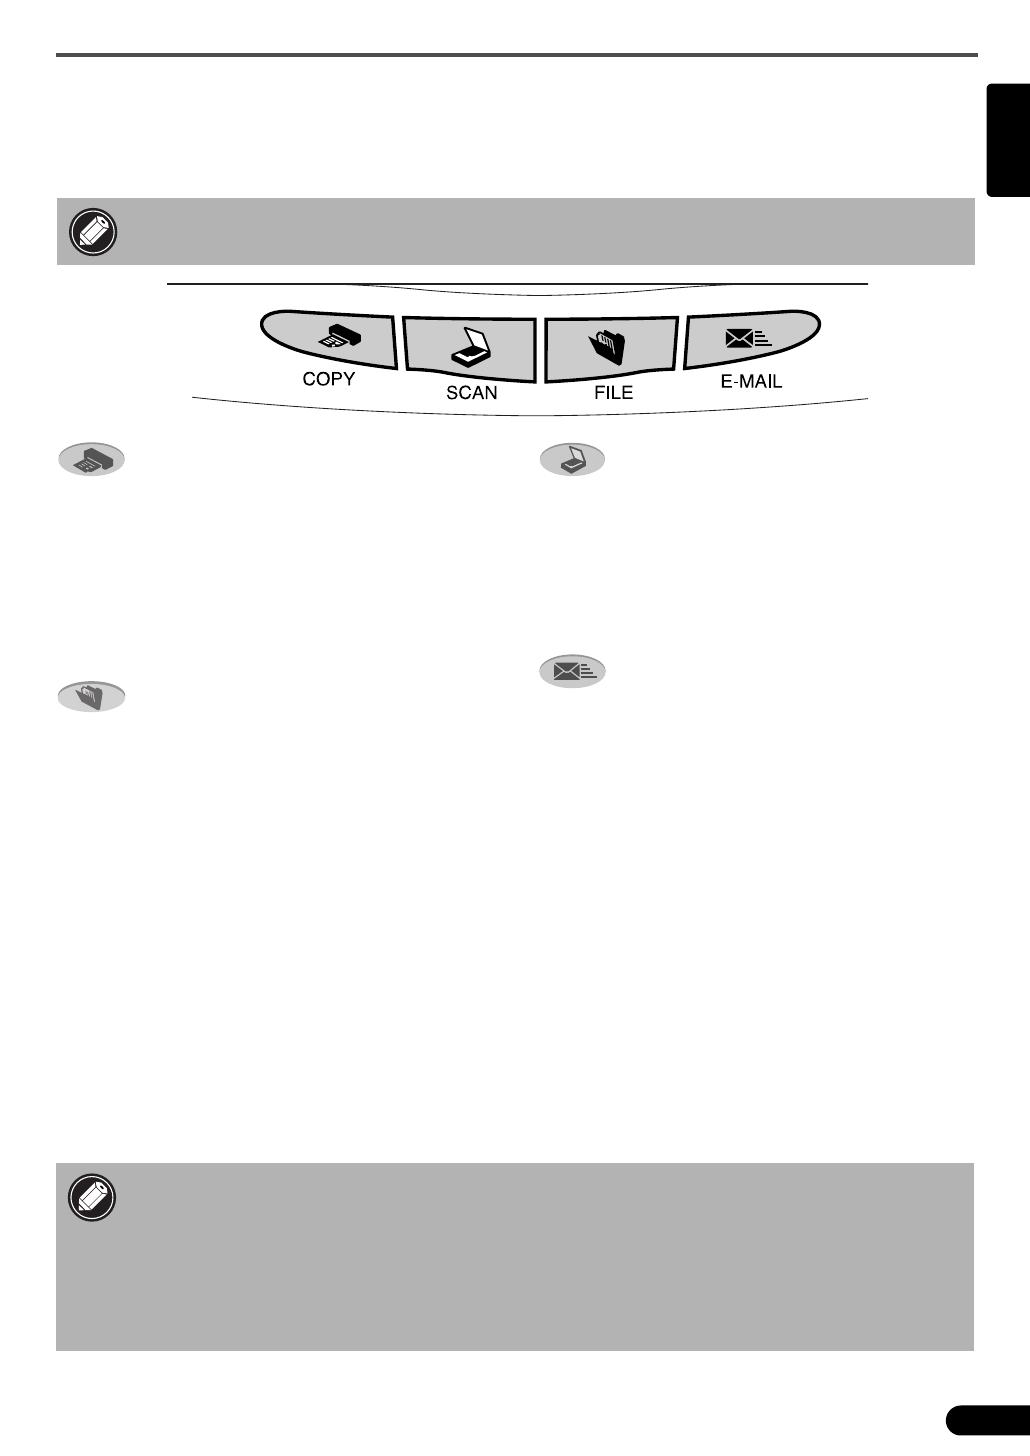
Using the Scanner Buttons
You can use the four convenient buttons on the front of the scanner to scan and perform related tasks easily
with a single touch of the button. Place an item on the scanner before pressing a button.
• To use these buttons, ScanGear CS, CanoScan Toolbox, ArcSoft PhotoStudio and Acrobat
Reader should be installed from the CanoScan Setup Utility CD-ROM.
COPY Button
To print (copy) the scanned image with a printer:
1
Press the [COPY] button.
The scanner will scan the item.
The scanned image will print.
• The printer driver should be installed and the
printer should be on-line to use this function.
FILE Button
To save the scanned image as a PDF file:
1
Press the [FILE] button.
The scanner will scan the item.
The scanned image will be saved as a PDF
document and appear in Adobe Acrobat
Reader.
A PDF (Portable Document Format) document is
a file format that can be displayed and printed
with application program such as Adobe
Acrobat Reader/ Adobe Reader. It is easy to
create PDF files for your images by using the
FILE Button on the scanner or the FILE Button in
CanoScan Toolbox. You can also make PDF files
with multiple pages and create text-searchable
PDF files.
• If you press the [Cancel] button while scanning, you can change the default settings for
scanning. For changing settings, refer to the Scanning Guide (HTML format manual).
• To use the E-MAIL Button, one of the following e-mail programs should be installed and
enabled.
For Windows: Microsoft Outlook Express, Microsoft Outlook, Eudora or Netscape
Messenger. (Some mail programs are required to set the MAPI function on.)
For Macintosh
: Mail (Mac OS X 10.2 or later), Eudora or MS Entourage.
SCAN Button
To open the scanned image in the PhotoStudio
window:
1
Press the [SCAN] button.
The scanner will scan the item.
The scanned image will appear in the
PhotoStudio window.
E-MAIL Button
To attach the scanned image to a new e-mail
message:
1
Press the [E-MAIL] button.
2
The [E-mail software selection] dialog
will appear. Select an option from the
list and click [OK].
This step is required only for the first scan.
The e-mail software will start and the scanned
image will be attached in a new message
window.
The scanner will scan the item.


