4
Important
Read this user manual carefully before you use the
appliance and save it for future reference.
This appliance is not intended for use by persons
(including children) with reduced physical, sensory
or mental capabilities, or lack of experience
and knowledge, unless they have been given
supervision or instruction concerning use of the
appliance by a person responsible for their safety.
Children should be supervised to ensure that they
do not play with the appliance.
Only use the mains cord supplied.
Do not use a damaged mains cord.
If the mains cord is damaged, always have it
replaced with one of the original type in order to
avoid a hazard.
The appliance is equipped with an automatic
voltage selector and is suitable for mains voltages
ranging from 100 to 240 volts.
Charge, store and use the appliance at a
temperature between 5°C and 35°C.
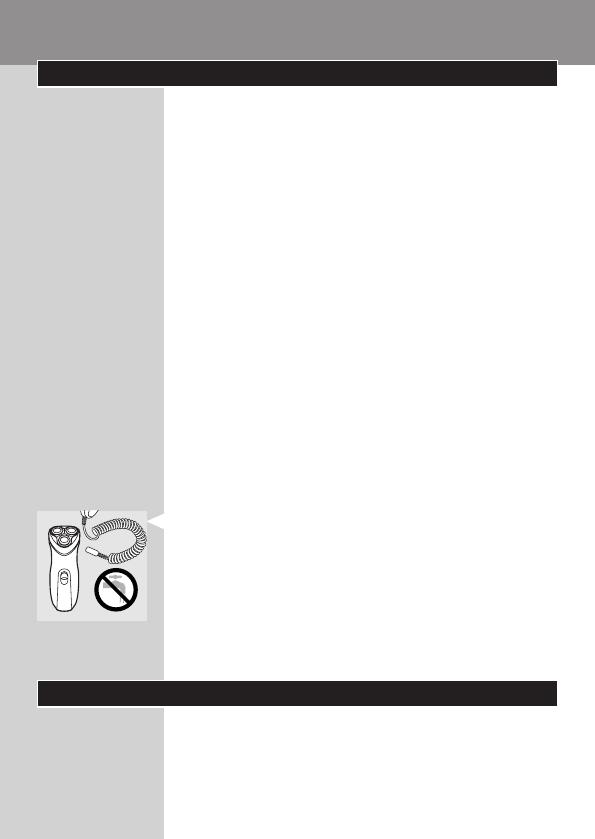
Do not recharge the shaver in a closed pouch.
Keep the appliance and the mains cord dry.
Electromagnetic elds (EMF)
This Philips appliance complies with all standards
regarding electromagnetic elds (EMF). If handled
properly and according to the instructions in this
user manual, the appliance is safe to use based on
scientic evidence available today.
Charging
Make sure the appliance is switched off before you
start to charge it.
-
-
-
-
-
-
-
-
-
ENGLISH


