01 Before you start
4
En
Chapter 1:
Before you start
What’s in the box
Please confirm that the following accessories are in the
box when you open it.
•Remote control
• AAA/IEC R03 dry cell batteries x2
• FM/DAB wire antenna
•Power cord
• Warranty card
• Quick start guide
• Safety Brochure
• These operating instructions (CD-ROM)
Note
• Illustrations featured in the Operating Instructions
may have been modified or simplified for ease of
explanation, and may therefore differ from the
actual product appearance.
• The illustrations used here are mainly of the SX-
20DAB-S (Silver) model.
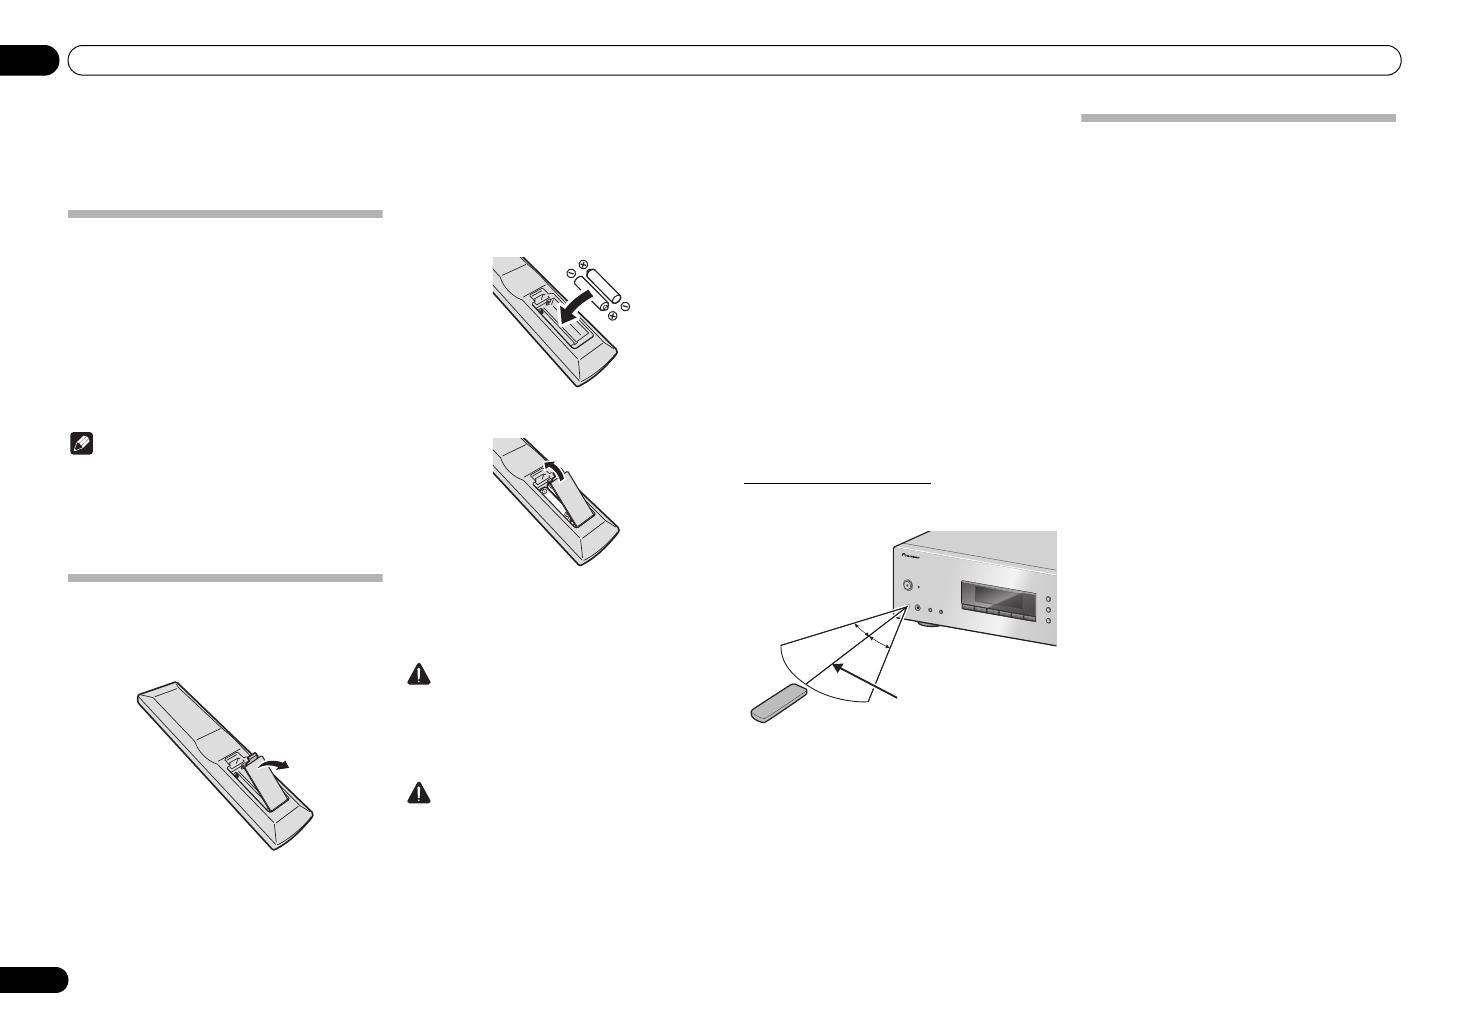
Loading the batteries in the remote
control
1 Open the rear lid.
2 Insert the new batteries, matching the
polarities as indicated inside the case.
3 Close the rear lid.
The batteries included with the unit have been provided
to allow you check product operation and may not last
long. We recommend using alkaline batteries that have
a longer life.
WARNING
• Do not use or store batteries in direct sunlight or
other excessively hot place, such as inside a car or
near a heater. This can cause batteries to leak,
overheat, explode or catch fire. It can also reduce
the life or performance of batteries.
CAUTION
Incorrect use of batteries may result in such hazards as
leakage and bursting. Observe the following
precautions:
• When inserting the batteries, make sure not to
damage the springs on the battery’s terminals.
This can cause batteries to leak or overheat.
• Do not use any batteries other than the ones
specified. Also, do not use a new battery together
with an old one.
• When loading the batteries into the remote control,
set them in the proper direction, as indicated by the
polarity marks ( and ).
• Do not heat batteries, disassemble them, or throw
them into flames or water.
• Batteries may have different voltages, even if they
are the same size and shape. Do not use different
types of batteries together.
• To prevent leakage of battery fluid, remove the
batteries if you do not plan to use the remote
control for a long period of time (1 month or more).
If the fluid should leak, wipe it carefully off the
inside of the case, then insert new batteries. If a
battery should leak and the fluid should get on your
skin, flush it off with large quantities of water.
• When disposing of used batteries, please comply
with governmental regulations or environmental
public institution’s rules that apply in your country/
area.
Using the remote control
The remote has a range of about 7 m at an angle of about
30º from the remote sensor.
Keep in mind the following when using the remote
control:
• Make sure that there are no obstacles between the
remote and the remote sensor on the unit.
• Remote operation may become unreliable if strong
sunlight or fluorescent light is shining on the unit’s
remote sensor.
• Remote controllers for different devices can
interfere with each other. Avoid using remotes for
other equipment located close to this unit.
• Replace the batteries when you notice a fall off in
the operating range of the remote.
Installing the receiver
When installing this unit, make sure to put it on a level
and stable surface.
• Don’t install it on the following places:
– on a color TV (the screen may distort)
– near a cassette deck (or close to a device that
gives off a magnetic field). This may interfere with
the sound.
– in direct sunlight
– in damp or wet areas
– in extremely hot or cold areas
– in places where there is vibration or other
movement
– in places that are very dusty
– in places that have hot fumes or oils (such as a
kitchen)
• Do not mount the unit on a sofa or other object or
material with absorbent qualities, since sound
quality may be adversely affected.


