16
Basic Settings for Portrait Photography
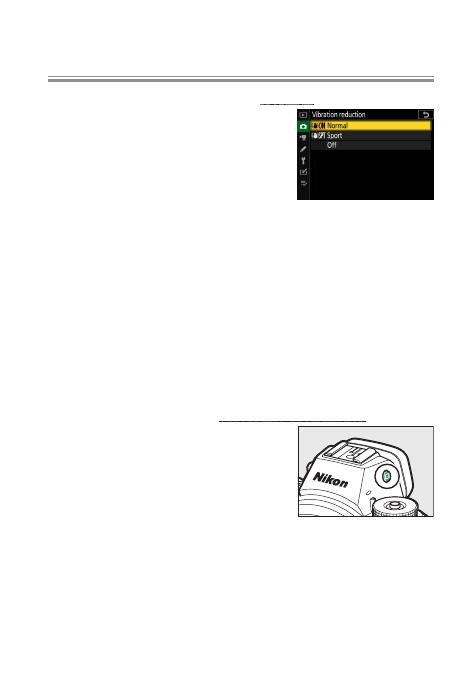
Vibration Reduction: Choose “Normal”!
Choose Normal for a comparatively
high level of vibration reduction. As a
consequence of how lens shift vibra-
tion reduction operates in Normal
mode, the image in the display may
jiggle after the shutter is released, but this is expected and
does not indicate a malfunction. If you nd the motion
distracting, choosing Sport will stabilize the image in the
viewnder and free you to concentrate on composition.
Note that if you are using an F mount lens with a vibra-
tion reduction switch, the Vibration reduction item in the
camera menus will be grayed out and unavailable, and vi-
bration reduction options will instead have to be selected
using the switch.
Monitor Mode: Choose “Prioritize Viewnder”!
Recommended for users familiar
with traditional digital SLRs, “priori-
tize viewnder” mode lets you frame
pictures in the viewnder during
hand-held photography. In photo
mode, putting your eye to the viewnder turns it on and
displays the view through the lens, but the shooting dis-
play does not appear in the monitor when you take your
eye away. Menus and pictures can still be displayed in the
monitor using the
G
and K buttons.


