11
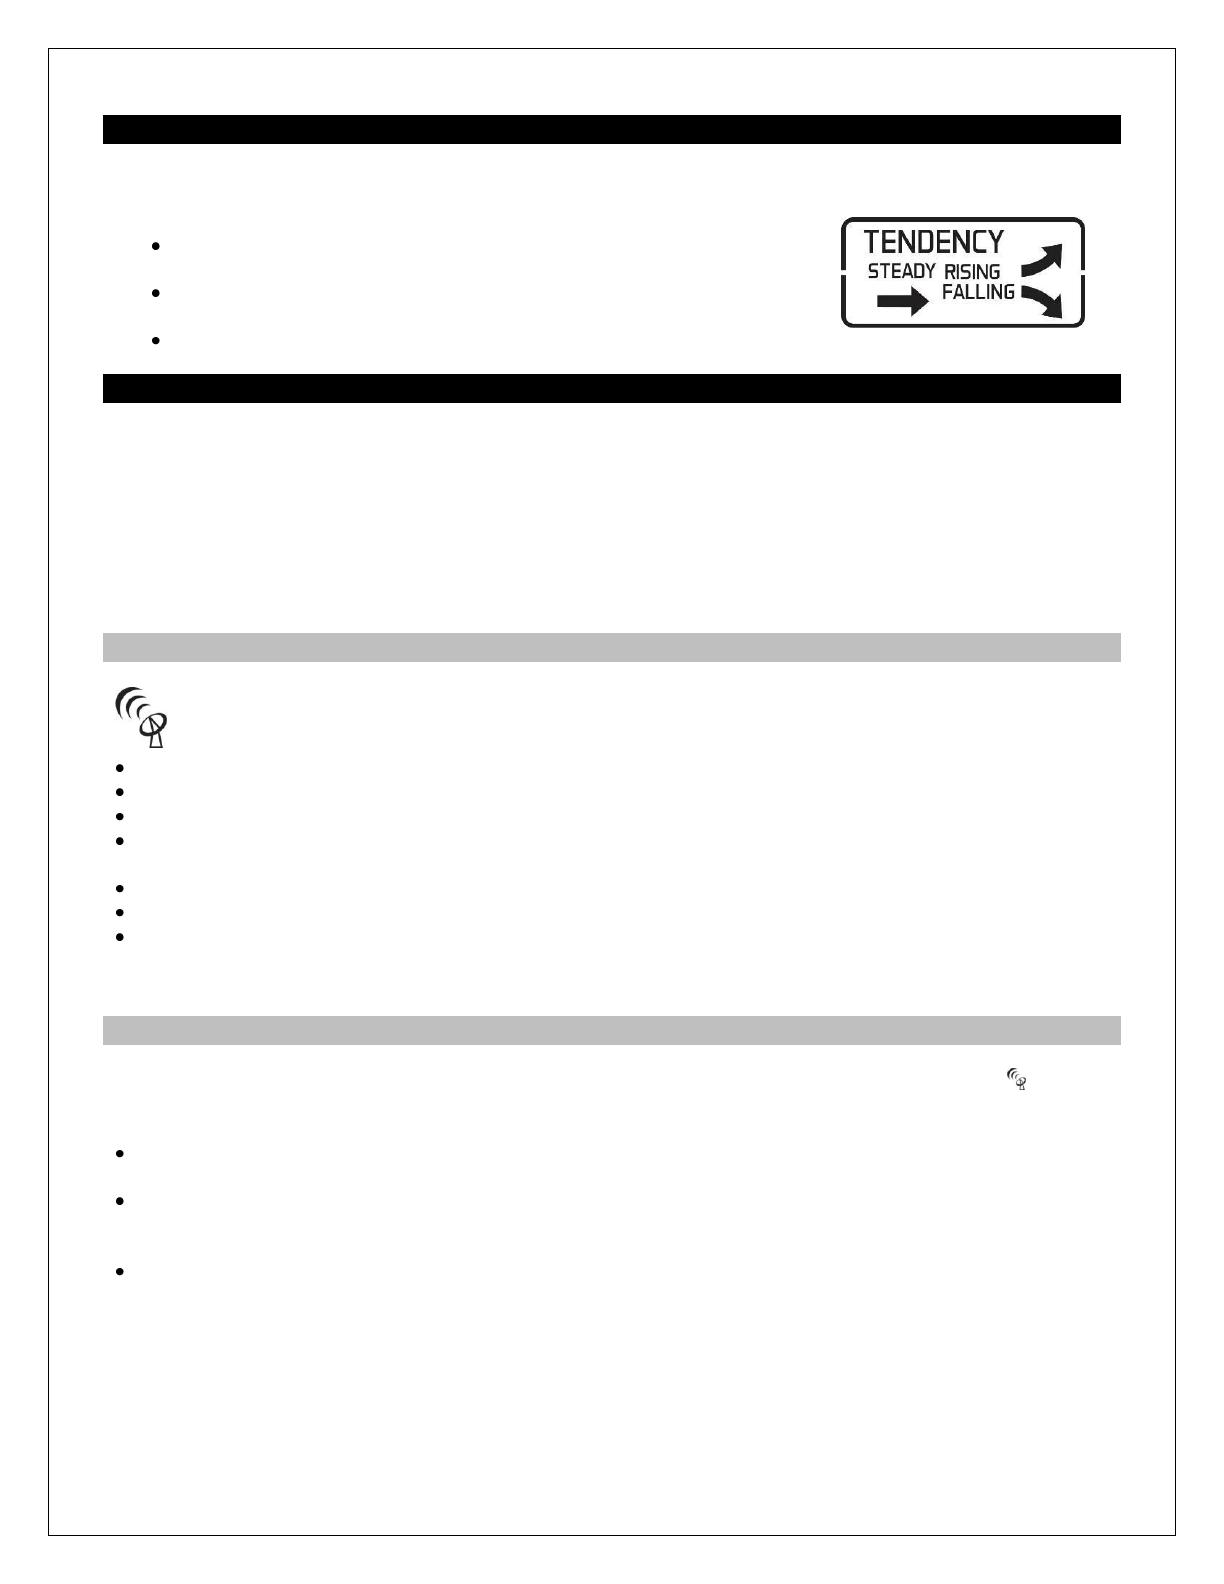
Forecast Tendency Indicators
The forecast tendency indicators in the lower left corner of the forecast display indicate the rising or falling
pressure trend.
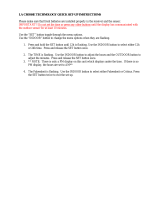
The up trending arrow indicates the pressure is rising and the weather
is improving.
The down trending arrow indicates the pressure is falling and the
weather may worsen.
The right arrow indicates the pressure is steady.
WWVB Radio-controlled Time
The NIST radio station, WWVB, is located in Ft. Collins, and transmits the exact time signal continuously
throughout the United States at 60 kHz. The signal can be received up to 2,000 miles away through the internal
antenna in the weather station. However, due to the nature of the Earth’s Ionosphere, reception is very limited
during daylight hours. The weather station will search for a signal every night when reception is best. The
WWVB radio station derives its signal from the NIST Atomic Clock in Boulder, Colorado. A team of atomic
physicists continually measures every second of every day to an accuracy of ten billionths of a second a day.
These physicists have created an international standard, measuring a second as 9,192,631,770 vibrations of a
Cesium 133 atom in a vacuum. This atomic clock regulates the WWVB transmitter.
WWVB Reception Icon
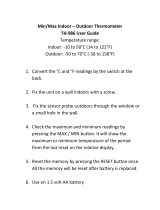
The WWVB time reception icon with full signal strength will appear on screen in front of the date when
the reception of time is successful.
The tower icon will show solid when the weather station has received the WWVB signal.
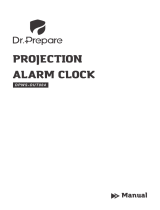
No tower icon is shown. The weather station was unable to receive a signal at this time.
Reposition the weather station for better signal reception or try again at bedtime.
The weather station will start searching at UTC: 07:00 and if no reception on the first attempt they will try
again at 08:00, 09:00 and 10:00. Each attempt will be at least 2 minutes and the most will be 10 minutes.
If there is no signal or too much interference the receiver will only be on for 2 minutes.
If the signal is good it may catch a signal in ABOUT 2-3 minutes.
If the signal is marginal it will try to catch a signal for up to 10 minutes.
Note: In case the weather station is not able to detect the WWVB-signal (disturbances, transmitting distance,
etc.); the time may be manually set.
Manual Signal Search
In normal mode, press the TIME SET button to force a search of the WWVB signal. The WWVB icon will flash
during the search. If this icon disappears after the 2-minute search, the radio time signal is not available at the
moment.
Recommended distance to any interfering sources like computer monitors or TV sets is a minimum of 6 feet
(2 meters).
Within ferro-concrete rooms (basements, superstructures), the received signal is naturally weakened. In
extreme cases, please place the unit close to a window and/ or point its front or back towards the Fort
Collins, Colorado, transmitter.
During nighttime, the atmospheric disturbances are usually less severe and reception is possible in most
cases. A single daily reception is adequate to keep the accuracy deviation below 1 second.
Note: In case the weather station is not able to detect the WWVB-signal (disturbances, transmitting distance,
etc.), the time and date can be manually set (see “program menu”).