Manufacturer / Hersteller:
ShenZhenShiMengZhiTuoKeJiYouXianGongSi
Address: qianwanyilu1haoAdong201shiqianhaishenganghezuoquShenZhen,Guang
Dong, 518000,CN
69 Aberdeen Avenue, Cambridge CB2 8DL,
EU REP MDH LIGHTING LTD
Suite 302, 292 Strovolos Avenue, 2048 Strovolos
Made in China
UK REP MDH LIGHTING LTD
20
FCC Warning:
Any Changes or modifications not expressly approved by the party responsible for compliance could
void the user's authority to operate the equipment.
This device complies with part 15 of the FCC Rules. Operation is subject to the following two
conditions:
(1) This device may not cause harmful interference, and
(2) this device must accept any interference received, including interference that may cause
undesired operation.
Note: This equipment has been tested and found to comply with the limits for a Class B digital
device, pursuant to part 15 of the FCC Rules. These limits are designed to provide reasonable
protection against harmful interference in a residential installation. This equipment generates uses
and can radiate radio frequency energy and, if not installed and used in accordance with the
instructions, may cause harmful interference to radio communications. However, there is no
guarantee that interference will not occur in a particular installation. If this equipment does cause
harmful interference to radio or television reception, which can be determined by turning the
equipment off and on, the user is encouraged to try to correct the interference by one or more of the
following measures:
-Reorient or relocate the receiving antenna.
-Increase the separation between the equipment and receiver.
-Connect the equipment into an outlet on a circuit different from that to which the receiver is
connected.
-Consult the dealer or an experienced radio/TV technician for help.
This equipment complies with FCC radiation exposure limits set forth for an uncontrolled
environment. This equipment should be installed and operated with minimum distance 20cm
between the radiator & your body.
13 14
Connect the App
Get the App and the Account
1. Power the device on and make sure the indicator is red and flashing quickly or a prompt
tone is heard.
Note: After turning on the light, the indicator will first turn on blue light, then red constant light,
and then will become a red flashing light. This process takes about 40-60s.
Note: If the indicator is not red and flashing quickly, long press the reset button for 3-5s.
2. After it becomes a red flashing light, you can start connecting the device.
1. Tap "+" button on top right
corner and tap "Add Device"
to add device.
2. Tap "Camera&Lock" and
then "Floodlight Camera" to
enter next page.
3. Tap the "Next"
button to pair the
LED Light
4. Enter Wi-Fi password to join your network.
Please Note: a. This smart LED Light can only support 2.4 GHz
network and cannot work with 5.0 GHz network.
b. Please check if your home network is 2.4 GHz and make sure
that your phone has been connected to your Wi-Fi network.
Please ensure your network is not hidden.
6.Wait for the device to register (about 40-60s).
Note: At this time, the indicator light flashes blue.
7.Tap "Done" to complete the light pairing
Note:The blue light is on, camera is ready
for viewing.
15
PAIRING FLOODLIGHT CAMERA WITH "Onforu Home" APPPAIRING FLOODLIGHT CAMERA WITH "Onforu Home" APPPAIRING FLOODLIGHT CAMERA WITH "Onforu Home" APP CAMERA LED INDICATOR
5. Put the QR code that appears on
the APP in front of the Camera at a
distance of 15-20cm (5.9-7.87in).
Let the Camera scan the code .
Camera Status
System starting upRed LED on
Standby for configurationRed LED blinks
Network pairingBlue LED blinks
Camera onlineBlue LED on
LED StatusNO.
1
2
3
4
16 17
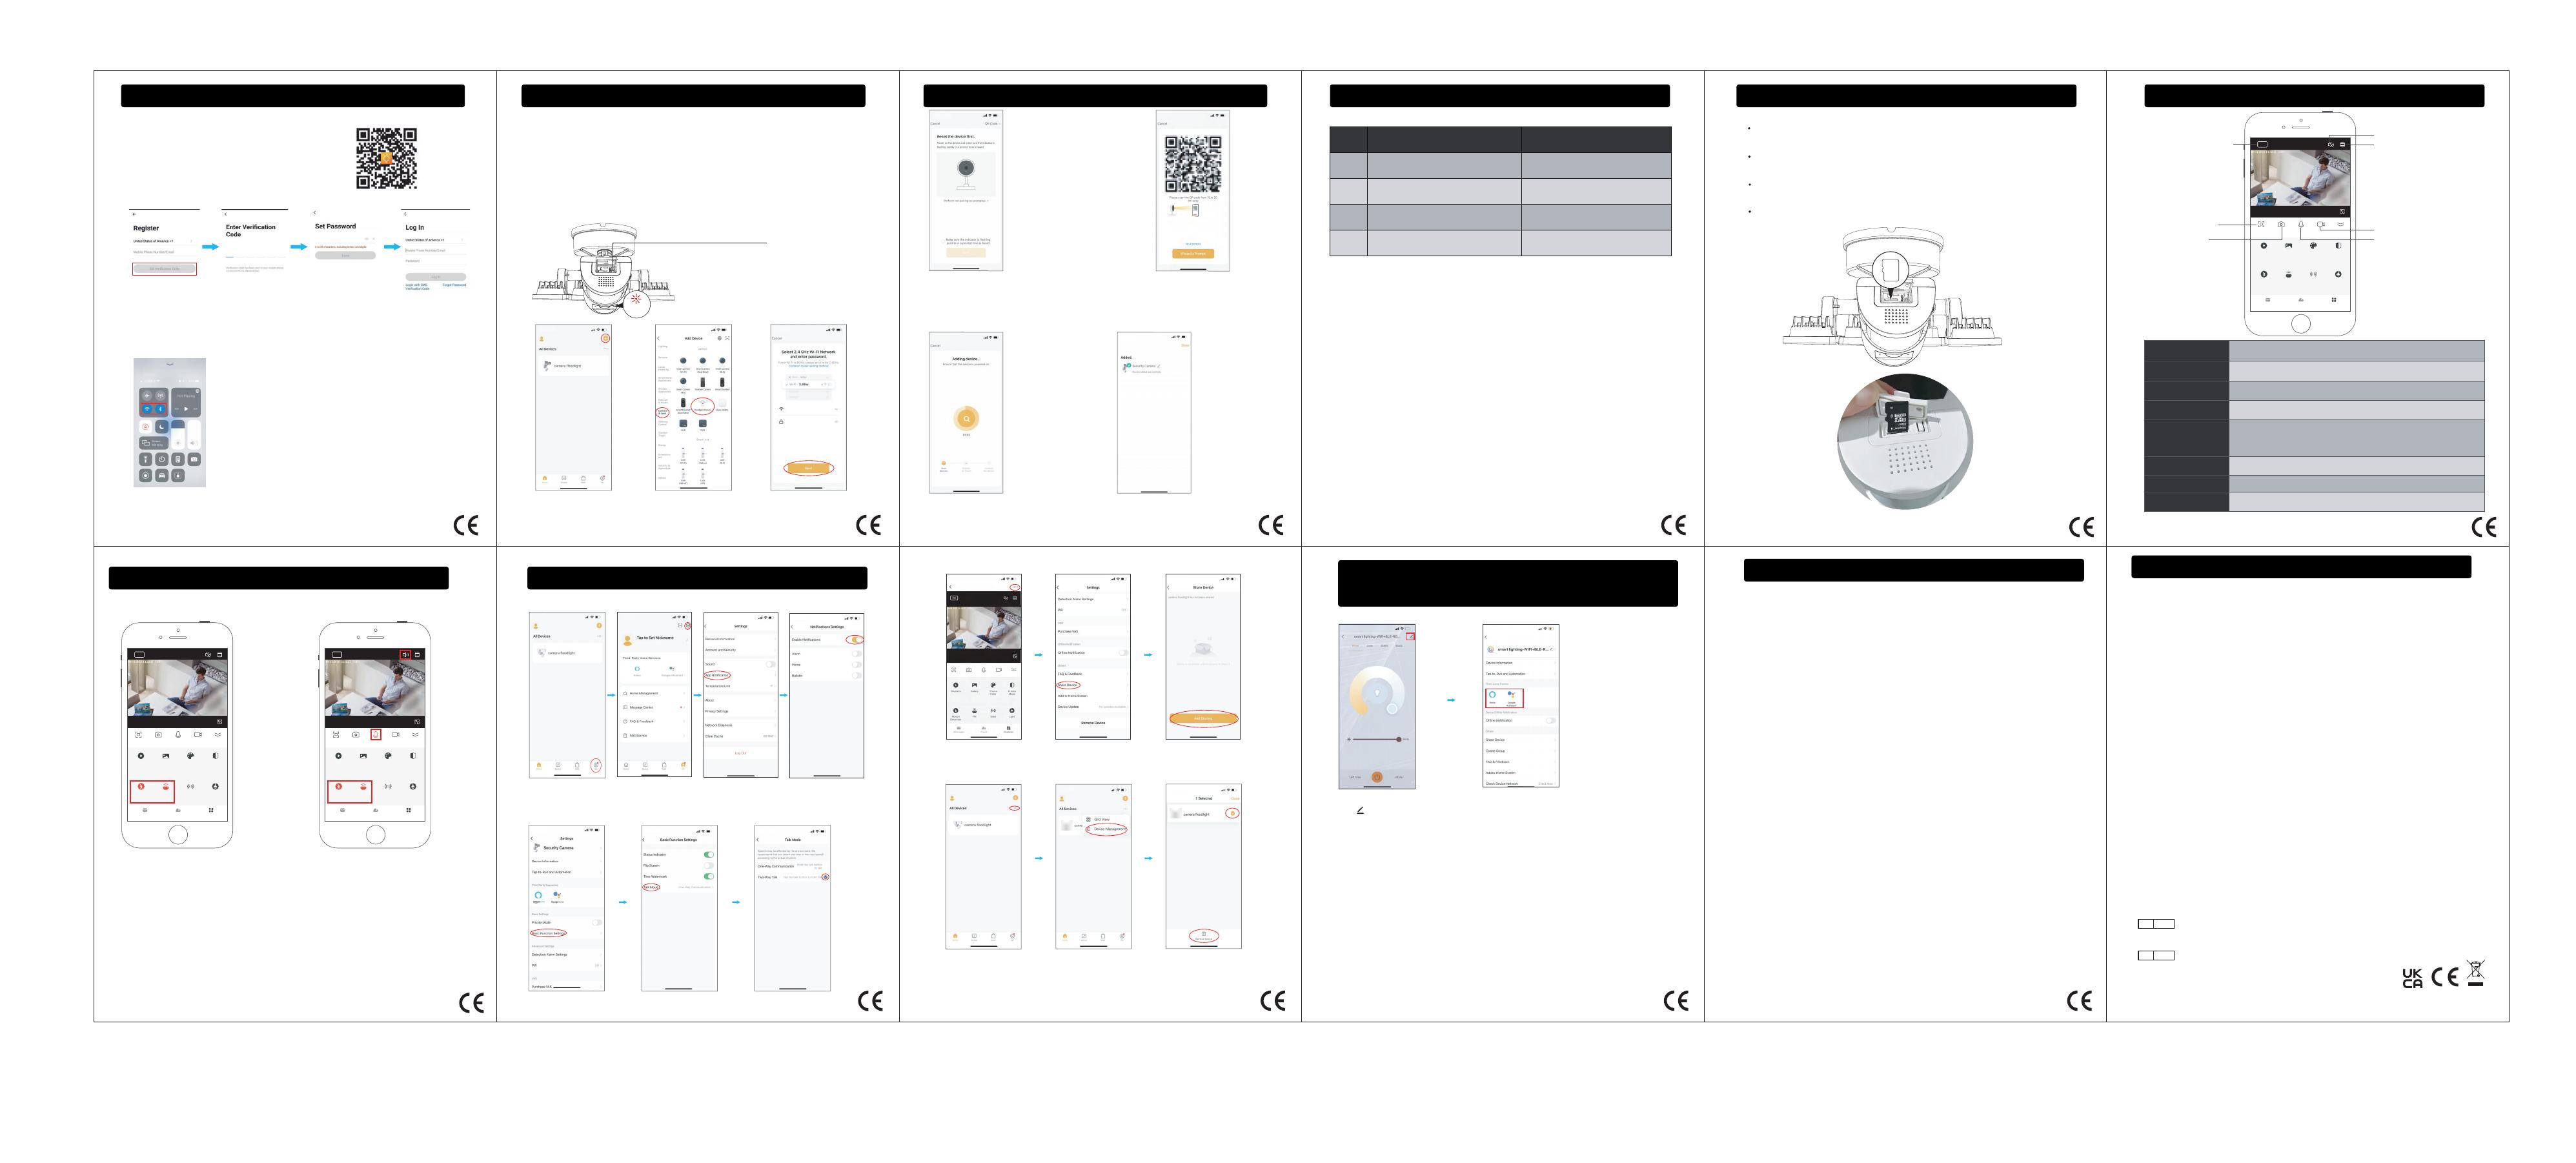
Micro SD Card
To ensure Micro SD Card video recording works steady, we recommend Class 10 or
higher speed Micro SD Card.
To make sure the device works normally, please format the Micro SD Card to FAT32
before the first time use.
Before insert or pull out the Micro SD Card, please power off the device.
Insert the Micro SD Card properly into the slot as below.
HOW TO OPERATE THE APP
Magnify the lens
Earpiece
Note: Note:
Motion detection and
monitoring functions
Two-way talking is supported Disable pushing of motion monitoring notifications
Share the device
Remove the device
When you replace your phone, or someone else wants to connect to the device, be sure to
remove the device from your old phone first.
If you want to activate the motion monitoring function, but do not want to frequently receive
notifications, you can disable the notification push feature.
One-way/two-way communication mode settings
18
HOW TO OPERATE THE APP
HOW TO OPERATE THE APP
19
HOW TO CONNECT WITH ALEXA SHOW AND GOOGLE
ASSISTANT APP
FCC ID 2A3W8BDB55SX-3
21 22 23
FAQ
2. Can't find an Micro SD Card?
1. What if I can't connect to the camera?
First we suggest these famous and popular brands, like Samsung, SanDisk, Kingston etc. with at
least class 10.
Second, please format it to FAT32, which is the only format that camera can support.
Please contact the seller and provide the number posted on the camera. We will help to solve
the problem.
3. Floodlight cannot turn on automatically?
We designed it to be triggered only at night. Before that, please make sure "Motion Detection"
and "PIR" are set well.
4. Siren cannot turn on automatically?
Siren is designed to be turned on manually to avoid disturbing your neighbors.
5. Two way audio is not working?
Please go to "Settings " -" Basic function settings"-"Talk Mode"- turn on "Two-way talk".
6. You cannot get the video for a long time?
For more questions, please send them via the "Settings" - "FAQ&Feedback"
within the app.
Please first make sure the camera is installed as close as possible to your router.
It is not recommended to install the camera in a place where there are two thick walls away from
the router.
Please test your network and make sure it works well.
Motion Detection&PIR
Press “Siren”to start the alarm.
Siren
Manually switch on/off the lamp, adjust the brightness and set a timer.
Check the monitored information.
Light
Message
Activate the PIR and adjust its sensitivity.PIR
Switch for motion detection.
Motion Detection
If two way audio is needed, please set in "Settings " - " Basic function
settings "-" Talk Mode "- turn on " Two-way talk".
Microphone & Earpiece
Playback You can watch back the previous video recordings here.
Note: Micro SD Card is required to watch back.
To activate the motion detection and monitoring functions, you need to turn
on "Motion Detection" and "PIR" at the same time.With these functions,
you can receive photos and alert notifications that the camera automatically
captures when detecting a motion.
Messages
PIR Siren Light
PrivateTheme
Color
GalleryPlayback
Mode
Cloud Features
Motion
Detection
Step 3: Please turn on the Wi-Fi and Bluetooth before connecting LED lights to the “Onforu
Home” App.
Step 2: Enter the "Onforu Home" App. Register an account and log in. If you already have
an account for Onforu Home App, Please select "Log in with existing account".
Note: You will need your "Onforu Home" App username and password to pair with Amazon
Alexa and/or Google Assistant.
Step 1: "Onforu Home" App Download.
There are 2 options for obtaining and downloading
the "Onforu Home" App on your smart device.
1. Scan the QR code on the right.
2. Search for "Onforu Home" in the App Store or
Google Play.
Tap “ ” and find the third-party
voice device you want to connect
to and tap it, then follow the
steps to connect.
Press the Reset button for
5 seconds to start Reset processing
Red light
blinks
SD
Micro
card
Horizontal screen
Take a picture
Record a video
Microphone
Change the resolution
HD
Messages
PIR Siren Light
PrivateTheme
Color
GalleryPlayback
Mode
Cloud Features
Motion
Detection
HD
Messages
PIR Siren Light
PrivateTheme
Color
GalleryPlayback
Mode
Cloud Features
Motion
Detection
HD
You can choose to share the device to other members of the family.
Note: Shared family members can only view monitoring and notifications, but
cannot set up the monitor.
Note: For security reasons, the device can only be connected by one person at a time. If
someone else wants to see the camera information at the same time, you can refer to "Share
the device".
After setting Motion Detection
and PIR, lamp can be triggered
to turn on automatically if
camera is in the darkness.
Note: What if I can't connect to the camera?
Please contact the seller and provide the number posted on the camera.
We will help to solve the problem.
To activate the motion detection
and monitoring functions, you
need to turn on "Motion
Detection" and "PIR" at the
same time. With these functions,
you can receive photos and alert
notifications that the camera
automatically captures when
detecting a motion.
To activate the communication
mode, be sure to remove the
slash on the "Earpiece" and turn
on the "Microphone".
Micro SD Card up to 128GB not included.


