VARIA Touch Panels - Configuration & Programming Manual 60
| TOC
•
Maximum supported number of active video windows displayed simultaneously on the panel:
2
While this limitation is not enforced (i.e the TPDesign5 application will allow you include any number of video windows in the panel design),
attempting to display more than two active video windows at one time may have a negative impact on the panel’s overall performance.
•
Maximum supported resolution for video windows:
720dpi
•
Maximum supported frame rate for video windows:
30fps
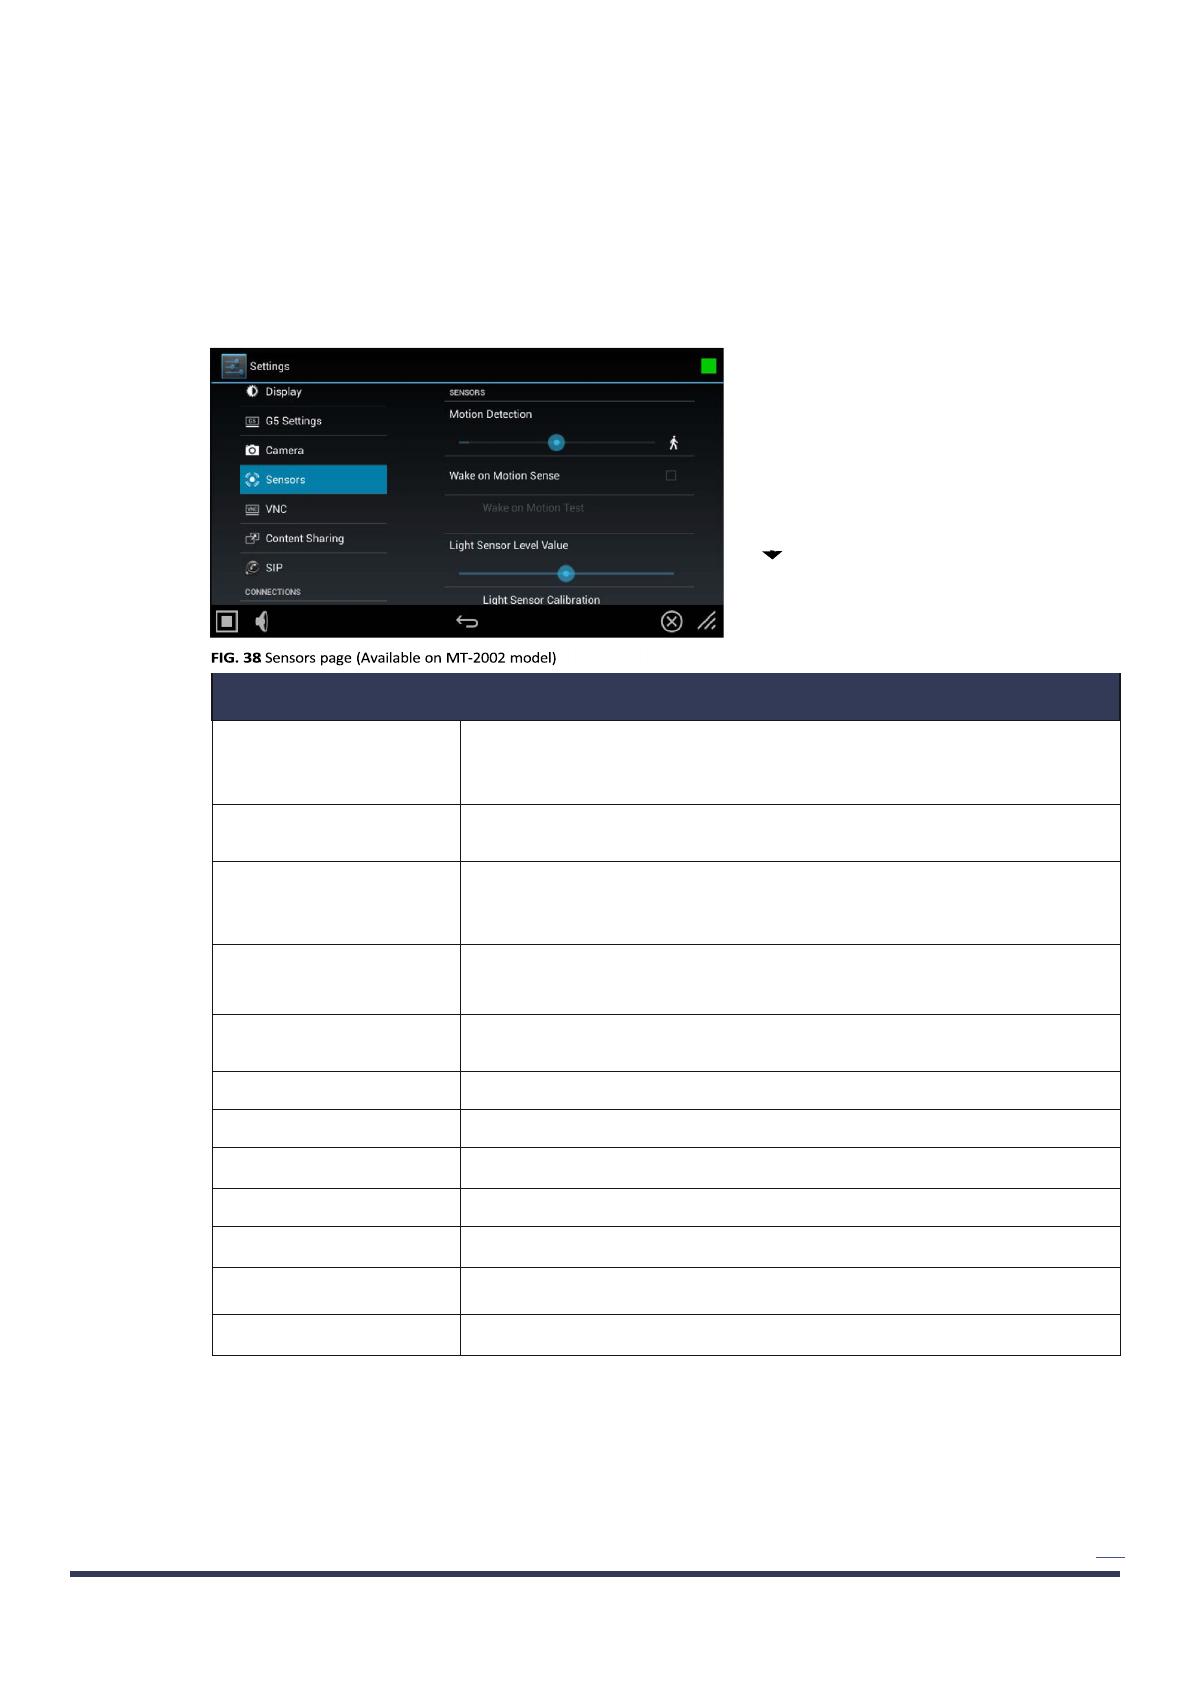
DEVICE - Sensors
The
Sensors
page (FIG. 38) allows activation and optimization of the panel’s motion and light sensors.
Sensors page options
Motion Detection •
The blue bar within the slide bar shows the current motion sensor reading.
•
The slide bar sets the motion sensor threshold.The threshold controls when a motion
sensor channel is on.
•
The “walk” Varia shows bars on either side when the threshold is crossed (FIG.38).
Wake on Motion Sense: Press this checkbox to wake up the panel if any motion detected crosses the threshold set by the
Motion Detection slide bar.
Wake on Motion Test: This selection only be enabled if
Wake Panel On Motion Sense
is enabled.
Pressing the test button will initiate a test mode where the display will go to sleep and wait for
motion to turn it on. It can be used to test your current Motion Detection threshold value.
Light Sensor Level Value The blue bar within the slide bar displays the current light sensor reading.
•
The slide bar indicates the light sensor threshold.
•
The threshold controls when a Light Sensor Channel Code press will be generated.
Light Sensor Calibration: Press to perform a calibration on the light sensor. See the
Calibrating the Light Sensor
section on
page 36 for details.
Light Sensor Level Port: Displays the current level port being used by the light sensor (read-only). Default = 1.
Light Sensor Level Number: Displays the current level being used by the light sensor (read-only). Default = 0.
Light Sensor Channel Port: Displays the current channel port being used by the light sensor (read-only). Default = 1.
Light Sensor Channel Number: Displays the current channel being used by the light sensor (read-only). Default = 0.
Motion Sensor Channel Port: Displays the current channel port being used by the motion sensor (read-only). Default = 1.
Motion Sensor Channel Number: Displays the current channel being used by the motion sensor (read-only). Default = 0.
Sensor Version: Displays the current sensor version (read-only).
NOTE:
Light and motion sensor ports, levels, and channels are configured in TPDesign 5. For more information on configuring light and
motion sensors, please refer to the TPDesign 5 Operation/Reference Guide, available at www.amx.com.
Calibrating the Light Sensor
When the panel is installed for the first time, the light sensor should be calibrated to the room’s maximum ambient light condition. This
calibration setting will be saved until the panel’s system settings are reset.


