System Settings System Settings
System Settings
• Resolution: Setting video resolution of footage recorded.
Front Camera Only: 2560 x 1440P 30fps, 1920 x 1080P 30fps
Front + Rear Camera: 1440P 30fps + 1440P 30fps, 1080P 30fps + 1080P 30fps
• Loop Recording: Off / 1 / 2 / 3 / 5 / 10 minutes.
Recording will begin automatically after powering on with a microSD
card in the device. Each recorded file is up to three minutes long, with
old footage being replaced when microSD card storage is full.
• Video Bitrate: You can set the bitrate for video. High bitrate may
improve the quality and smoothness of the video, especially when
recording fast motion or high contrast scenes. Using high bitrate
mode may decrease the amount of recording time available on your
memory card. Using low bitrate will save space and record for longer
time.
• WDR (Wide Dynamic Range): Dynamic range is the ratio of the
brightest portion of the image to the darkest portion of the image.
WDR enables the camera to deliver video with near perfect exposure
in varying lighting situations.
• Exposure Value (Front & Rear): Adjusting the value of the EV
(Exposure Value) properly can create better footage under different
light sources. It ranges from -2.0 to +2.0. You can adjust the EV for
front and rear camera separately. Default is set at 0.0.
• Record Audio: Turn on and off the microphone. This can also be
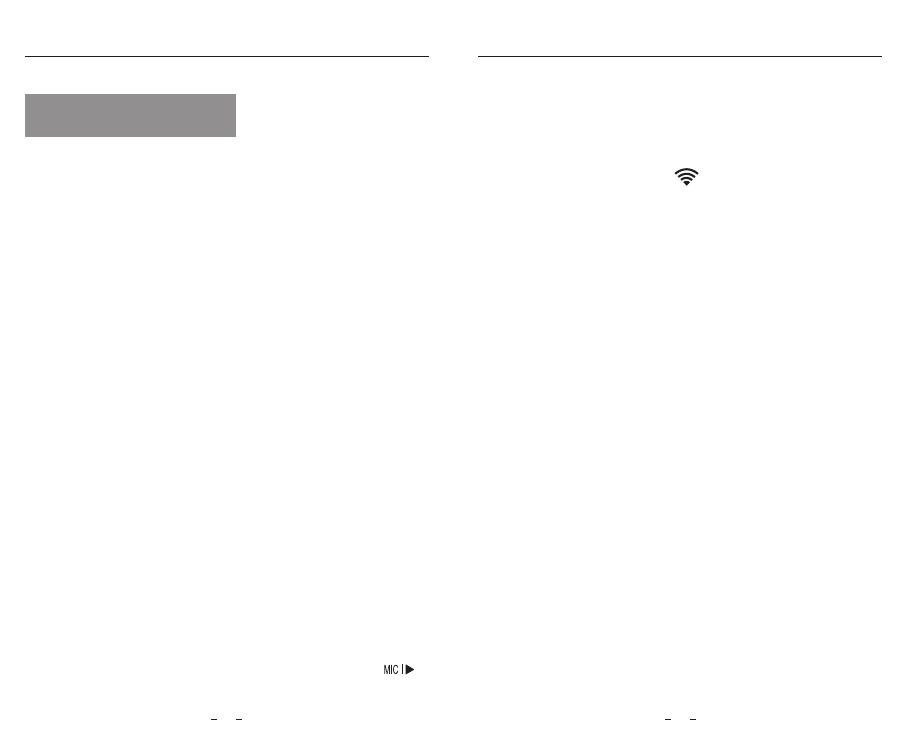
changed during recording by pressing the microphone button [ ].
• G-Sensor: The G-sensor measures shock forces and locks the video
recorded at the time. The settings from “low to high” determine the
amount of force needed to lock the file from being overwritten. We
recommend that you set it at low.
• Wi-Fi: Set it On / Off. Press the [ ] button for 3 or 5 seconds to
enable Wi-Fi quickly. We recommend to choose 5GHz Wi-Fi mode
• Parking Recording: There are 3 options under parking mode:
①Off
The camera won’t enter parking mode after the ignition is off.
② Auto Event Detection
The camera will automatically record for 45 seconds while a
moving object is detected while car is parked.
③Time Lapse Recording
Time lapse record a video at low frames at 1 / 2 / 3 / 5 / 10 fps,
it keeps recording continuously without audio recorded.
④ Low Bitrate Recording
This mode record video in low bitrate for both front and rear. it
keeps recording continuously in mini file size with audio recorded.
Note: We recommend to buy VIOFO HK4 ACC hardwire kit cable for
parking mode recording.
• Parking Motion Detection: Adjusts the sensitivity of the motion
detection so minor motion caused by wind or rain doesn't trigger a
recording.
• Parking G-sensor: The G-sensor detects significant or sudden
movement (such as an impact or collision), it will trigger an event
recording. We suggest setting it to High sensitivity in parking mode
recording.
• Enter Parking Mode Timer:
Set the timer for entering parking mode. Only for the camera
19 20
hardwired with the VIOFO HK4, if you use external battery, this
function won’t work.
"OFF" means the camera will enter parking mode right away when
the engine is o.
"90s" means the camera will enter parking mode 90 seconds after
engine is o.
• Parking Recording Duration:
"O" means the camera will keep recording during parking mode.
"1 hour" means the camera will shut down after it gets into parking
mode for 1 hour.
• Time-lapse Recording: Record video from frames captured at
specific time intervals to conserve memory and reduce the time it
takes to review video. The default is off.
• Live Video Source: Front camera / Rear camera / Rear Overlaid /
Front Overlaid.
• Rear Image Rotate: Turn on / off the rear camera image rotate.
• Rear Image Mirror: Turn on /off the rear camera image mirror.
• GPS: Turn on / off GPS logger. A GPS module is used to include the
location data in the recorded videos. If disabled, your camera will no
longer measure your speed and position; nor synchronize the time /
date. (Only available when connecting with GPS signal) Please use
“Dashcam Viewer” to playback videos and to visualize your position
and speed on your computer.
• Speed Units: Kilometer per hour (KMH) and miles per hour (MPH)
are available for speed units.
• GPS Stamp: Imprint the GPS information on the recorded video
• Date Stamp: Imprint the time and date on the recorded video.
• Brand Model Stamp: Imprint the camera model on the recorded
video.
• License Plate Number: Imprint the car number on the recorded video.
• Custom Text Stamp: Imprint the customize text on the recorded
video.
• Beep Sound: Off / Only Keytone / Only Boot Sound / All.
You can enable/disable the button and startup sounds.
• Boot delay: The camera will boot seconds delay when powered on.
The settings are Off / 5s / 10s.
• Language: 简体中文 / 繁體中文 / English / Français / Español /
Português / Deutsch / Italiano / Русский / 日本語 / Türkiye / Română /
Polski / Česky / Slovensky
• Voice Notication: Turn on / off the voice notification.
• Date / Time: Set system date / time.
• Time Zone: Set the current time zone for GPS time and date calibration.
Note: the time zone must be manually adjusted for daylight savings.
• Frequency: Set it to minimize flickering and banding in the recorded
video.
• Screen Saver: The screen goes black by default after 1minute while
recording. You can set it by adjusting different time intervals on menu.
• Format: The operation will delete all data on the microSD card.
Note: Once you format the card, all information will be deleted and
unrecoverable. Make sure to back up all files that you needed before
formatting.
• Format Reminder: Set the number of days between format warnings.
• Default Setting: Restore device to factory settings.
• Version: Check the current firmware version of the camera.
You can set the product features according to your needs and
preferences using the camera button or the VIOFO app. To
enter the menu settings, please stop recording first.


