DVN-3001 Series Panel Installation Quick
Guide
DD4836909
Rev 01
12 August 2021
201 Daktronics Drive
Brookings, SD 57006-5128
www.daktronics.com/support
800.325.8766
Page 1 of 1
Mechanical
Panel Interconnect Engagement
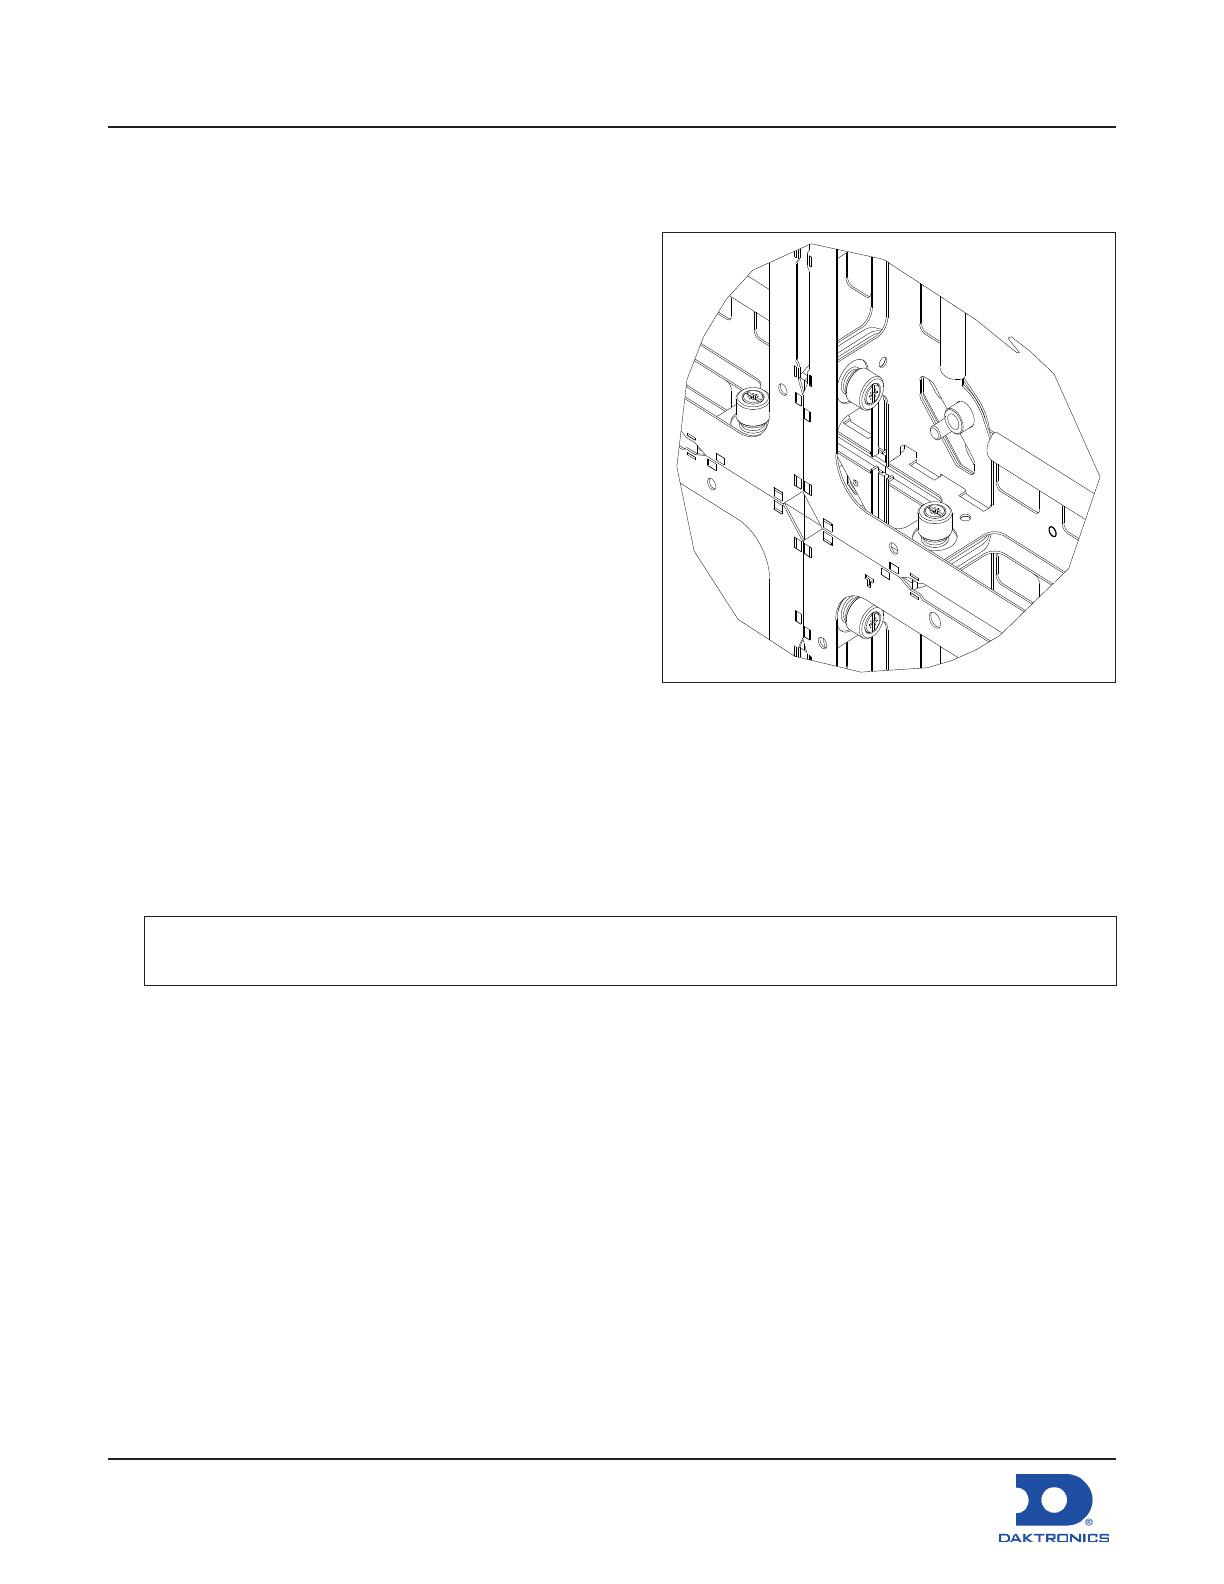
1. Push the knurled captivated bolts through the
cabinet to attach the adjacent cabinets. Refer to
Figure 1.
2. Hand-tighten the knurled captivated bolts loosely
until the cabinets are mated but still able to move
for adjusting.
3. Check the top-to-bottom panel alignment to
ensure the panels are level. Adjust the jacking
hardware until the panels are ush.
4. Finish hand-tightening the captivated bolts as
much as possible and then use a Phillips or standard
screwdriver to do a nal 1/2 to 3/4 turn.
5. Feel the top, bottom, and center of the seam to
ensure the seam between the panels feels smooth,
ensuring proper panel alignment.
Self-Drilling Screw Installation
Use the contract-specic Shop Drawing to determine
self-drilling screw quantities and locations per panel.
If standard 1/4"-14 screws are being used, use a pilot hole size of 13/64" [5.16 mm]. If alternative screws are
being used, nd the correct pilot hole size per the hardware specied on the contract-specic Shop
Drawing.
1. Mark the locations of the self-drilling screws and drill pilot holes at those locations if pilot holes do not
already exist.
Note: For 1x4 tubes, pilot holes must be drilled through both the front and rear walls of the tube to
prevent screw strip-out.
2. Start the attachment of the self-drilling screws in the pilot holes, but do not tighten the screws down.
Figure 1: Knurled Captivated Bolt
