SATO PW2NX User manual

Category
Print & Scan
Type
User manual
Mobile Printer
Operator Manual
Thank you for purchasing PW208NX/PW208mNX mobile printer (hereafter “the printer”).
This manual supplies basic information on how to operate the printer in a short period.
Read the manual carefully to understand each function before use.
The pictures and submenu screens in this manual show the PW208NX printer, unless otherwise stated. For
the PW208mNX, some of them may differ, but the basic operations are the same.
Because of changes in specications, the pictures and submenu screens in this manual may differ from
those actually displayed in the printer.
Use only the supply products specied by SATO.
Notes
(1) Any unauthorized reproduction of the contents of this document, in part or whole, is strictly prohibited.
(2) Specications and contents in this document are subject to change without notice.
Preface
First edition: Oct.2017
©2017 SATO Corporation
Notice on registered trademarks or trademarks of other companies
QR Code is a registered trademark of DENSO WAVE INCORPORATED.
Wi-Fi® is a registered trademark of Wi-Fi Alliance.
Wi-Fi Direct™, Wi-Fi Protected Setup™, WPA™ and WPA2™ are registered trademarks of Wi-Fi Alliance.
iOS is a trademark or a registered trademark of Cisco Corporation in the U.S. or other countries, and used
based on the license.
Bluetooth is a trademark of Bluetooth SIG, Inc., U.S.A. Any use of Bluetooth word mark and logos by SATO
Corporation is under license agreement with the Bluetooth SIG.
Regulatory Approval
You are cautioned that changes or modifications not expressly approved by the party responsible for
compliance could void your authority to operate the equipment.
This device complies with Part 15 of the FCC Rules. Operation is subject to the following two conditions: (1)
this device may not cause harmful interference, and (2) this device must accept any interference received,
including interference that may cause undesired operation.
This equipment has been tested and found to comply with the limits for a Class B digital device, pursuant to
Part 15 of the FCC Rules. These limits are designed to provide reasonable protection against harmful
interference in a residential installation. This equipment generates, uses and can radiate radio frequency
energy and, if not installed and used in accordance with the instructions, may cause harmful interference to
radio communications.
However, there is no guarantee that interference will not occur in a particular installation.
If this equipment does cause harmful interference to radio or television reception, which can be determined
by turning the equipment off and on, the user is encouraged to try to correct the interference by one or more
of the following measures:
Reorient or relocate the receiving antenna.
Increase the separation between the equipment and the receiver.
Connect the equipment into an outlet on a circuit different from that to which the receiver is connected.
Consult the dealer or an experienced radio/TV technician for help.
Shielded cable must be used in order to comply with the emission limits.
WARNING
Disposal of Old Electrical & Electronic Equipment (Applicable in the
European Union and other European countries with separate collection
systems)
A product marked with this symbol on itself or on its packaging shall not be treated as household
waste. Instead it shall be handed over to an appropriate collection point for the recycling of
electrical and electronic equipment in accordance with local regulations.
Inappropriate waste handling of this product may cause detrimental consequences for the environment and
damage to human health. The recycling of materials will help to conserve natural resources and contribute to
your community.
For more detailed information on recycling of this product, please contact your local municipal organization,
your household waste disposal service or the dealer where you purchased the product.
Under the following environments, this device may cause radio interference, which may result in a delay in
printing or even disable printing.
Examples:
Environment where industrial, scientic, or medical equipment (e.g.: microwave oven) is used.
Environment where a premises radio station or specied low power radio station is located around the device.
Environment where there are many metal products.
Network connection may become unstable depending on the radio environment. If it becomes unstable,
perform retry processing or other countermeasure with the application you are using.
Wi-Fi Certied
Bluetooth is a trademark of Bluetooth SIG, Inc., U.S.A.
Any use of Bluetooth word mark and logos by SATO Corporation is under license
agreement with the Bluetooth SIG.
1
Mobile printer PW208NX/PW208mNX
Table of Contents
Precautions on Safety .................................................................................................... 3
Precautions for Handling ............................................................................................. 10
Checking the Supplied Accessories ........................................................................... 11
1 Before You Start .......................................................................................................12
1.1 Parts Identication ..........................................................................................................12
1.2 Charging the Battery .......................................................................................................14
1.2.1 Inserting the Battery ..................................................................................................................14
1.2.2 Charging with AC Adapter (Optional) ........................................................................................15
1.2.3 Charging with Charging Cradle (Optional) ................................................................................15
1.2.4 Charging with Battery Charger (Optional) .................................................................................18
1.3 Loading the Media ...........................................................................................................19
1.4 Display .............................................................................................................................20
1.4.1 Normal Mode ............................................................................................................................. 20
1.4.2 Error Message Mode ................................................................................................................. 20
1.4.3 Settings Mode ...........................................................................................................................20
1.5 Icon ...................................................................................................................................21
1.5.1 Status Icon ................................................................................................................................21
1.5.2 Error Icon...................................................................................................................................25
1.6 LED Lighting Pattern ......................................................................................................27
1.6.1 Normal Mode ............................................................................................................................. 28
1.6.2 Energy Saving Mode .................................................................................................................29
1.7 Dispenser Mode (PW208NX only) ..................................................................................30
1.7.1 Switching to the Dispenser Mode ..............................................................................................30
1.7.2 Switching Mode from the Dispenser Mode................................................................................31
2 Starting Up the Printer .............................................................................................32
2.1 Printer Startup and Power Off ........................................................................................32
2.1.1 Printer Startup ...........................................................................................................................32
2.1.2 Printer Power Off ....................................................................................................................... 33
2.2 Normal Mode ...................................................................................................................34
2.2.1 Online (Ready to Print) and Printing..........................................................................................34
2.2.2 Ofine (Stop) and Pause (Stop Printing) ................................................................................... 35
2.2.3 Canceling Print Job ...................................................................................................................35
2.3 Adjustment Mode ............................................................................................................36
2.3.1 Screen Transition for Adjustment Mode ....................................................................................36
2.4 Settings Mode ..................................................................................................................37
2.4.1 Log In to the Settings Mode ......................................................................................................37
2.4.2 Operations in Settings Mode Screens .......................................................................................38
2.4.3 Identifying the Submenus ..........................................................................................................39
2.4.4 Setting Screen (Value Input) .....................................................................................................40
2.4.5 Setting Screen (Setting Item) ....................................................................................................41
2
Mobile printer PW208NX/PW208mNX
2.5 Settings Menu Tree Structure ........................................................................................42
2.6 Details of the Settings Menu Screen .............................................................................50
2.6.1 Printing Menu ............................................................................................................................50
2.6.2 Interface Menu ..........................................................................................................................68
2.6.3 Battery Menu .............................................................................................................................88
2.6.4 Applications Menu .....................................................................................................................90
2.6.5 System Menu ............................................................................................................................98
2.6.6 Tools Menu ..............................................................................................................................108
2.6.7 Information Menu .................................................................................................................... 119
2.7 List of Initial Value .........................................................................................................122
2.7.1 Printing Menu ..........................................................................................................................122
2.7.2 Interface Menu ........................................................................................................................124
2.7.3 Battery Menu ...........................................................................................................................127
2.7.4 Applications Menu ...................................................................................................................127
2.7.5 System Menu ..........................................................................................................................128
2.7.6 Tools Menu ..............................................................................................................................129
3 Troubleshooting .....................................................................................................130
3.1 Error Message Mode .....................................................................................................130
3.1.1 Error Messages .......................................................................................................................130
3.1.2 Status LED Indicator ...............................................................................................................130
3.1.3 Error Buzzer Sound ................................................................................................................. 130
3.2 Error List ........................................................................................................................131
3.2.1 How to See the Command Error Information .........................................................................136
3.3 List of Warning Icons ....................................................................................................138
3.4 Notications ..................................................................................................................139
4 Optional Accessories .............................................................................................140
5 Cleaning the Printer ...............................................................................................141
Platen Roller ...................................................................................................................................... 141
Print Head .........................................................................................................................................141
Media Guide ......................................................................................................................................141
6 Basic Specications...............................................................................................142
6.1 Printer Specications ...................................................................................................142
6.2 Media Specications .....................................................................................................147
6.3 Charging Cradle (Optional) Specications .................................................................148
7 Support .................................................................................................................... 149
3
Mobile printer PW208NX/PW208mNX
Safety Precautions
This section describes how to safely operate the printer. Be sure to read and understand all instructions
carefully before you install and use the printer.
Pictographic Symbols
This operator manual and printer labels use a variety of pictographic symbols. These symbols show the safe
and correct operation of the printer and how to prevent injury to others and property damage. The symbol
explanations are as follows.
Warning
Ignoring the instructions marked by
this symbol and erroneously
operating the printer could result in
death or serious injury.
Caution
Ignoring the instructions marked by this
symbol and erroneously operating the
printer could result in injury or property
damage.
Pictographic Symbols
The pictograph means “Caution is required”. The pictograph includes a specied warning symbol
(for example, the left symbol shows electric shock).
The
pictograph means “Must not be done”. The pictograph includes a specied prohibited symbol
(for example, the left symbol means “Disassembly prohibited”).
The pictograph means “Must be done”. The pictograph includes a specied mandate action
symbol (for example, the left symbol means “Disconnect the power plug from the outlet”).
Precautions on Safety
4
Mobile printer PW208NX/PW208mNX
Safety Precautions
WARNING
■ Do not use other than the specied voltage
Do not use other than the specied voltage. Doing so could result in re or electric shock.
■ Do not put objects inside the product
Do not insert or drop in metal or burnable objects inside the product’s openings (cable outlets,
etc.). If foreign objects do get inside the product, immediately turn off the power switch, unplug
the power cord from the outlet, and contact your SATO reseller or technical support center.
Using the product in this condition could cause a re or electric shock.
■ Handling the power cord
Do not damage, break, or modify the power cord. Also, do not place heavy objects on the
power cord, heat it, or pull it because doing so could damage the power cord and cause a re
or electric shock.
If the power cord becomes damaged (core is exposed, wires broken, etc.), contact your SATO
reseller or technical support center. Using the power cord in this condition could cause a re or
electric shock.
Do not modify, excessively bend, twist, or pull the power cord. Using the power cord in such a
condition could cause a re or electric shock.
■ When the product has been dropped or broken
If the product is dropped or broken, immediately turn off the power switch, unplug the power
cord from the outlet, and contact your SATO reseller or technical support center. Using the
product in this condition could cause a re or electric shock.
■ Do not use the product when something is abnormal about it
Continuing to use the product in the event something is abnormal about it, such as smoke
or unusual smells coming from it, could result in re or electric shock. Immediately turn off
the power switch, unplug the power cord from the outlet, and contact your SATO reseller
or technical support center for repairs. It is dangerous for the customer to try to repair it, so
absolutely do not attempt repairs on your own.
■ Do not use in hazardous locations
The product is not explosion proof certied.
Do not use in a potentially explosive environment or atmosphere.
■ Do not set on an unstable area
Do not set on an unstable area, such as a wobbly table or slanted area or an area subject to
strong vibration. If the product falls off or topples over, it could injure someone.
■ Do not place containers full of water or other liquid on the product
Do not place ower vases, cups, or other containers holding liquids, such as water or
chemicals, or small metal objects near the product. If they are spilled and get inside the
product, immediately turn off the power switch, unplug the power cord from the outlet, and
contact your SATO reseller or technical support center. Using the product in this condition
could cause a re or electric shock.
Safety Precautions
5
Mobile printer PW208NX/PW208mNX
WARNING
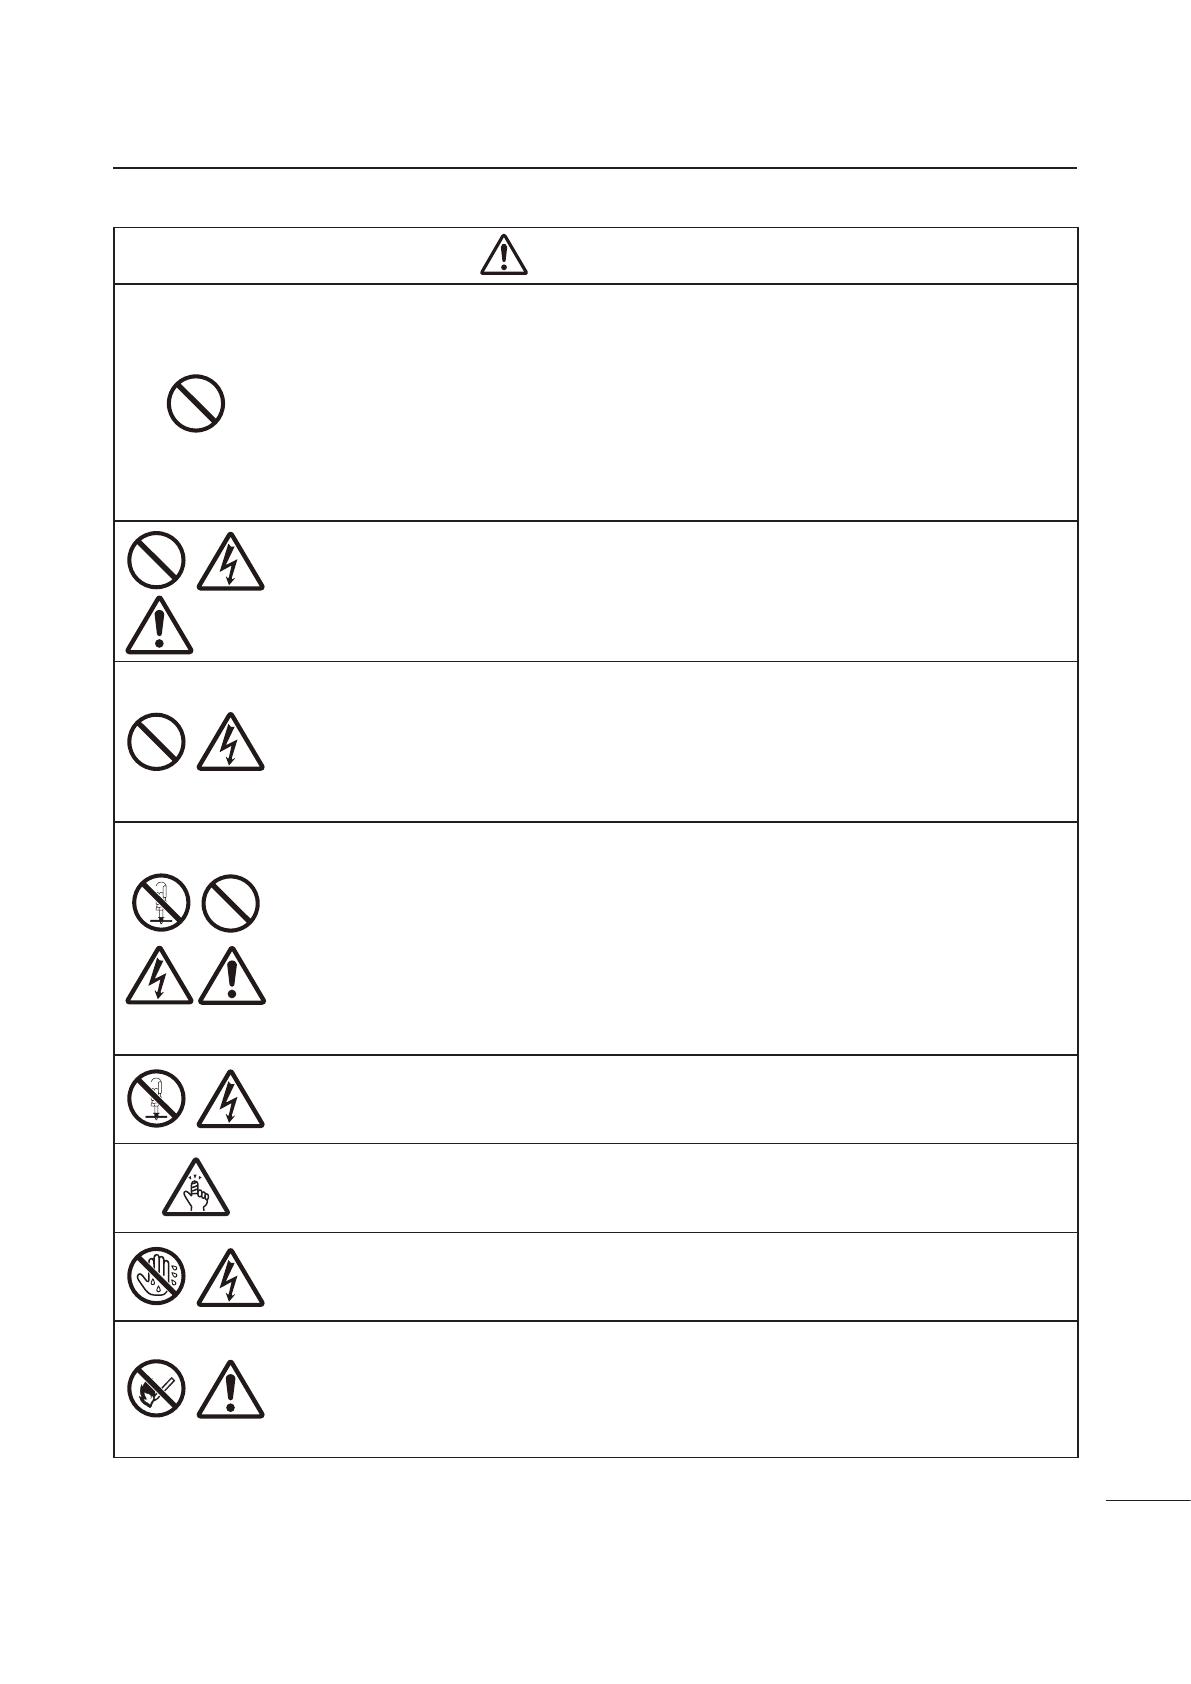
■ Connecting optional cables or optional devices
Before connecting an optional cable or device to the product, make sure to turn off the power
switch of the product and the optional devices. If they are connected with the power on, an
optional device may move unexpectedly or other unexpected occasions may occur, resulting in
injuries, electric shock, or malfunctions.
When installing the optional cable or optional devices, make sure not to make a mistake in the
orientation and steps to install. Doing so could result in a re, injuries or malfunctions.
Do not use other than the supplied cables or specied optional cables. Doing so could result in
smoke from the cable, a re or a malfunction.
AC adapter/Battery charger (optional)/Charging cradle (optional)
Use only the specied AC adapter/battery charger/charging cradle. Using a different one may
create the danger of re or electric shock.
Never use the battery charger with any other battery pack except for the specied one. Doing
so can rupture the battery, cause leakage, re or electric shock.
■ Handling the AC adapter
Do not damage, break, or change the AC adapter. If you place a heavy object on the AC
adapter or heat, bend too much, twist, or pull the AC adapter, the AC adapter may be
damaged, which may cause re or electric shock.
If the AC adapter is damaged (the wires exposed or broken), contact your SATO reseller or technical
support center. If you operate the product in this condition, it may cause re or electric shock.
■ Battery Pack
Never try to take apart the battery pack or modify it in any way such as with a solder iron.
Never expose the battery to direct ame, throw it into re, or take any actions that may lead to
shorting.
When charging the battery pack, make sure to use the product or the specied battery charger.
Do not allow the battery to get wet with water or any liquid.
Do not throw or drop the battery to avoid damage.
If you notice any unusual odor, deformation, uid leakage or other unusual conditions during use,
charging or storage, stop using the battery to avoid risk of re, personal injury and electric shock.
■ Do not disassemble the product
Do not disassemble or modify the product. Doing so could result in re or electric shock. Ask your
SATO reseller or technical support center to conduct internal inspections, adjustments, and repairs.
■ Regarding the cutter
Do not touch the cutter with your hands or do not put something into the cutter. Doing so could
result in an injury.
■ Do not operate with wet hands
Do not operate the power switch, replace the battery pack or unplug the AC adapter with wet
hands. Doing so increases the risk of electric shock.
■ Using the head cleaning uid
Use of ame or heat around the head cleaning uid is prohibited. Absolutely do not heat it or
subject it to ames.
Keep the uid out of reach of children to prevent them from accidentally drinking it. If a child
accidentally drinks the uid, immediately consult with a physician.
6
Mobile printer PW208NX/PW208mNX
Safety Precautions
CAUTION
■ Do not place in areas with high humidity
Do not place the product in areas with high humidity or where condensation forms.
If condensation forms, immediately turn off the power switch and do not use the
product until it dries. Using the product while condensation is on it could result in
electric shock.
■ Power supply
An AC adapter may become hot. Be careful not to get burned.
An AC adapter (Optional) is exclusive for this product. It must not be used with any other
electric device.
When disconnecting an AC adapter from the outlet, be sure to grip it by the plug. Pulling on
the cord may expose or break the wires and possibly cause re or electric shock.
Do not put an AC adapter near a hot device. Leaving an AC adapter near a hot device could
cause the adapter's housing to melt and possibly cause re or electric shock.
■ Power cord and cable
When disconnecting a power cord or cable from the outlet, be sure to grip it by the
plug. Pulling on the cord or cable may expose or break the wires and possibly cause
re or electric shock.
Do not put a power cord or cable near a hot device. Leaving a power cord or cable near a hot
device could cause the cord's or cable's housing to melt and possibly cause re or electric
shock.
■ Handling an AC adapter (Optional) when moving
On the occasion of carrying, rst disconnect an AC adapter from the outlet. If an AC adapter
is not disconnected, it may be damaged, which may cause a re or electric shock.
WARNING
■ Print head
The print head is hot after printing. Be careful not to get burned when replacing media or
cleaning immediately after printing.
Touching the edge of the print head with bare hands could result in injury. Be careful not to
become injured when replacing media or cleaning.
The customer should not replace the print head. Doing so could result in injury, burns or
electric shock.
Safety Precautions
7
Mobile printer PW208NX/PW208mNX
CAUTION
■ Replacing the Battery Pack
Use only the specied battery pack.
When replacing the battery pack, make sure to install the pack in the correct
orientation. Incorrectly replacing the battery creates the danger of injury or damage
to surrounding areas, or causes explosion.
Replace with a small-size rechargeable battery (Lithium ion battery). Apply insulation
treatment to the old battery pack by sealing the contact with tape or the like and ask
our sales representative or service center for the measures to be taken to recycle
the reusable materials.
Do not place the battery pack together with other batteries such as dry batteries.
The life expectancy of the lithium ion battery pack varies depending on usage. We
recommend that you replace the battery after 300 charge cycles or 3 years from the
date of rst use, whichever comes rst.
If you notice any dents or cracks on your battery crust caused by strong impacts or
shocks, stop using the battery immediately and replace it with a new one.
Continued use under these conditions may lead to abnormal overheating or re.
■ Loading media
When loading media roll, be careful not to get your ngers pinched between the media roll
and the supply unit.
■ Top cover
Be careful not to get your ngers pinched when opening or closing the top cover. Also be
careful the top cover does not slip off and drop.
■ When not using the product for a long time
When not using the product for a long time, unplug the AC adapter from the outlet to maintain
safety.
■ During maintenance and cleaning
When maintaining and cleaning the product, remove the battery pack from the product and
unplug the AC adapter from the outlet to maintain safety.
8
Mobile printer PW208NX/PW208mNX
Safety Precautions
Safety Precautions on Batteries
The lithium-ion battery pack (hereafter called the battery) has a certain life expectancy depending on the
usage. Please change the battery when its operating time has become much shorter than usual.
As the battery life wears out, problems such as smeared prints or reduced output performance may occur.
Make sure to change the battery regularly.
Always observe the following safety precautions for battery use.
Mishandling the battery may cause electric shock, battery leakage, overheating, smoke, rupture, or re.
WARNING
The life expectancy of the lithium ion battery pack ("battery") varies depending on usage. We recommend
that you replace the battery after 300 charge cycles or 3 years from the date of rst use, whichever is
earlier.
If you notice any dents or cracks on your battery crust caused by strong impacts or shocks, stop using
the battery immediately and replace it with a new one. Continued use under these conditions may lead to
abnormal overheating or re.
Do not disassemble or modify the battery.
When charging the battery as tted in the product, use an AC adapter specied by SATO Corporation.
Do not place the battery in re, or apply heat to the battery.
Do not place the battery near res, stoves, or other high-temperature locations (above 60°C (140 °F)) such
as inside closed cars in hot weather.
Do not charge or discharge the battery near ammable materials.
Do not connect the positive (+) and negative (-) terminal of the battery with any conductive materials such
as metal wires. Do not carry or store the battery together with necklaces, hairpins, or other metal objects to
prevent accidental short-circuiting of the battery.
When connecting the battery to an AC outlet, a car cigarette lighter outlet or the like, always use the
dedicated charger.
Do not wet or immerse the battery in water, seawater, or other liquids.
Do not throw or drop the battery, subjecting it to strong impacts or shocks.
Do not pierce the battery with sharp objects such as nails, strike the battery with a hammer, or step on the
battery.
Safety Precautions
9
Mobile printer PW208NX/PW208mNX
CAUTION
Charge the battery in the recommended temperature range from 5°C to 35°C (41 to 95 °F).
Store the battery in a location out of reach of young children. Ensure that the battery is not placed in the
mouth or swallowed accidentally.
Occasionally clean the terminal by wiping with a dry cotton swab or the like.
When storing the battery, avoid storing in the following state.
In a fully charged state (a state immediately following the completion of charging)
In a state with no remaining capacity (the battery is so exhausted that it is even impossible to turn on the
product)
Doing so may result in a degraded battery performance or reduced lifetime. An optimal remaining
capacity to store the battery is approximately 40%.
Even when the battery is expected not to be used for a long time, do the following about every six months
to enable the battery to maintain its performance: fully charge the battery and use it to drive your product
until its remaining capacity decreases to approximately 40%, then remove the battery from the product and
store it in a cool room with low humidity.
WARNING
Do not rub your eyes if the battery liquid leaks and comes into contact with your eyes. Rinse well with clean
water such as tap water, and seek medical attention immediately.
If charging is not completed after the specied time elapses, remove the battery from the product or charger
and stop charging.
If you notice any unusual odor, heat, discoloration, deformation, uid leakage or any other characteristic
apart from what you are used to while using, charging or storing the battery, then perform the following
immediately.
Unplug the power cord from the AC outlet.
Power off the product.
Remove the battery from the product or charger. Keep the battery away from re and avoid using it.
Otherwise, there may result in re, burn, injury, or electric shock.
10
Mobile printer PW208NX/PW208mNX
Safety Precautions
A tip before use
If you write down the start date on the “Start Date” column on the sticker on the battery, you will know when to replace
the battery.
Place the printer on a surface that is at and level.
Do not place the printer in an unlevel or slanted place.
Doing so could cause falling.
Do not put the printer on a location that produces vibration.
When keeping the printer, avoid a location subject to vibration.
Keep the printer out of high temperature and humidity.
When using or keeping the printer, avoid a location with high temperature or humidity. High temperature and humidity
may cause the decrease of life span of the printer. (Recommended temperature: 10 to 30°C (50 to 86°F)
Avoid dust.
Do not put the printer on a location exposed to dust. It may cause failure or the decrease of life span of the printer.
Do not supply power near from a heater or refrigerator.
Do not supply power from the power source near an electrical device that requires a measurable amount of power.
Voltage reduction may cause malfunction or defect.
Precautions for Handling
Safety Precautions
11
Mobile printer PW208NX/PW208mNX
Checking the Supplied Accessories
Check the supplied accessories.
If there are missing items, contact your SATO reseller or technical support center.
▲Keep the Warranty and Packaging
The printer is guaranteed for six months after installation for normal operation, and repair is free of charge.
* AC adapter is optional.
Keep the packaging box and cushioning material for this printer. When requesting repairs, pack the printer in
the original box with the original padding for shipment.
Battery
Quick Guide
Download Guide
Safety Instructions
MFi License Information
Global Warranty
Program leaet
BD Address sticker
Belt clip (One pair)
(PW208NX only)
Screws (2)
(PW208NX only)
12
Mobile printer PW208NX/PW208mNX
1 Before You Start
1.1 Parts Identication
PW208NX
PW208mNX
Status LED indicator
Display
(Power) button
Battery level LED indicator
Cover open button
Dispenser mode switch lever
(PW208NX only)
Top cover
Battery cover
(Media feed/Enter) button
(Print/Select) button
1
Before You Start
13
Mobile printer PW208NX/PW208mNX
DC input connector (AC power connector)

USB connector
NFC internal antenna

Charging terminal for a Charging Cradle (Optional)
When the printer is shipped from the factory, a
black protective seal labeled “CRADLE ACCESS”
is afxed to the terminal. When using a cradle to
charge the printer, remove this seal.
Platen roller (Consumables)
Media sensors
Media guide (PW208NX only)
Cutter
Print head (Consumables)
Interface cover
PW208mNX
* The platen roller feeds the label roll.
The print head prints on the label roll.
Perform maintenance regularly, as these parts are for printing. (
page 141)
The cutter has the blade edge. Be careful not to get cut your nger.
PW208NX
Bottom
Bottom
14
Mobile printer PW208NX/PW208mNX
Before You Start
1.2.1 Inserting the Battery
1
Open the battery cover.
Slide the lever of the battery cover (
).
Open the battery cover (
).
Power off the printer before inserting or removing the battery.
1.2 Charging the Battery
2
Insert the battery.
Insert the battery from the metal side.
3
Close the cover.
Close the battery cover (
).
Slide the lever of the battery cover with the
battery cover pressed shut (
).
Before using the printer, use the following charging device to charge the supplied battery.
AC adapter: “1.2.2 Charging with AC Adapter (Optional)” (
page 15)
Charging cradle: “1.2.3 Charging with Charging Cradle (Optional)” (
page 15)
Battery charger: “1.2.4 Charging with Battery Charger (Optional)” (
page 18)
An AC adapter (Optional) and Charging cradle (Optional) are for this printer only. It must not be used
with any other electric device. If an AC adapter other than the specied one is connected to this printer, it
may cause a malfunction. Do not use it.
If the battery has not been charged for a long period of time, it may become unusable. Charge the
battery regularly.
Before You Start
15
Mobile printer PW208NX/PW208mNX
1.2.2 Charging with AC Adapter (Optional)
1.2.3 Charging with Charging Cradle (Optional)
1
Connect the AC adapter (Optional).
Open the interface cover.
Connect the DC plug to the printer and the AC
power plug to the AC outlet.
* The shape of power plug varies depending on
the region.
1
Remove the black protective seal labeled “CRADLE
ACCESS” afxed to the bottom of the printer.
2
Charging starts.
During charging, do not power off the printer.
For details on the display during charging, see
“Icon” (
page 23).
There are two types of charging cradles: 1Bay Charging Cradle for charging one printer, and 4Bay Charging
Cradle for charging four printers simultaneously (
page 140).
This section describes how to use the 1Bay charging cradle to charge the printer.
AC power plug
AC adapter
DC plug
Interface cover
Protective seal
16
Mobile printer PW208NX/PW208mNX
Before You Start
3
Connect the printer to the charging cradle.
Align the projections of the charging cradle with
the indentations on the front of the printer (
),
and then move the printer slowly downward and
set it on the charging cradle (
).
4
Charging starts.
For details on the display during charging, see “Icon” (
page 23).
Note
Notes when you use the printer being set on the charging cradle
Set Full Charge P-Off (
page 89) to Disabled.
Enabling the Eco Charge function (
page 88) is recommended to increase the life of the battery.
When using the printer set on the charging cradle, you cannot power off the printer during charging. To
power off the printer, set the time so that Auto Power-Off (
page 104) operates or remove the printer from
the charging cradle.
2
Connect the supplied AC adapter to the
charging cradle.
Connect the DC plug to the charging cradle and
the AC power plug to the AC outlet.
* The shape of power plug varies depending on
the region.
Removing the printer from the charging cradle
Remove the printer while holding the Release button on the
charging cradle pressed.
Place the charging cradle in a location where it won’t be exposed to water drops. If a terminal gets wet, it
could cause a re or electric shock.
DC plug
AC power
plug
AC adapter
Release button
Before You Start
17
Mobile printer PW208NX/PW208mNX
Installing and using the charging cradle on a wall
You can set the printer on the charging cradle installed
on a wall.
When installing the charging cradle on a wall, be sure
to check the orientation so that the top and bottom
sides of the cradle are set as illustrated orientation.
Note the following when you use the printer being set on the charging cradle mounted on a wall.
When installing the charging cradle mounted on a wall, install it vertically on a at wall that will not
receive impact. If the charging cradle or the printer falls because of impact, it could cause an injury.
Allow 150 mm or wider space around the charging cradle.
To avoid injuries that may be caused by falling, attach or detach the printer with both hands.
To prevent damage to the AC adapter, wire cables by routing them through the groove on the rear of the
charging cradle before setting the printer on a wall
.
Note
Prepare the screws for you to fasten the charging cradle to a wall.
The screws to be used for xing the charging cradle to the wall should have both shear strength and withdrawal
strength to withstand loads of 15 Kgf (147 N) or more. You need 4 screws to install a 1Bay charging cradle, and
16 screws to install a 4Bay charging cradle (the diameter of a screw: 4.5 mm (0.2”) or thicker).
We assume no responsibility for any falling of the product that may be caused by insufcient installation strength or
a customer’s carelessness or inattention.
Wall
Cable
(Rear)
Notes on Charging
If the button is pressed during charging, the error below is displayed.
Error 1067 “CHARGING Wait till charging is complete.”
The power is automatically turned on when an AC adapter is connected to the printer.
Do not remove the battery during charging. If the battery is removed during charging, the error below is displayed.
Error 1060 “NO BATTERY Please put battery.”
Even if Auto Power-Off is set to Enabled, the printer does not power off during charging.
In the low-battery error status, printing and feeding operations cannot be performed during charging. Wait until the
low-battery error is released.
If a battery error occurs, do not use that battery. Replace it.
If a "No battery" error occurs with the battery installed in the printer, replace the battery
. To perform internal inspections,
adjustments, and repairs, contact your SATO reseller or technical support center.
If the printer is powered down during printing using a deteriorated battery and cannot be restarted, replace the battery.
  • Page 1 1
  • Page 2 2
  • Page 3 3
  • Page 4 4
  • Page 5 5
  • Page 6 6
  • Page 7 7
  • Page 8 8
  • Page 9 9
  • Page 10 10
  • Page 11 11
  • Page 12 12
  • Page 13 13
  • Page 14 14
  • Page 15 15
  • Page 16 16
  • Page 17 17
  • Page 18 18
  • Page 19 19
  • Page 20 20
  • Page 21 21
  • Page 22 22
  • Page 23 23
  • Page 24 24
  • Page 25 25
  • Page 26 26
  • Page 27 27
  • Page 28 28
  • Page 29 29
  • Page 30 30
  • Page 31 31
  • Page 32 32
  • Page 33 33
  • Page 34 34
  • Page 35 35
  • Page 36 36
  • Page 37 37
  • Page 38 38
  • Page 39 39
  • Page 40 40
  • Page 41 41
  • Page 42 42
  • Page 43 43
  • Page 44 44
  • Page 45 45
  • Page 46 46
  • Page 47 47
  • Page 48 48
  • Page 49 49
  • Page 50 50
  • Page 51 51
  • Page 52 52
  • Page 53 53
  • Page 54 54
  • Page 55 55
  • Page 56 56
  • Page 57 57
  • Page 58 58
  • Page 59 59
  • Page 60 60
  • Page 61 61
  • Page 62 62
  • Page 63 63
  • Page 64 64
  • Page 65 65
  • Page 66 66
  • Page 67 67
  • Page 68 68
  • Page 69 69
  • Page 70 70
  • Page 71 71
  • Page 72 72
  • Page 73 73
  • Page 74 74
  • Page 75 75
  • Page 76 76
  • Page 77 77
  • Page 78 78
  • Page 79 79
  • Page 80 80
  • Page 81 81
  • Page 82 82
  • Page 83 83
  • Page 84 84
  • Page 85 85
  • Page 86 86
  • Page 87 87
  • Page 88 88
  • Page 89 89
  • Page 90 90
  • Page 91 91
  • Page 92 92
  • Page 93 93
  • Page 94 94
  • Page 95 95
  • Page 96 96
  • Page 97 97
  • Page 98 98
  • Page 99 99
  • Page 100 100
  • Page 101 101
  • Page 102 102
  • Page 103 103
  • Page 104 104
  • Page 105 105
  • Page 106 106
  • Page 107 107
  • Page 108 108
  • Page 109 109
  • Page 110 110
  • Page 111 111
  • Page 112 112
  • Page 113 113
  • Page 114 114
  • Page 115 115
  • Page 116 116
  • Page 117 117
  • Page 118 118
  • Page 119 119
  • Page 120 120
  • Page 121 121
  • Page 122 122
  • Page 123 123
  • Page 124 124
  • Page 125 125
  • Page 126 126
  • Page 127 127
  • Page 128 128
  • Page 129 129
  • Page 130 130
  • Page 131 131
  • Page 132 132
  • Page 133 133
  • Page 134 134
  • Page 135 135
  • Page 136 136
  • Page 137 137
  • Page 138 138
  • Page 139 139
  • Page 140 140
  • Page 141 141
  • Page 142 142
  • Page 143 143
  • Page 144 144
  • Page 145 145
  • Page 146 146
  • Page 147 147
  • Page 148 148
  • Page 149 149
  • Page 150 150
  • Page 151 151
  • Page 152 152
  • Page 153 153

SATO PW2NX User manual

Category
Print & Scan
Type
User manual

Ask a question and I''ll find the answer in the document

Finding information in a document is now easier with AI