5
DESTINATION INPUT
step
1
step
2
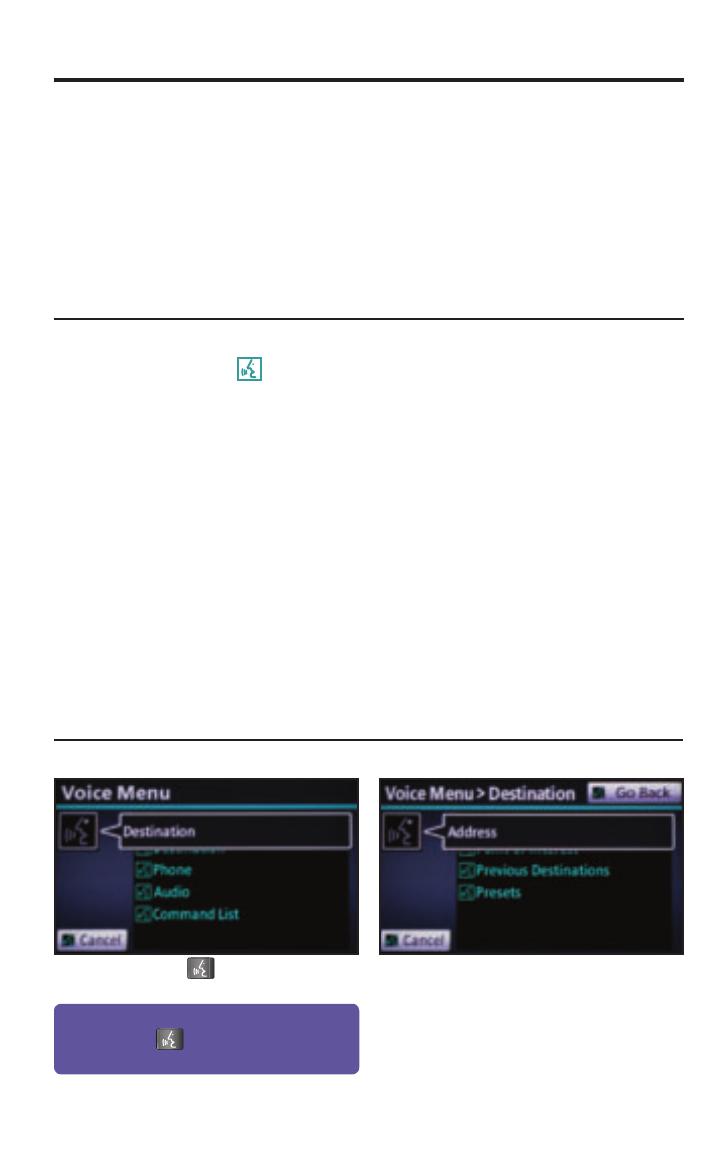
Press on the steering wheel.
After the beep say, “Destination.”
After the beep say, “Address.”
TIPS FOR USING VOICE RECOGNITION
NOTE ON VOICE RECOGNITION
Say a street address number as
single digits. Examples:
125, say: “One two fi ve”
2000, say: “Two zero zero zero”
32307, say: “Three two three zero
seven”
tip
1
tip
2
tip
3
tip
4
tip
5
Have the full and correct address
in mind. The system will ask for the
state, city, and street name followed
by the house number as separate
inputs.
Before using voice recognition, roll up
all windows and set the climate control
fan on low or off to reduce background
noise in the cabin.
Speak at a normal volume and pace,
and pronounce words clearly.
Numbered street names should be
spoken as in these examples:
1st Street, say: “First Street”
15th Street, say: “Fifteenth Street”
190th Street, say: “One Hundred
Ninetieth Street”
A large TALK icon
will appear
on the NAV screen to signal when to
speak your command.
The navigation system's voice recognition feature will compare your spoken words
with computer-generated word patterns preprogrammed in the database. If the
system does not provide your intended match, please try a different pronunciation.
Voice-activation names are not available for every street and city.
BY ADDRESS-VOICE RECOGNITION
Quick Tip - If you know your next command,
you can press
at any time to interrupt the
prompt. Speak your command after the beep.
tip
6


