KVMDP
F1
+ +
Right
-Ctrl
Right
-Ctrl
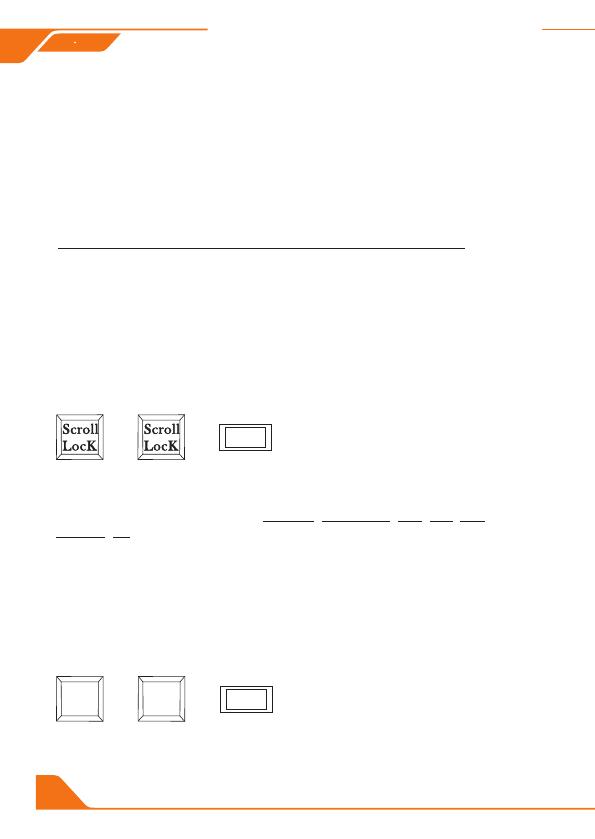
Switch the control hotkey
to [Scroll Lock]
The same if you want to change the hotkey from [Right-Ctrl] to
[Scroll Lock], you could do as follows:
1.Press front panel button [Select] until the buzzer is beeping, then
restart the KVM.
2. Execute hotkey command: [Right-Ctrl]+[Right-Ctrl]+[F1] ,
then restart the KVM.
F1
+ + Switch the control hotkey
to [Right-Ctrl]
After you had done either one of above, the hotkey combinations would be
changed to: [Right-Ctrl]+[Right-Ctrl]+[xxx].
Note: xxx refers to keyboard key PageUp, PageDown, 1~4, F11, F12,
SPACE, +/-.
If no [Scroll Lock] key on your keyboard or the [Scroll Lock] key is
used for other functionality, you can take [Right-Ctrl] hotkey instead
of [Scroll Lock] key by below two ways:
1. Press front panel button [Select] until you hear the buzzer is
beeping, then restart the KVM.
2. Execute hotkey command [Scroll Lock]+[Scroll Lock]+[F1] , then
restart the KVM.
Note: For the best compatiblity, it is better to turn on keyboard and
mouse pass through mode. In this mode, the keyboard and mouse
are dynamically mapped to computer, so you are able to use
special keyboard and mouse that with multimedia keys or other
customized keys.
How To Change The Hot Keys Combination:
10


