18
Connecting external devices
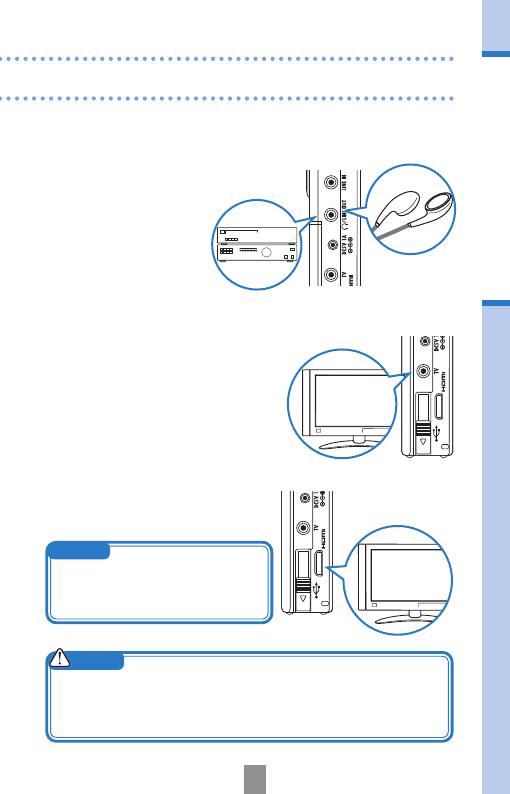
■
Listen with headphones or audio equipment
(LINE OUT connection)
■
View on a TV (AV connection)
Use an AV cable to output recorded video
and audio to a TV or similar device.
• Before connecting to a TV, use
the SETTING menu to set the TV
Out item according to the region
where you are using the device.
■
View on a TV (HDMI connection)
Use an HDMI cable to connect the unit to
an HDMI-compatible TV to view record-
ings with high denition image quality.
The Q3HD HDMI connector is a Type C Mini connector.
When using an HDMI cable (purchased separately), be sure to use a High
Speed HDMI (category 2) cable with a Type C Mini connector on one end
and a connector that matches your TV’s HDMI input on the other.
Caution
Use this connector when you want to listen
with headphones or connect to the amplier
of an external audio device.
Turn monitoring on to listen to
sound input during recording
through headphones.
See “Turning sound monitoring
on or off” on page 8.
NOTE
Since different TVs support different
audio formats, correct playback
might not be possible in some cases.


