Stat Tracking: Enables detailed statistics tracking while playing
golf.
Club Prompt: Displays a prompt that enables you to enter
which club you used after each detected shot.
Scoring Method: Sets the scoring method to stroke play or
Stableford scoring.
Handicap Scoring: Enables handicap scoring. The Local
Handicap option allows you to enter the number of strokes to
be subtracted from your total score. The Index/Slope option
allows you to enter your handicap and the course slope rating
so that the device can calculate your course handicap. When
you enable either handicap scoring option, you can adjust
your handicap value.
Driver Distance: Sets the average distance the ball travels on
your drive.
Big Numbers: Changes the size of the numbers on the hole
view screen.
Club Sensors: Allows you to set up your Approach CT10 club
sensors.
System Settings
From the watch face, hold the button and select to customize
device settings and features.
Auto Lock: Allows you to customize when your device screen
locks.
Backlight: Allows you to enable the backlight and adjust
backlight brightness and timeout.
Activity Tracking: Allows you to enable activity tracking, move
alerts, and goal alerts.
Manage Widgets: Allows you to enable preloaded widgets.
User Profile: Sets the user profile for gender, birth year, height,
and weight. You can also set which wrist your watch is worn
on. The gender setting is used for gender-specific course
ratings for select tees when calculating handicaps, and for
gender-specific par values (where available).
Language: Sets the text language on the device.
Time: Sets the time format and source, and allows you to sync
with GPS to set the time.
Units: Sets the units of measurement for activity distance, golf
distance, pace/speed, elevation, weight, height, and
temperature.
Reset: Allows you to reset the device to restore all default
settings or removes all saved user data and resets all
settings on the device (Deleting Data and Resetting Settings,
page 6).
About: Displays device information, such as the unit ID,
software version, regulatory information, and license
agreement (Viewing E-label Regulatory and Compliance
Information, page 6).
Setting Up Your User Profile
You can update your gender, birth year, height, and weight
settings. You can also specify which wrist you wear your watch
on. The device uses this information to calculate accurate
activity tracking settings.
1
Hold the button.
2
Select > User Profile.
3
Select an option to adjust your profile settings.
Deleting Data and Resetting Settings
You can remove all saved user data and reset all settings on the
device to the factory default values.
1
Hold the button.
2
Select > Reset > Delete Data and Reset Settings.
This removes your personal data, including activities and any
scorecards from the device.
Viewing E-label Regulatory and Compliance
Information
The label for this device is provided electronically. The e-label
may provide regulatory information, such as identification
numbers provided by the FCC or regional compliance markings,
as well as applicable product and licensing information.
1
Hold the button.
2
Select .
3
Select About.
Device Information
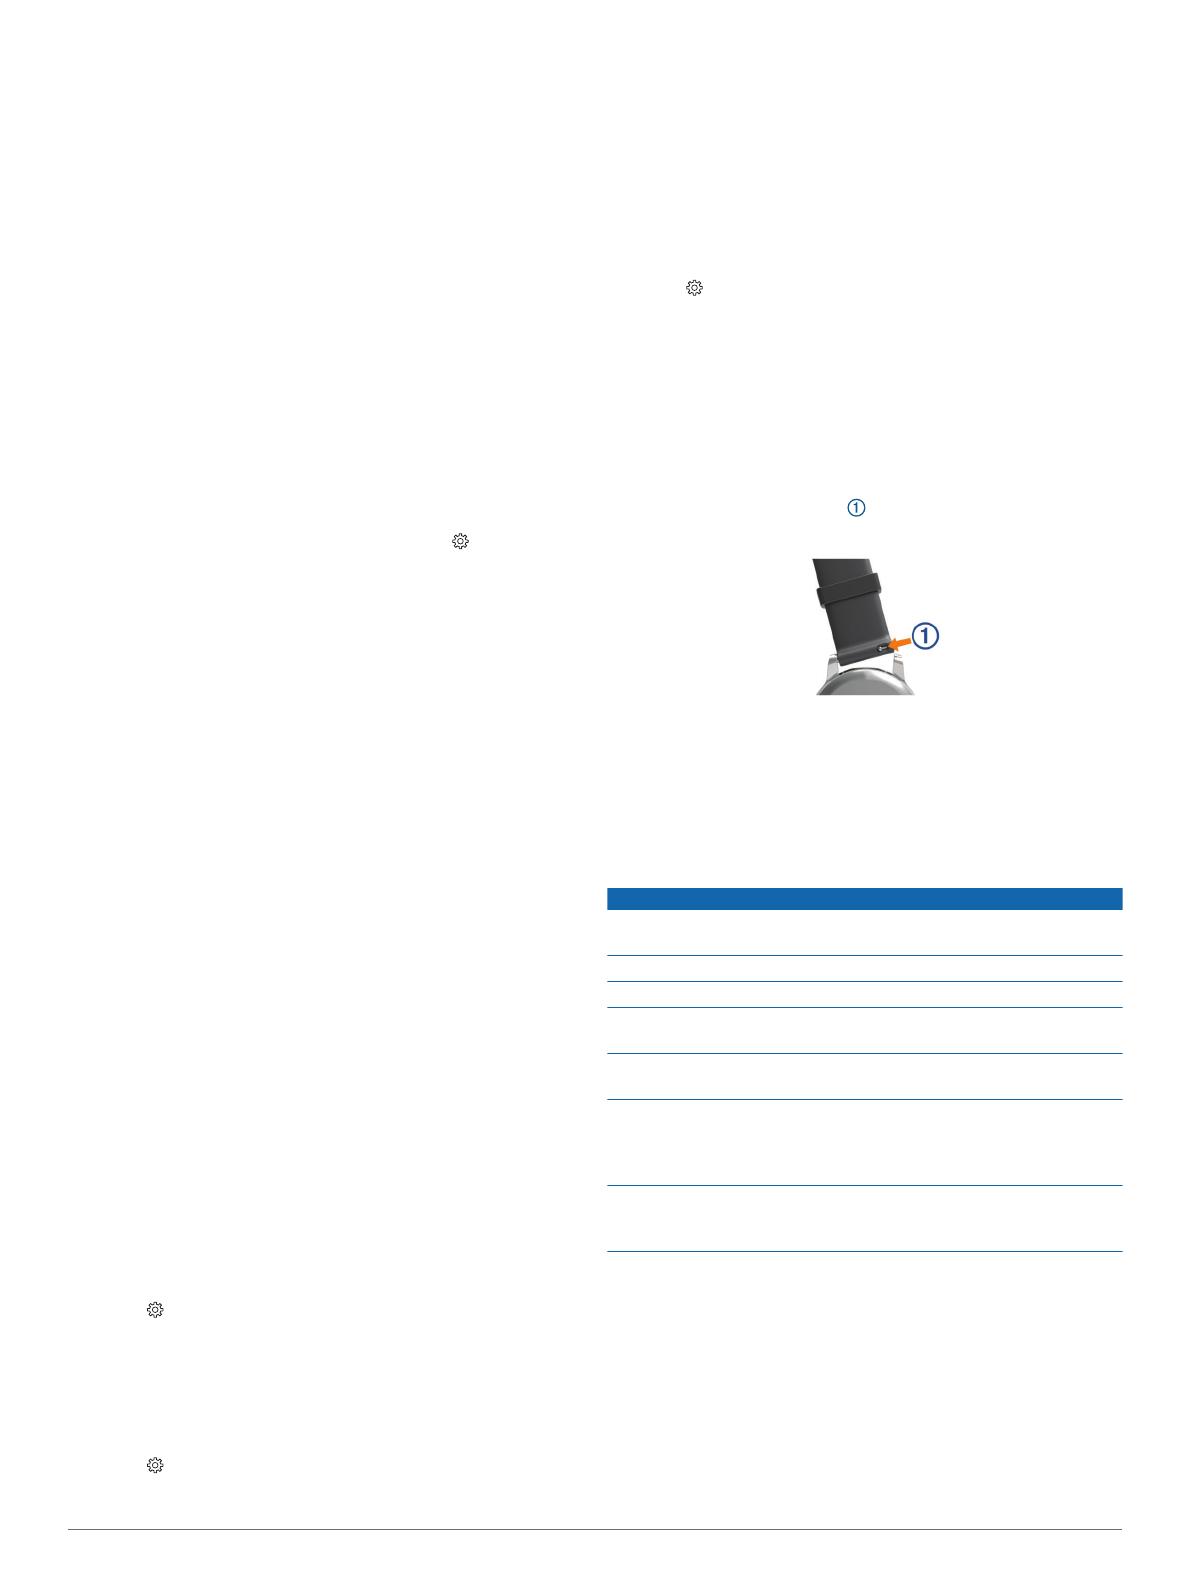
Replacing the Bands
The device is compatible with 20 mm wide, standard, quick-
release bands. Go to buy.garmin.com, or contact your Garmin
dealer for information about optional accessories.
1
Slide the quick-release pin on the spring bar to remove the
band.
2
Insert one side of the spring bar for the new band into the
device.
3
Slide the quick-release pin, and align the spring bar with the
opposite side of the device.
4
Repeat steps 1 through 3 to replace the other band.
Device Care
NOTICE
Avoid extreme shock and harsh treatment, because it can
degrade the life of the product.
Avoid pressing the keys under water.
Do not use a sharp object to clean the device.
Never use a hard or sharp object to operate the touchscreen, or
damage may result.
Avoid chemical cleaners, solvents, and insect repellents that can
damage plastic components and finishes.
Thoroughly rinse the device with fresh water after exposure to
chlorine, salt water, sunscreen, cosmetics, alcohol, or other
harsh chemicals. Prolonged exposure to these substances can
damage the case.
Do not store the device where prolonged exposure to extreme
temperatures can occur, because it can cause permanent
damage.
Cleaning the Touchscreen
1
Use a soft, clean, lint-free cloth.
2
If necessary, lightly dampen the cloth with water.
3
If using a dampened cloth, turn off the device and disconnect
the device from power.
4
Gently wipe the screen with the cloth.
6 Device Information


