Kohler 241685 User manual

Category
Sanitary ware
Type
User manual
Installation Guide
Beverage Faucet and Optional Water Filtration
System
M product numbers are for Mexico (i.e. K-12345M)
Los números de productos seguidos de
M corresponden a México (Ej.
K-12345M)
Français, page “Français-1”
Español, página “Español-1”
K-6665, K-6665-F K-6666, K-6666-F
1015061-2-G
Thank You For Choosing Kohler Company
We appreciate your commitment to Kohler quality. Please take a few
minutes to review this manual before you start installation. If you
encounter any installation or performance problems, please don’t
hesitate to contact us. Our phone numbers and website are listed on
the back cover. Thanks again for choosing Kohler Company.
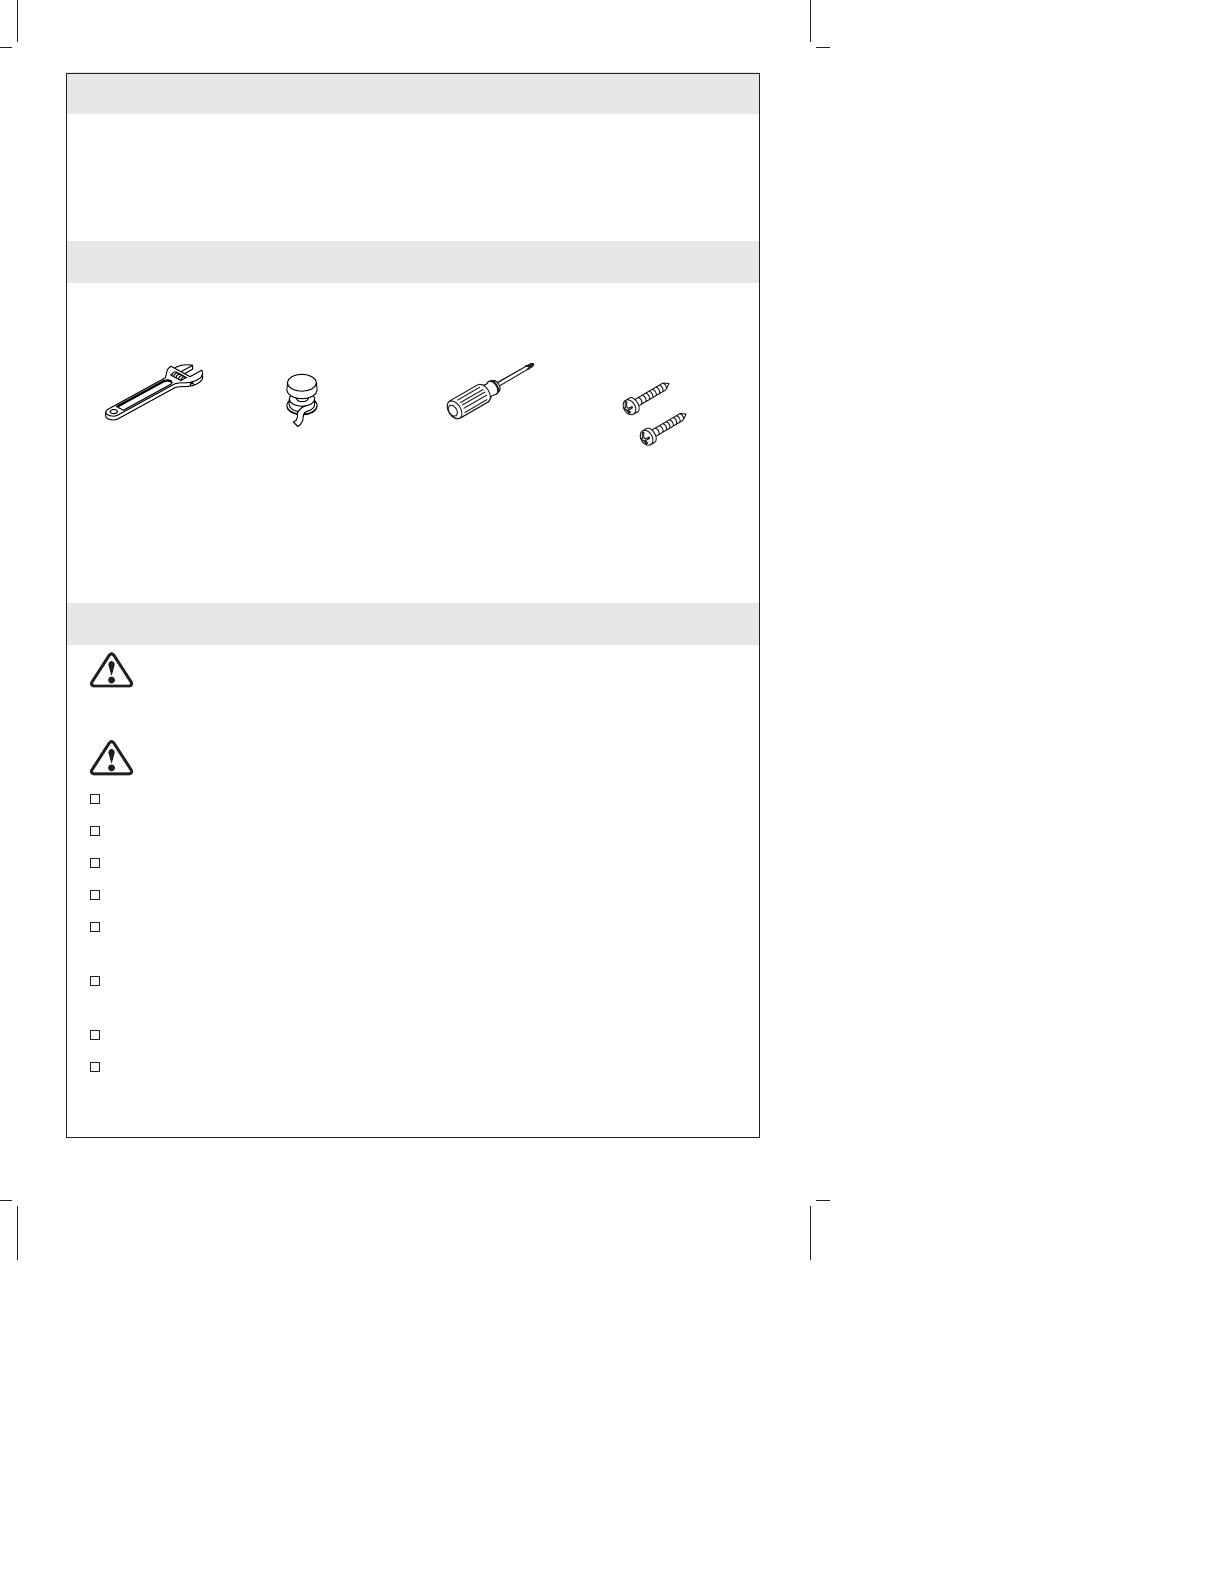
Tools and Materials
Before You Begin
CAUTION: Risk of property damage. Do not install the unit
where the temperature may drop below freezing, may be
exposed to direct sunlight, or may be exposed to heat.
CAUTION: Risk of personal injury or property damage. Use
caution when installing near water pipes or electrical lines.
Observe all local plumbing and building codes.
Shut off the main water supply.
If possible, install the faucet before installing the sink.
Inspect the hoses for any sign of damage. Replace if necessary.
Install the water filtration system to a cold water supply only. Do
not install the water filtration system to a hot water supply.
If needed, clean the exterior of the unit with mild soap and water.
Do not use chemical cleaners.
The water filtration system must be mounted vertically.
Do not use this water filter system with a standard faucet that
uses hot and cold inlets. A single inlet faucet, such as a Kohler
beverage faucet, must be used.
Thread
Sealant Tape
Adjustable
Wrench
Phillips
Screwdriver Screws
1015061-2-G 2 Kohler Co.
Before You Begin (cont.)
The water filtration system is designed to be installed under a
sink. Make sure that the bottom of the filter cartridge is at least 2
(5.1 cm) from the floor of the cabinet.
Do not connect the water filtration system to a dishwasher.
Do not install the water filtration system to a water line with
more than 125 psi (862 kPa).
To ensure that this equipment is functioning properly and
effectively, replace the filter components after 10 years.
Replacement date:___________
Retain this installation guide for future use.
Kohler Co. reserves the right to make revisions in the design of
faucets without notice, as specified in the Price Book.
Kohler Co. 3 1015061-2-G
1. Install the Faucet Body
Contemporary Faucet
Install the O-ring into the groove in the bottom of the escutcheon.
Slide the escutcheon over the hose and stud so it rests against the
faucet bottom.
Traditional Faucet
Install the O-ring into the groove in the bottom of the faucet
body.
All Installations
Position the hose and stud through the sink hole and position the
faucet over the sink hole.
From under the sink, slide the hole in the bracket onto the stud.
Tighten the nut against the bracket to secure the faucet body to
the sink.
If you are not installing the optional water filtration system,
proceed to the Connect the Supply section of this guide.
Stud
Hose
O-Ring
Contemporary Faucet
Faucet
Bottom
Escutcheon
(Contemporary
Only)
Faucet
Stud
Hose
Sink Hole
Bracket
Nut
Traditional Faucet
1015061-2-G 4 Kohler Co.
2. Assemble the Water Filtration System
Inspect the plumbing and supplies for damage. Replace or repair
as needed.
Write the system replacement date on the filter head label. This is
the installation date plus ten years.
Place the mounting bracket over the port marked OUTLET on
the filter head.
Attach the mounting bracket to the filter head using the screws
provided. Do not overtighten.
NOTE: Apply four layers (four turns) of thread sealant tape to the
threads of each nipple to ensure a tight seal.
Apply four layers of thread sealant to the threads below each
nipple hex.
NOTE: Do not overtighten the nipple hex. The nipple hex should
not make contact with the filter head.
Thread the taped end of each nipple into the inlet and outlet port
of the filter head until finger tight plus one turn maximum. The
nipple hex should not make contact with the filter head.
Screws
Inlet
Outlet
Mounting
Bracket
Filter
Head
Filter Head
Nipples
Hoses
Hex
Apply thread
sealant tape.
Kohler Co. 5 1015061-2-G
3. Mounting the Water Filtration System
CAUTION: Risk of property damage. Do not install the unit
where the temperature may drop below freezing, may be
exposed to direct sunlight, or may be exposed to heat.
CAUTION: Risk of personal injury or property damage. Use
caution when installing near water pipes or electrical lines.
IMPORTANT! The unit must be mounted vertically.
IMPORTANT! The mounting location of the water filtration system
is critical. Verify the following before mounting: the bottom of the
filter cartridge will be at least 2 (5.1 cm) from the floor of the
cabinet, the system will not interfere with other items under the
counter, and the hoses will not be under tension when installed to
the ports on the filter head.
Align the mounting holes of the mounting bracket at the
determined location.
Mark the mounting hole locations with a pencil. Set the unit
aside.
Pre-drill the holes, if necessary.
Partially thread the screws into the cabinet wall and slide the
mounting bracket over the screws.
Secure the screws into the cabinet wall.
Mounting
Bracket
Screws
(Not Supplied)
1015061-2-G 6 Kohler Co.
4. Install the Water Filtration Cartridge
Write the installation date on the new filter cartridge label.
Remove and discard the cap from the cartridge.
Inspect the cartridge for damage.
Verify both O-rings are present and positioned correctly in the
grooves.
Moisten the O-rings with water. Do not use petroleum products
to lubricate the O-rings.
Align the groove in the top of the cartridge with the word OFF
on the filter head.
Insert the top of the cartridge into the filter head and turn the
cartridge counterclockwise 90° until hand-tight.
O-Rings
Cap
Cartridge
Filter Head
Groove
Write the date on
the cartridge label.
Kohler Co. 7 1015061-2-G
5. Connect the Supply
For installations using the water filtration system:
NOTE: The hoses must be connected as directed. Do not reverse the
connections.
Using the provided adapter, connect the outlet hose from the
outlet port on the filter head to the faucet inlet.
Connect the inlet hose from the inlet port on the filter head to the
cold water supply.
For installations not using the water filtration system:
NOTE: The faucet inlet hose will connect directly to a 3/8 male
compression fitting.
Connect the faucet inlet hose to the cold water supply.
6. Installation Checkout
Turn on the main water supply and check for leaks. Repair as
needed.
Outlet
Hose
Cold
Water
Supply
Faucet
Inlet Hose
Inlet Hose
Adapter
Cartridge
1015061-2-G 8 Kohler Co.
Installation Checkout (cont.)
If the optional water filtration system has been installed using the
K-203 filter, run the faucet for ten minutes to remove any air in
the system. For all other filters, run the faucet for two minutes.
Any air left in the system may temporarily cause the water to be
cloudy. If the optional water filtration system has not been
installed, run water through the faucet for one minute to remove
any debris.
Kohler Co. 9 1015061-2-G
  • Page 1 1
  • Page 2 2
  • Page 3 3
  • Page 4 4
  • Page 5 5
  • Page 6 6
  • Page 7 7
  • Page 8 8
  • Page 9 9
  • Page 10 10
  • Page 11 11
  • Page 12 12
  • Page 13 13
  • Page 14 14
  • Page 15 15
  • Page 16 16
  • Page 17 17
  • Page 18 18
  • Page 19 19
  • Page 20 20
  • Page 21 21
  • Page 22 22
  • Page 23 23
  • Page 24 24
  • Page 25 25
  • Page 26 26
  • Page 27 27
  • Page 28 28
  • Page 29 29
  • Page 30 30
  • Page 31 31
  • Page 32 32

Kohler 241685 User manual

Category
Sanitary ware
Type
User manual

Ask a question and I''ll find the answer in the document

Finding information in a document is now easier with AI

in other languages