1
Using Easy Interactive Tools for
Windows
After you download and install Easy Interactive Tools, you can use the pens included with your BrightLink
™
product to write or draw on the projection surface.
Note:
Easy Interactive Tools are not required for using the interactive features of the projector. You can use TeamBoard Draw
or other annotation software.
Introduction
Two different toolbars are available, one for interactive mode and one for whiteboard mode:
1. To start Easy Interactive Tools, select
or Start > All Programs or Programs > EPSON Projector >
Easy Interactive Tools.
When Easy Interactive Tools opens, it is in interactive mode by default.
2. To toggle between interactive and whiteboard modes, select the or
icon in the upper right corner
of the toolbar.
3. To exit, select the Easy Interactive Tools icon on the Windows taskbar and select
Exit.
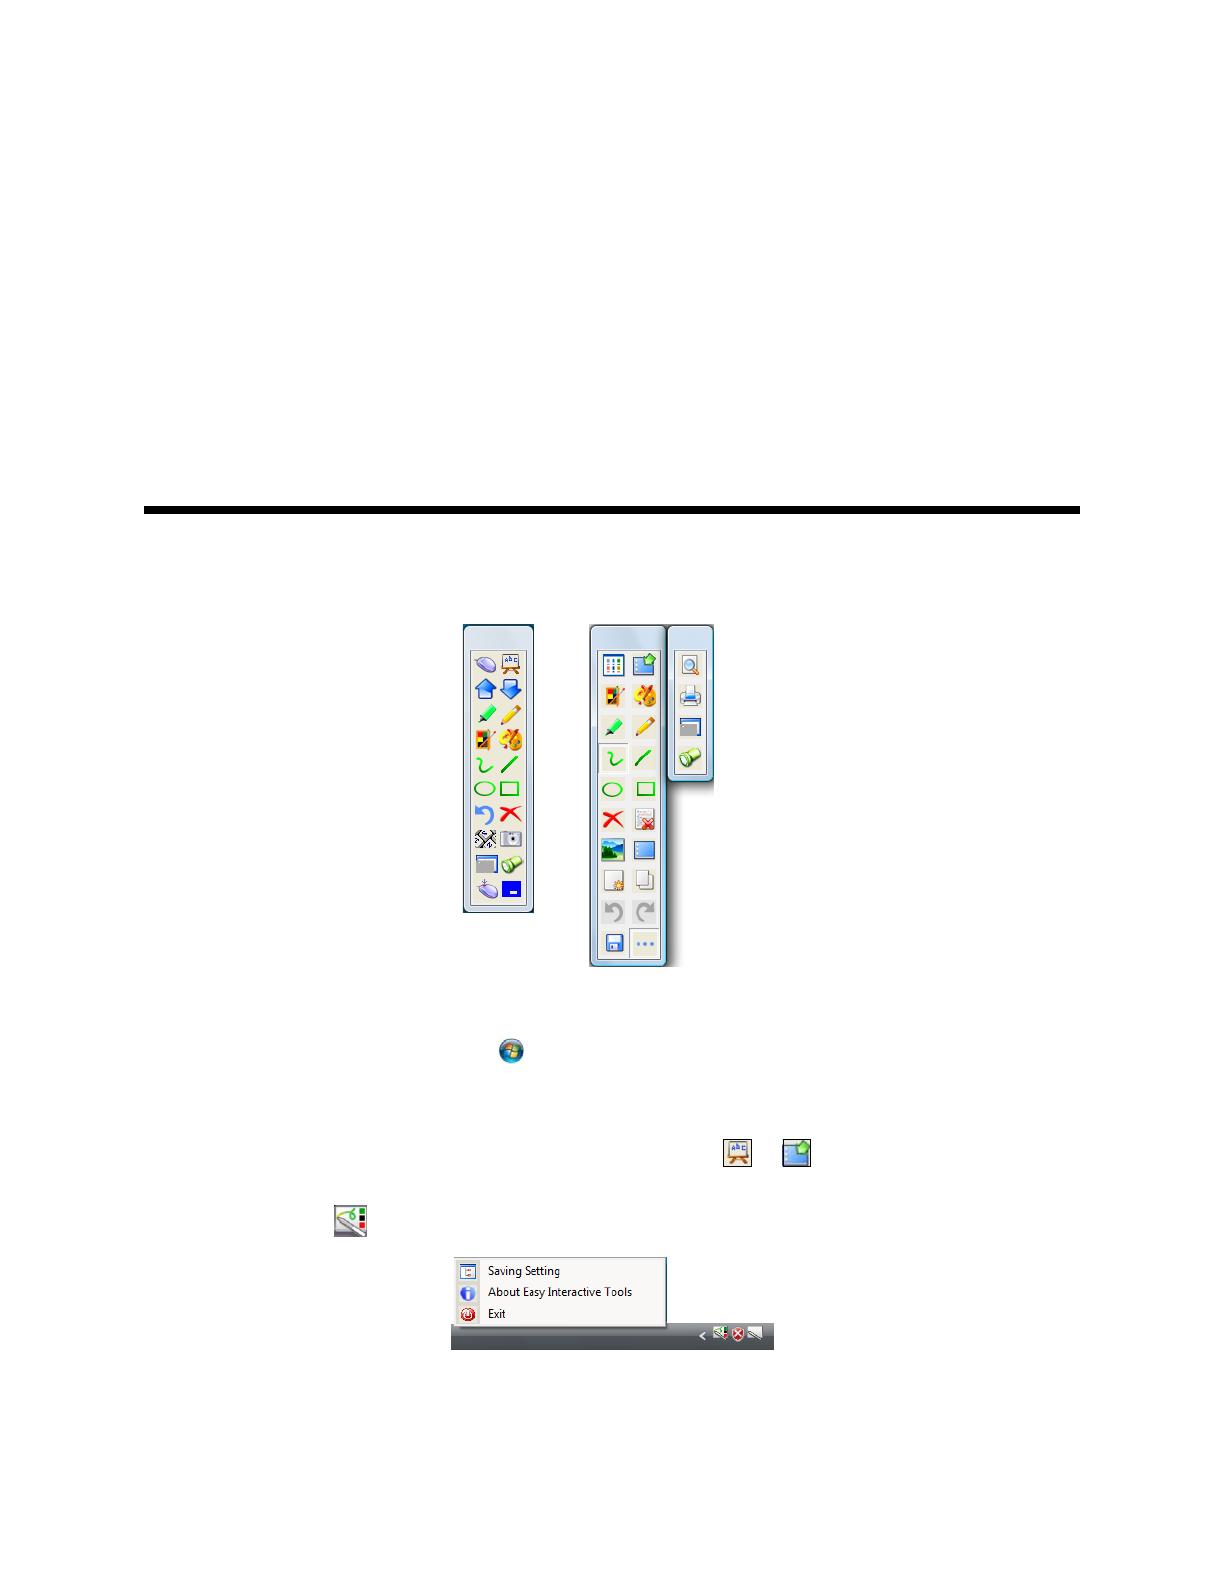
Interactive Mode
In interactive mode, the toolbar
appears on the projected image
and lets you use the pen as a
mouse to open applications,
access links, and operate scroll
bars, for example.
In this mode, you can also
annotate whatever is displayed
from your computer and save
your annotations.
Whiteboard Mode
In whiteboard mode, the toolbar
appears on a blank white surface. You
can write or draw with the pen, add
images, and save or print your pages.
Whiteboard toolbars
Interactive toolbar
Additional
whiteboard toolbar


