Page is loading ...

Venue 8
7000 Series
User’s Manual
Tablet model: Venue 7840
Regulatory model: T02E
Regulatory type: T02E001

Notes, Cautions, and Warnings
NOTE: A NOTE indicates important information that helps you
make better use of your tablet PC.
CAUTION: A CAUTION indicates potential damage to hardware
or loss of data if instructions are not followed.
WARNING: A WARNING indicates a potential for property
damage, personal injury, or death.
_______________________
Copyright © 2014 Dell Inc. All rights reserved.
This product is protected by U.S. and international copyright and intellectual property
laws.
Dell™ and the Dell logo are trademarks of Dell Inc. in the United States and/or other
jurisdictions. All other marks and names mentioned herein may be trademarks of their
respective companies.
October 2014 Rev. A00

Contents | 3
Contents
Features ........................................................................... 5
Accessories ..................................................................... 8
Setting Up Your Tablet ................................................. 9
Charging the Tablet .................................................................... 9
TurningOnYourTablet ............................................................. 12
TurningOffYourTablet .............................................................13
Locking your tablet .................................................................... 13
Unlocking your tablet ...............................................................14
Inserting a MicroSD Card .........................................................15
Removing the MicroSD Card ...................................................16
Using Headphones ....................................................................17
Using Your Tablet ........................................................ 18
Wi‑FiSetting ................................................................................18
BluetoothSetting .......................................................................19
Gestures ......................................................................................20
Screen Orientation ................................................................... 23
Android Home Screen ............................................................. 24
IntelRealSenseSnapshot ........................................................ 29
Synchronizing Your Tablet .......................................................31
Resetting Your Tablet ............................................................... 32
Cleaning Your Tablet ................................................................ 32
Troubleshooting .......................................................... 33
Contacting Dell ........................................................... 36

4 | Contents
Locating Your Service Tag and
ExpressServiceCode ................................................. 37
Specifications ............................................................... 38
Glossary ........................................................................40
Index .............................................................................43

Features | 5
Features
1
2
3
5 8
4
67 9
11
10
Feature Functionality
1 Power button • Press and hold to turn the tablet on
or off.
• Press to turn the display on or off.
• In standby mode, press and hold to
open the options menu.
2 Volume button • Press to increase or decrease volume.
• Press and hold to continuously increase
or decrease the volume.
3 Microphone • Records sound.
• Provides sound input while using calls.

6 | Features
Feature Functionality
4 Ambient‑light sensor Automatically adjusts the brightness
of the display’s backlight based on the
surrounding light intensity.
5 Front camera
• Captures pictures or records videos.
• Use while making video calls.
6 Headset port Connect a headset, headphones,
microphone, or other audio equipment
to listen to stereo sound, record audio, or
make calls.
7 Micro‑USB/Charging port • Connect the supplied power adapter
and micro‑USB cable to provide power
to the tablet and charge the battery.
• Connect the micro‑USB cable to a
computer to trickle charge the battery.
• Connect the micro‑USB cable to
a computer or USB devices, for
transferring data, music, photos, and
videos.
8 Speaker Provides audio output.
9 Service Tag label Provides the Service Tag and Express
Service Code needed for contacting Dell
for customer service or technical support.
10 Intel RealSense Snapshot Captures pictures or records videos.
Pictures taken with the Intel RealSense
Snapshot can feature depth or motion
effects, see “IntelRealSenseSnapshot”.
11 MicroSD‑card slot Insert a microSD card to expand the
tablet’s storage capacity. Your tablet
supports a microSDcard with capacity up
to 512 GB.

Features | 7
NOTE: The front camera supports zoom, but does not support
the face tracking, continuous auto‑focus, or touch‑to‑focus
feature.
NOTE: The Intel RealSense Snapshot supports continuous
auto‑focus, touch‑to‑focus, and zoom, but does not support the
face tracking feature.
NOTE: The micro‑USB/charging port supports connecting to a
computer and power sharing to connected USB devices.
8 | Accessories
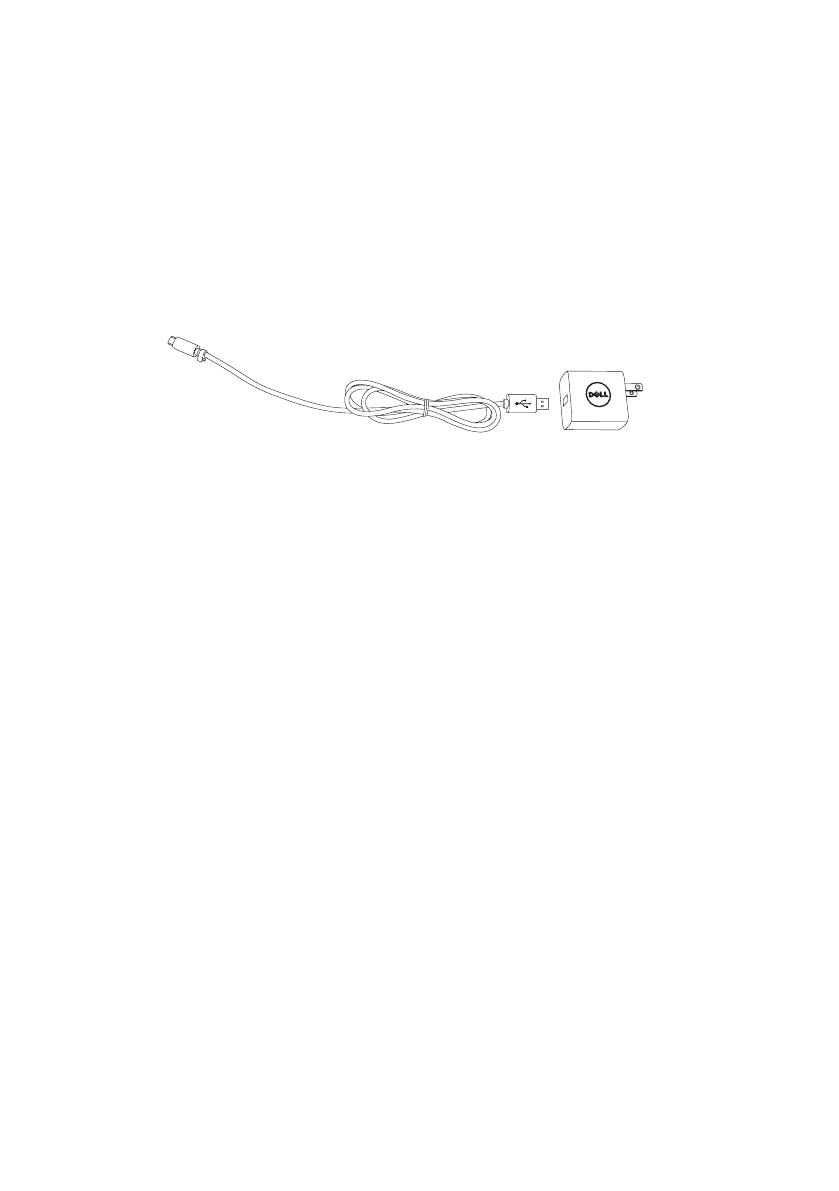
Accessories
Your tablet supports the following accessories:
10 W power adapter and micro-USB cable
Provides power to your tablet and charges the battery.
Setting Up Your Tablet | 9
Setting Up Your Tablet
WARNING: Before you begin any of the procedures in this
section, read the safety information that shipped with your
tablet. For additional best practices information, go to
dell.com/regulatory_compliance.
Charging the Tablet
CAUTION: Charge the battery in an ambient temperature of
0°C to 35°C (32°F to 95°F).
CAUTION: Use only the supplied power adapter to charge
your tablet. Using unauthorized power adapters or micro-USB
cables may severely damage your tablet.
NOTE: The battery is not fully charged when you unpack your
tablet.
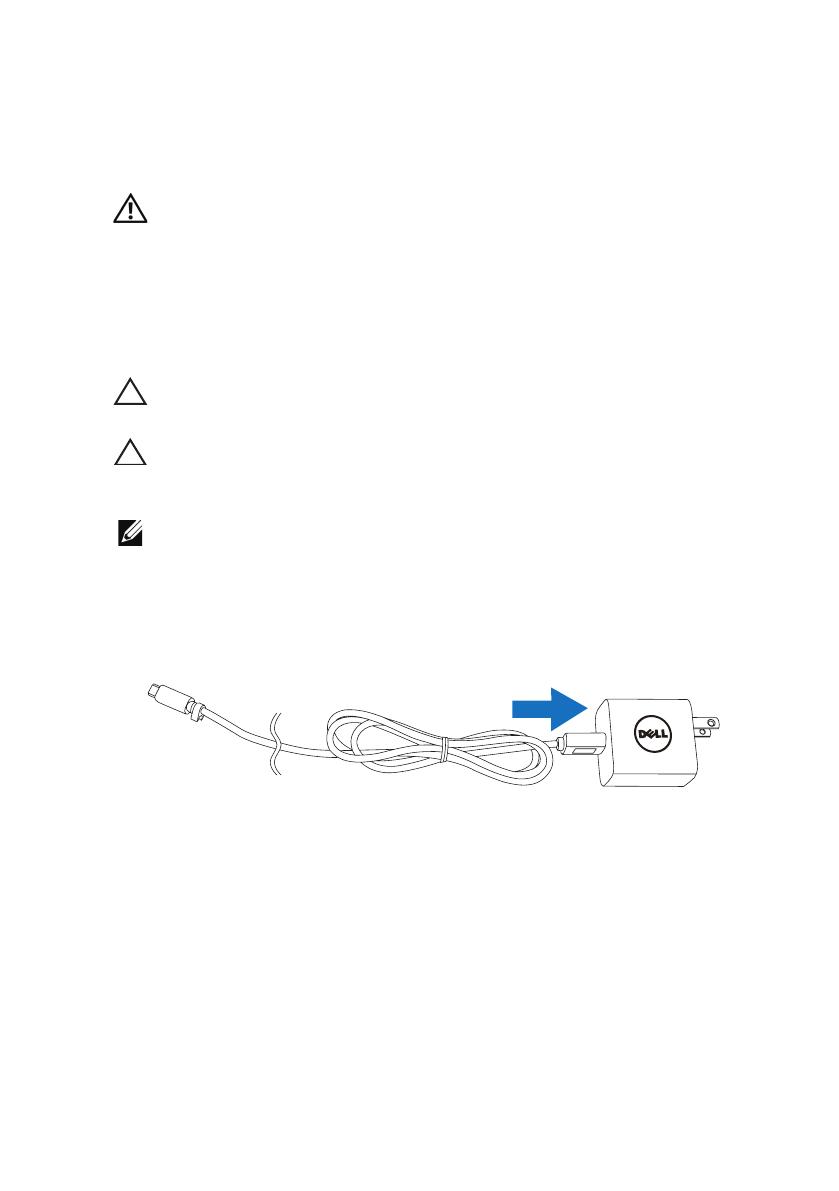
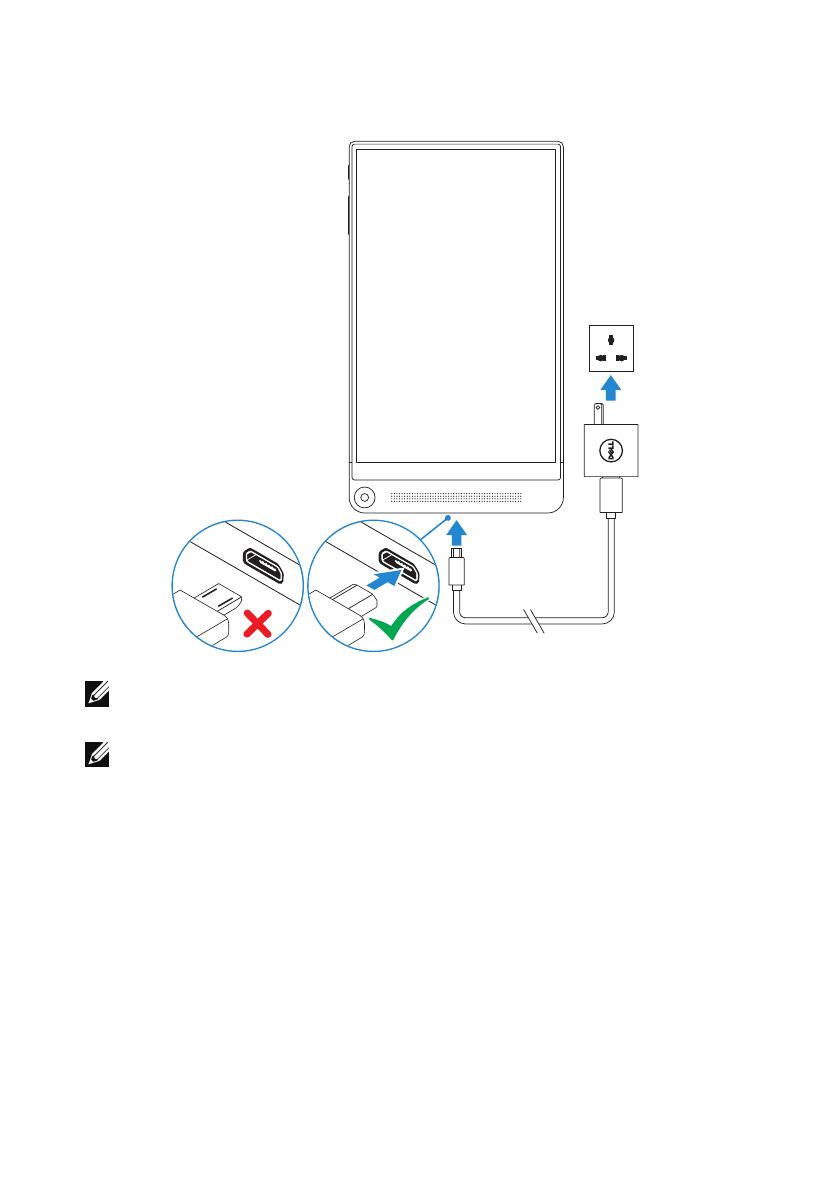
1 Connect the micro‑USB cable into the power adapter.
2 Connect the micro‑USB cable to the micro‑USB/charging port on
the tablet.
3 Connect the power adapter to an electrical outlet and charge the
tablet until the battery is fully charged.
10 | Setting Up Your Tablet
NOTE: A fully discharged battery takes up to 4 hours to fully
charge.
NOTE: You can also trickle charge the tablet via a computer’s
USB port using the micro‑USB cable. When connected to
a computer, the battery charges slowly as the charge time
depends on the power output of the USB port. The tablet may
not charge if it is connected to a computer that is turned off or in
sleep mode, to a USB hub, or to the USB port of a keyboard.

Setting Up Your Tablet | 11
You can check the tablet’s battery charge status from the battery icon
displayed at the top of the screen:
Battery icon Description
Tablet is connected to a power supply and the battery is
fully charged.
Tablet is connected to a power supply and the battery is
charging.
Tablet is running on the battery power and the battery is
discharging.
Tablet is running on the battery power and the battery
charge is low.
Tablet is running on the battery power and the battery
charge is critically low.
12 | Setting Up Your Tablet
TurningOnYourTablet
When you turn on the tablet for the first time, you must finish Android
setup to start using your tablet. For more information, see the
Quick
Start Guide
that shipped with your tablet.
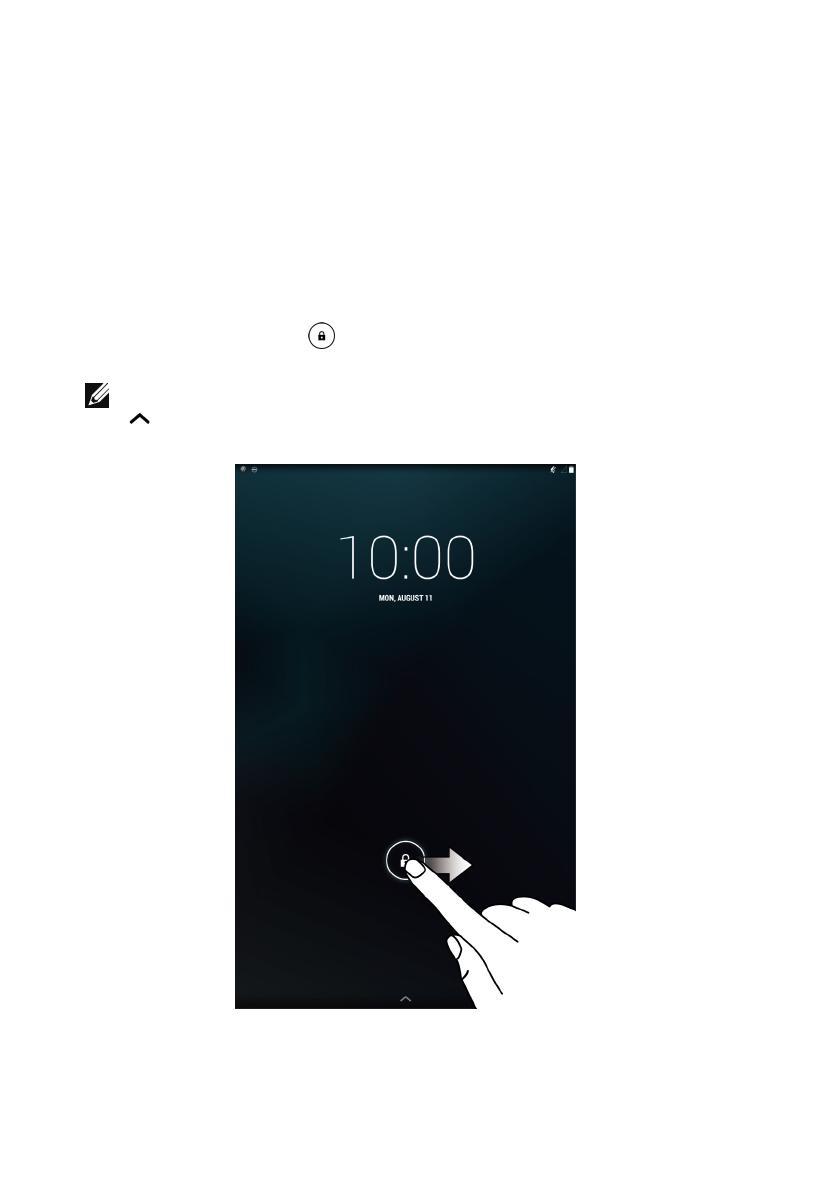
1 Press and hold the power button for 7 seconds to turn on your
tablet. The lock screen appears.
2 Swipe the lock icon in any direction to enter the Android
Home screen.
NOTE: Swipe your finger up from the bottom of the lock screen
to access Google Now.
The tablet is ready for use when the Android Home screen is displayed.

Setting Up Your Tablet | 13
TurningOYourTablet
To turn off your tablet, press and hold the power button for at least 2
seconds and then touch Power off.
Locking your tablet
Press the power button to turn off the screen and lock your tablet.
Your tablet provides several screen locks including Slide, Pattern,
PIN, Password, and Face Unlock to protect your tablet against
unauthorized access. To configure the type of the screen lock used
for your tablet:
1 Touch → Settings→ Security→ Screen lock.
2 Select the screen lock you want to use for your tablet and follow
the instructions on the screen.
NOTE: It is strongly recommended that you choose at least one
of the screen locks to protect your tablet.
14 | Setting Up Your Tablet
Unlocking your tablet
When the screen goes dark and a screen lock is set, you must unlock
your tablet to enter the Home screen.
To unlock your tablet:
1 Press the power button to wake up the screen.
2 Unlock the screen lock using one of the following methods:
Slide
Swipe the lock icon in any direction.
Pattern Draw the correct pattern.
PIN Enter the correct PIN.
Password Enter the correct password.
Face Unlock Capture your face using the front camera.
NOTE: The default screen lock is set to Slide.
NOTE: If a screen lock is not enabled, your tablet enters the
Home screen after pressing the power button.
Setting Up Your Tablet | 15
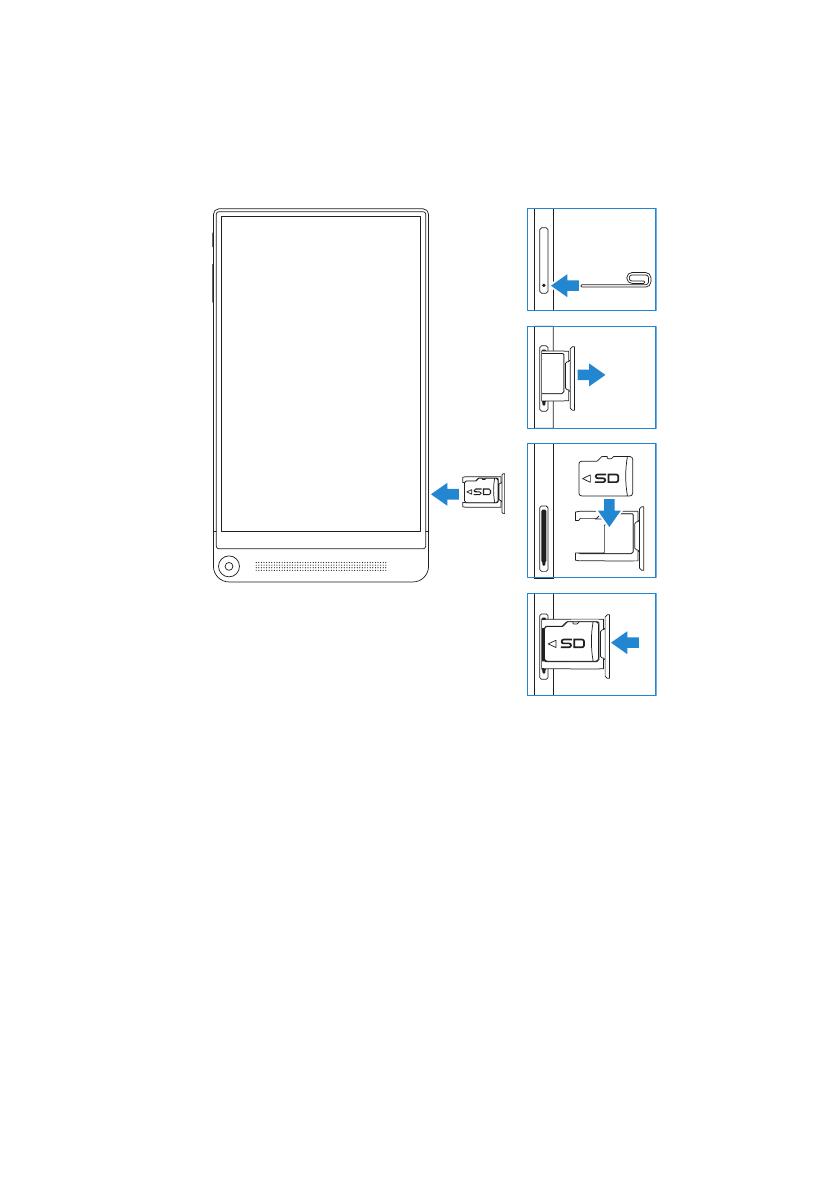
Inserting a MicroSD Card
1 Insert a pin or paper clip into the pinhole on the microSD‑card
tray so that the microSD‑card tray pops out.
2 Remove the microSD‑card tray.
3 Align the microSD card so that the pins are pointed toward the
card slot and are facing toward the rear of the tablet.
4 Place the microSD card into the microSD‑card tray.
5 Push the microSD‑card tray into the card slot until it locks into
place.
16 | Setting Up Your Tablet
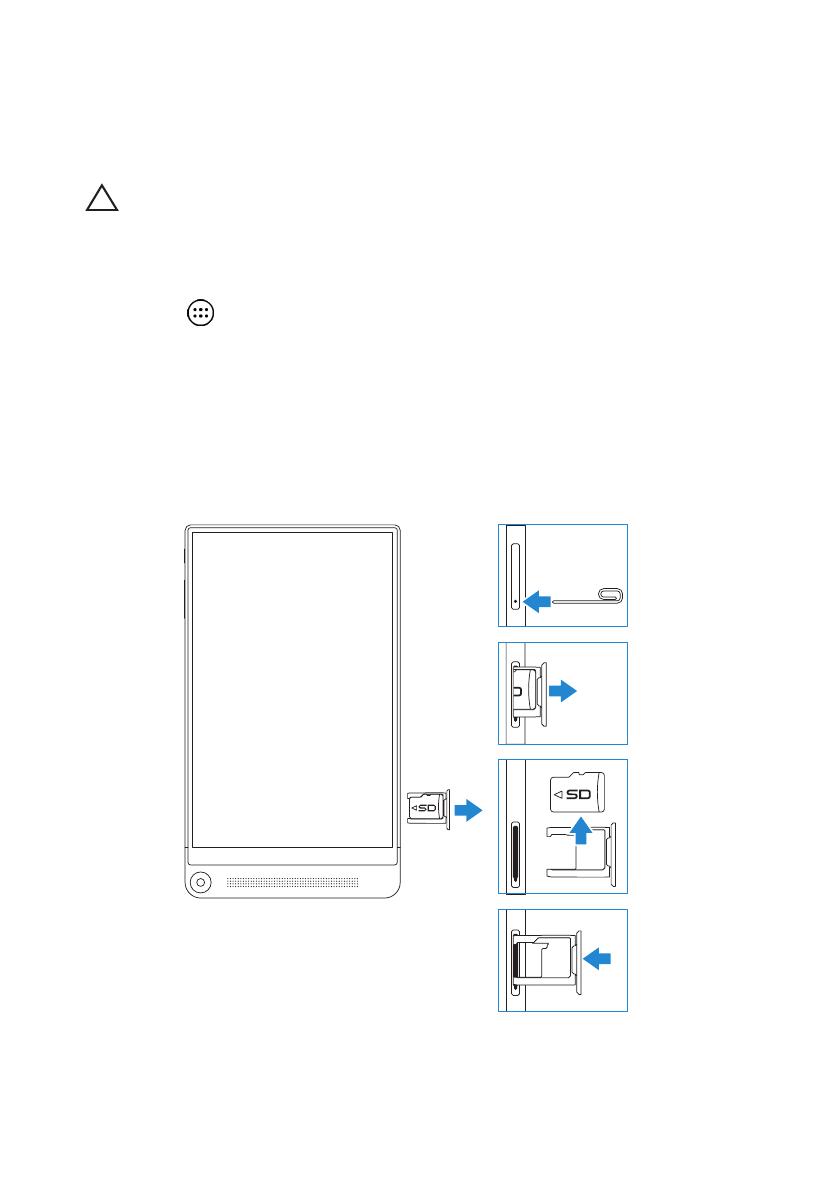
Removing the MicroSD Card
CAUTION: Removing the microSD card while it is in use may
cause data loss or result in application errors. Ensure all save
operations to the microSD card are complete before removing
the microSD card.
1 Touch → Settings→ Storage→ Unmount.
2 Confirm that you want to unmount the microSD card.
3 Insert a pin or paper clip into the hole on the microSD‑card tray
so that the microSD‑card tray pops out.
4 Remove the microSD‑card tray.
5 Remove the microSD card from the tray and push the tray back
into the card slot until it locks into place.
Setting Up Your Tablet | 17
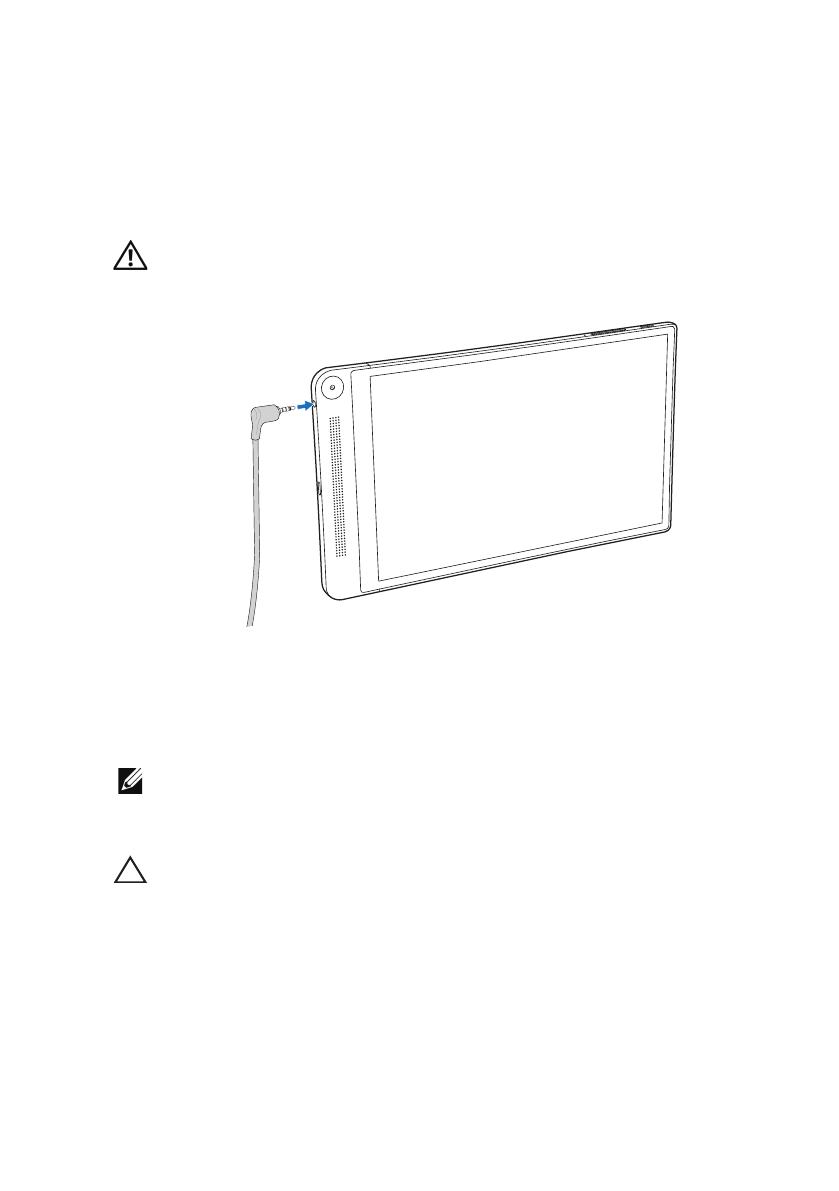
Using Headphones
You can connect a headset, headphones, microphone, or other audio
equipment to the headset port of your tablet.
WARNING: Listening to loud music for an extended period of
time can lead to hearing loss.
1 Connect headphones to the headset port (3.5 mm) on the tablet.
2 Insert the earbuds in your ears, or wear the over‑ear headphones
over your head, and then adjust the volume to a comfortable
level.
NOTE: When you connect an audio device to the 3.5 mm
headset port, the integrated speakers on your tablet are muted
automatically.
CAUTION: To prevent damaging your headphones when
disconnecting it from the tablet, pull the connector and not the
cable.
18 | Using Your Tablet
Using Your Tablet
Wi-FiSetting
Turningon/off Wi‑Fi:
1 Touch → Settings.
2 In the Wi-Fi option, touch the Wi‑Fi slider to turn Wi‑Fi on or
off.
NOTE: You can also swipe down from the top‑right edge of the
display to access the Wi‑Fi setting in the Quick Settings menu.
Connecting to a network:
1 Turn on Wi‑Fi. For information on turning on Wi‑Fi, see
“Turningon/off Wi‑Fi”. A list of available Wi‑Fi networks is
displayed on the screen.
NOTE: To refresh the list of available Wi‑Fi networks, touch
→ Scan at the top‑right corner of the Wi‑Fi menu to scan for all
available Wi‑Fi networks within range.
2 Touch the network you want to connect to.
NOTE: If you are connecting to a secured wireless network, enter
the password for the wireless network access when prompted
and touch Connect.
NOTE: Your tablet connects to the internet only via a Wi‑Fi
network.
Using Your Tablet | 19
BluetoothSetting
Turning on/off Bluetooth:
1 Touch → Settings.
2 In the Bluetooth option, touch the Bluetooth slider to turn
Bluetooth on or off.
Pairing with Bluetooth‑enabled devices:
1 Turn on Bluetooth. For information on turning on Bluetooth, see
“Turning on/off Bluetooth“.
2 Touch → Settings.
3 Touch Bluetooth to detect all the available Bluetooth devices
within range.
4 Touch the Bluetooth device you want to pair within the list of
available devices and touch Pair.
5 If prompted, verify that the Bluetooth passcode that appears on
both the tablet and the Bluetooth‑enabled device are the same.
6 Confirm the pairing process on both the tablet and device.
NOTE: Once a device is successfully paired with the tablet
it automatically connects with the tablet when Bluetooth is
enabled on both tablet and device.
NOTE: To refresh the list of available Bluetooth devices, touch
SEARCH FOR DEVICES at the top‑right edge of the Bluetooth
menu.

20 | Using Your Tablet
Gestures
Your tablet has a multitouch display. You can touch the screen to
operate the tablet.
Finger gestures Allows you to:
Touch
Touch gently on the display with your
fingertip.
• Select items on the screen
including options, entries,
images, and icons.
• Start apps.
• Touch buttons on the screen.
• Input text using the on‑screen
keyboard.
Touch and Hold
Touch and hold your finger on the
display.
• Open the Wallpaper menu
when touching and holding
the background of the Home
screen.
• Move or remove an app or a
widget from the Home screen.
• Add an app icon on the Home
screen.
• Uninstall an app, or view app
information from the All Apps
screen.
/