8
VQT3J56
∫ About the recording format for
recording motion pictures
You can select from AVCHD, 1080/60p or
iFrame recording formats to record motion
pictures using this unit. (l 49, 60)
AVCHD:
You can record high definition quality images
with this format. It is suitable for viewing on a
large format TV or for saving to disc.
1080/60p:
This is a 1080/60p (1920k1080/60
progressive) recording mode that can record
in maximum quality*. 1080/60p motion
pictures can be saved and played back with
this unit or the HD Writer AE 3.0.
* This means the highest quality for this unit.
iFrame:
This is a recording format suitable for
viewing and editing on a Mac (iMovie’11).
Using iMovie’11, iFrame motion pictures can
be imported faster than AVCHD motion
pictures. Also, the imported file size of
iFrame motion pictures will be smaller than
that of AVCHD motion pictures.
≥ It is not compatible with motion pictures
recorded in AVCHD or 1080/60p format.
∫ Indemnity about recorded
content
Panasonic does not accept any responsibility for
damages directly or indirectly due to any type of
problems that result in loss of recording or edited
content, and does not guarantee any content if
recording or editing does not work properly.
Likewise, the above also applies in a case where
any type of repair is made to the unit (including any
other non-built-in memory related component).
∫ Handling of built-in memory
[HDC-TM90]
This unit is equipped with the built-in
memory. When using this component, pay
attention to the following points.
Back up data periodically.
The built-in memory is temporary storage. In
order to avoid erasing data due to static
electricity, electromagnetic waves,
breakage, and failures, back up the data to a
PC or DVD disc. (l 106, 118)
≥
Access lamp [ACCESS] (
l
18) illuminates
while the SD card or built-in memory is
being accessed (initialization, recording,
playback, deleting etc.). Do not perform the
following operations when the lamp
illuminates. It may damage the built-in
memory or cause a malfunction in the unit.
jTurn the unit off (remove the battery)
jInsert and remove the USB cable
jExpose the unit to vibrations or shock
≥
About disposing of or giving away this unit. (
l
143)
∫ Cards that you can use with
this unit
SD Memory Card, SDHC Memory Card
and SDXC Memory Card
≥
4 GB or more Memory Cards that do not have
the SDHC logo or 48 GB or more Memory
Cards that do not have the SDXC logo are not
based on SD Memory Card Specifications.
≥
Refer to page 22 for more details on SD cards.
∫ For the purposes of this
owner's manual
≥ SD Memory Card, SDHC Memory Card
and SDXC Memory Card are referred to
as the “SD card”.
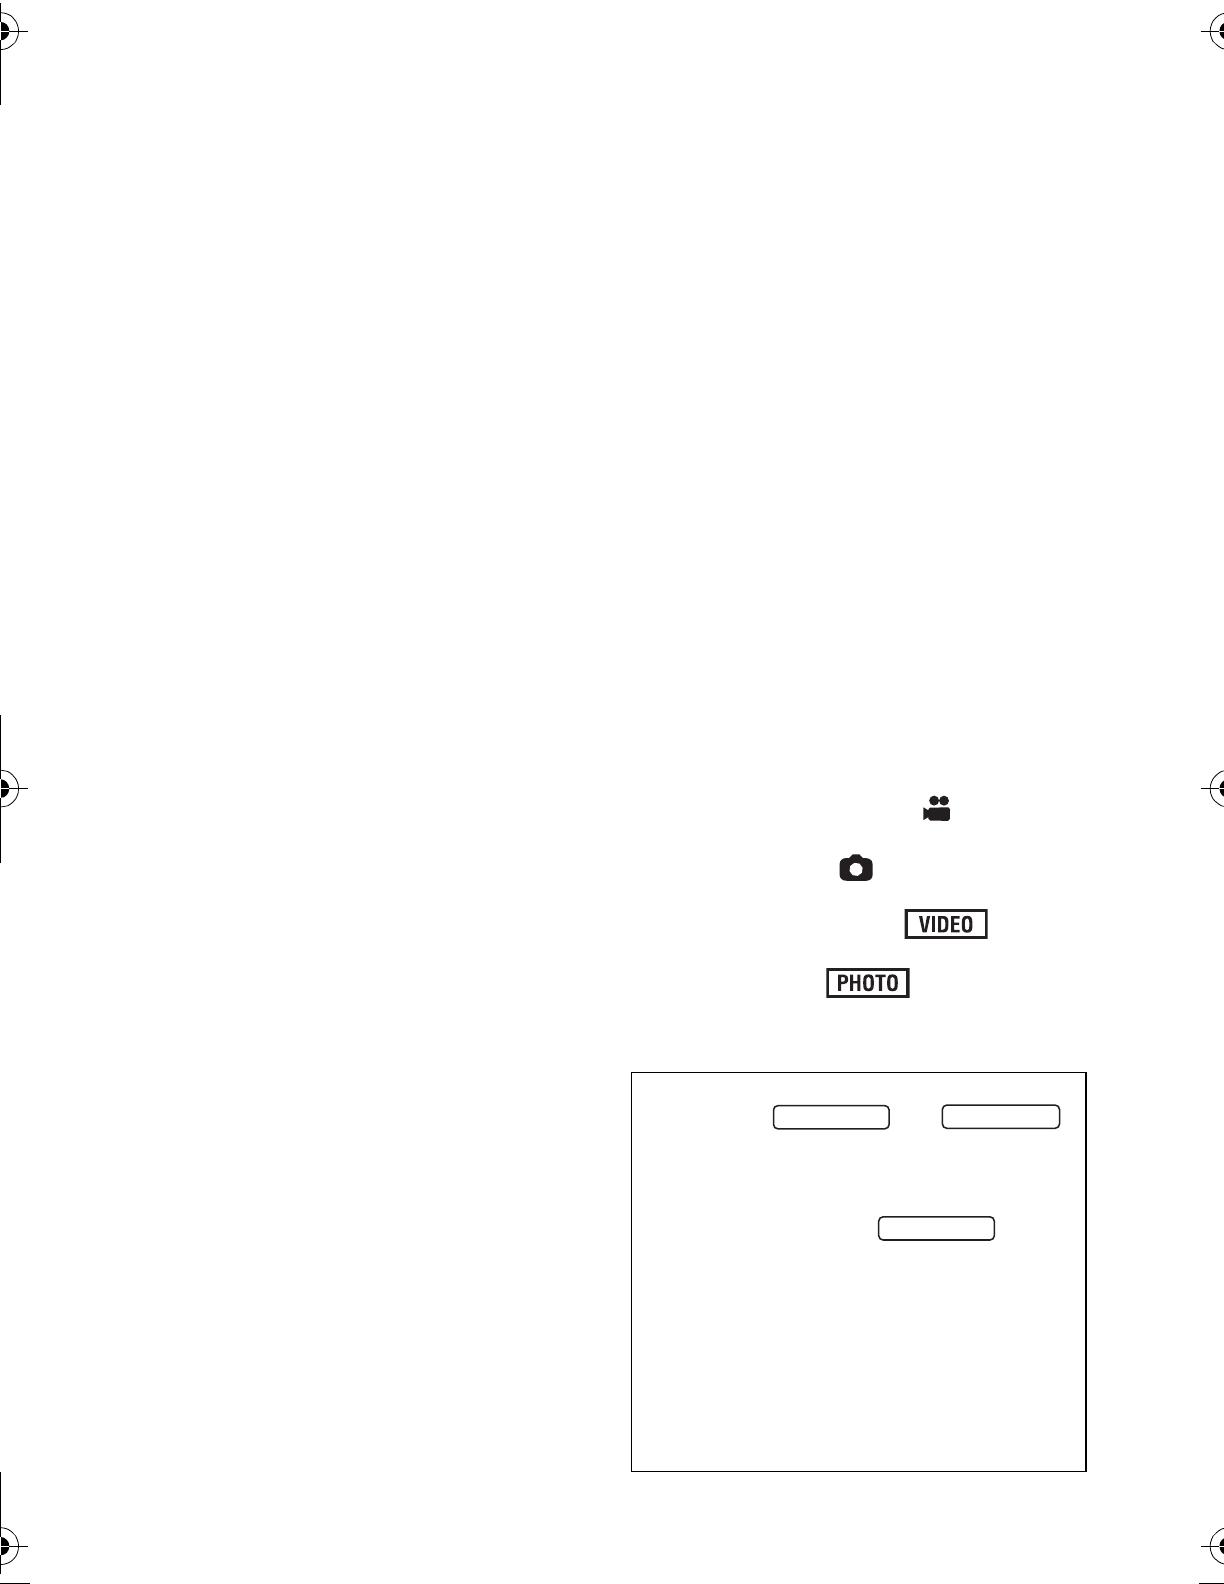
≥ Function that can be used for Motion
Picture Recording Mode:
Function that can be used for Still Picture
Recording Mode:
≥ Function that can be used for Motion
Picture Playback Mode:
Function that can be used for Still Picture
Playback Mode:
≥ Pages for reference are indicated by an
arrow, for example: l 00
This owner's manual is designed for use
with models and .
Pictures may be slightly different from the
original.
≥ The illustrations used in this owner's
manual show model ,
however, parts of the explanation refer
to different models.
≥ Depending on the model, some
functions are not available.
≥ Features may vary, so please read
carefully.
≥ Not all models may be available
depending on the region of purchase.
HDC-SD90
HDC-SD90&TM90-P-VQT3J56_mst.book 8 ページ 2011年1月13日 木曜日 午前9時18分


