Neptronic RM300 is a versatile actuator designed for precise control of dampers in HVAC systems. It features a powerful motor capable of generating up to 360 in.lb. of torque, ensuring reliable operation even under heavy loads. The RM300 is equipped with auxiliary switches for end-of-travel indication and can be programmed for fail-safe operation in case of power loss. Its compact design and easy-to-use interface make it suitable for various applications, including industrial, commercial, and residential buildings.
Neptronic RM300 is a versatile actuator designed for precise control of dampers in HVAC systems. It features a powerful motor capable of generating up to 360 in.lb. of torque, ensuring reliable operation even under heavy loads. The RM300 is equipped with auxiliary switches for end-of-travel indication and can be programmed for fail-safe operation in case of power loss. Its compact design and easy-to-use interface make it suitable for various applications, including industrial, commercial, and residential buildings.


-
 1
1
-
 2
2
-
 3
3
-
 4
4


Neptronic RM300 is a versatile actuator designed for precise control of dampers in HVAC systems. It features a powerful motor capable of generating up to 360 in.lb. of torque, ensuring reliable operation even under heavy loads. The RM300 is equipped with auxiliary switches for end-of-travel indication and can be programmed for fail-safe operation in case of power loss. Its compact design and easy-to-use interface make it suitable for various applications, including industrial, commercial, and residential buildings.
Ask a question and I''ll find the answer in the document
Finding information in a document is now easier with AI
Related papers

Other documents
-
VEVOR U140256C Operating instructions
-
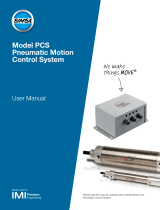 Bimba PCS User manual
-
Trane RTWA 70-125 TON User manual
-
-
Bettis C1415 Controller Board Owner's manual
-
-
Enerdrive DC2DC Plus User guide
-
Delta Tau Acc-8A Owner's manual
-
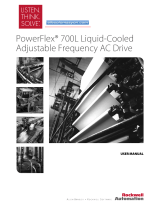 Rockwell Automation PowerFlex 700S User manual
-
Fisher Basis Weight Control Valve Owner's manual

