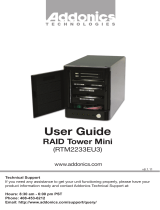
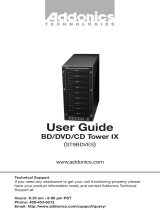
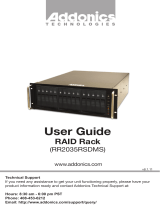
www.addonics.com Technical Support (M-F 8:30am - 6:00pm PST) Phone: 408-453-6212 Email: www.addonics.com/support/query/
Resetting the RAID Mode
NOTE: This procedure destroys all RAID data. It should not harm individual drives or their
contents; however, creating or running backups of all data is strongly recommended before
proceeding.
1. Power down the unit and set the dip switch to the factory default setting
(all switches OFF).
2. While holding the SET button with a ballpoint pen, turn the unit on. A
long beep will sound from the Port Multiplier. The SET button may be
released once the long beep stops.
Setting or Modifying the RAID Mode
NOTE: Setting or modifying the RAID mode destroys all data.
1. Follow the procedure for resetting the RAID Mode.
2. Power down the unit and set the dip switch to the desired RAID Mode.
3. While holding the SET button with a ballpoint pen, turn the unit on. A
long beep will sound from the Port Multiplier. The SET button may be
released once the long beep stops.
If instead of a long beep the Port Multiplier sounds a series of short beeps,
an error has occurred during configuration of the array.
Windows users may install the JMicron HW RAID Manager application
located on the SATA Controller CD. In the CD, browse to Configuration
Utilities → JMB393. The JMicron HW RAID Manager can be used to
create, modify, and monitor the health status of the RAID drives, and
provide status alerts. When configuring the RAID mode using the RAID
Manager application, it is strongly recommended to leave the dip switch in
the factory default setting.
Using identical drives for all settings other than JBOD or LARGE is
strongly recommended. Creating a LARGE array using drives that have
different properties will use all space on all members, and performance
will match that of the member in use during any particular I/O operation.
Creating a RAID using drives that are not all the same size will result in all
members using only as much space as the smallest member. Creating a
RAID using drives that have different performance will degrade the overall
performance of the array.
BZS Switch (SW1:1):
The BZ switch is used to silence the audible alarm buzzer. The OFF
position permits the audible alarm, and the ON position silences the
audible alarm. The BZ switch has immediate effect.