Page is loading ...

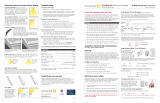
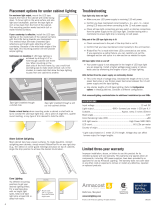
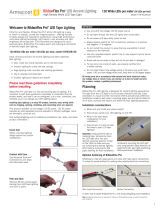
LineLED Wet 24V - Installation Instructions
Models LLRGB42-XX
Please read all instructions prior to installation and keep for future reference!
1. PRODUCT SHOULD BE INSTALLED BY A QUALIFIED ELECTRICIAN
2. ENSURE POWER IS OFF AT FUSE BOX PRIOR TO INSTALLATION TO PREVENT
ELECTRICAL SHOCK
3. USE ONLY WITH CLASS 2 POWER UNIT
4. SUITABLE FOR DAMP LOCATIONS
5. FOR UNDER CABINET OR SHELF MOUNT
6. CONFORMS TO UL STD 2108. CERTIFIED TO CSA
STD NO. 250.0.
7777 Merrimac Ave
Niles, IL 60714
T 224.333.6033
F 224.757.7557
www.luminii.com
REV0.5
10122022
1 / 1
ATTENTION: ALWAYS TEST LLRGB42 BEFORE INSTALLING. CONNECT
LL42-RGB TO POWER SUPPLY TO ENSURE IT IS WORKING PROPERLY AND
NO DAMAGE HAS OCCURRED DURING SHIPPING.
3
4
wire leads
LL42-RGB
solder
pads
wireless or wired
RGBW controller
receiver / decoder
repeater
OPTIONAL
LLRGB42
LLRGB42
24V PSV
power supply
+
-
12
paper backing
LLRGB42
NOTE : Avoid
bending the
LLRGB42 in sharp
horizontal angles
which may damage
the LEDs
NOTE - Avoid bending
near 1” on both side of the
soldered joints.
Soldered joints
*LUMINII RESERVES THE RIGHTS TO CHANGE SPECIFICATION & INSTRUCTION WITHOUT NOTICE
1.1 Clean area thoroughly where tape will be installed.
For rough surface installations, it is recommended to apply a layer of Aluminum
tape or similar material prior to tape application. 2.1 Remove the paper backing from the LLRGB42 and firmly press
down making sure there are no air bubbles that can cause
surface irregularities. Do not remove the adhesive, removing the
adhesive may cause arcing of the Line LED tape.
2.1 If required for installation, cut the LLRGB42 strip between two rows of solder pads.
Always cut LLRGB42 from end without connector / wire leads.
4.1 Follow RGB controller and receiver
instructions for all wiring connections.
Refer to diagram for needed components.
/


