Hyundai H-TV1403 User manual

Category
TV set-top boxes
Type
User manual

Hyundai H-TV1403 is a color television with a 14-inch (37 cm) screen, featuring PAL/SECAM BG/DK receiving and playback, as well as NTSC 3.58 & 4.43 playback. It boasts stereo sound with two front speakers and a maximum output power of 2x1.5 W. With a 255 program memory, auto & manual programmable scan, and four preset image modes, you'll have a variety of viewing options.

Hyundai H-TV1403 is a color television with a 14-inch (37 cm) screen, featuring PAL/SECAM BG/DK receiving and playback, as well as NTSC 3.58 & 4.43 playback. It boasts stereo sound with two front speakers and a maximum output power of 2x1.5 W. With a 255 program memory, auto & manual programmable scan, and four preset image modes, you'll have a variety of viewing options.

H-TV1403
COLOUR TELEVISION 
Instruction manual 
2
Dear customer!
Thank you for buying HYUNDAI color TV. Before operating the unit please read this manual thoroughly and retain it for future
reference.
Table of contents
Table of contents............................................................................................................................................................................................................ 2
Important safeguard ....................................................................................................................................................................................................... 3
Colour TV features ........................................................................................................................................................................................................ 4
Preparation..................................................................................................................................................................................................................... 4
Control location ............................................................................................................................................................................................................. 7
External connection........................................................................................................................................................................................................ 8
Remote control............................................................................................................................................................................................................... 9
Basic Operation............................................................................................................................................................................................................ 12
Preset menu ................................................................................................................................................................................................................. 12
Picture menu ................................................................................................................................................................................................................ 14
Audio menu ................................................................................................................................................................................................................. 15
Clock menu.................................................................................................................................................................................................................. 16
Option menu ................................................................................................................................................................................................................ 16
System menu................................................................................................................................................................................................................ 18
The causes of interference............................................................................................................................................................................................ 19
Troubleshooting guide ................................................................................................................................................................................................. 20
Cleaning....................................................................................................................................................................................................................... 22
Specifications............................................................................................................................................................................................................... 23
3
Important safeguard
· Before the first connecting of the appliance check that voltage indicated on the rating label corresponds to the mains voltage in your home.
· Do not use the color television for any other purposes than those described in this instruction manual.
· Do not use outdoors.
· Always unplug the color television from the power supply when not in use and before cleaning.
· Do not expose the appliance to rain or moisture.
· Do not install the appliance near bathtub, laundry tub, etc.
· Do not place the appliance near heat sources such as radiators or gas/electric fires.
· It also should not be placed in temperatures less than 5ºC or greater than 40ºC.
· Do not place hot objects such as candles or nightlights on, or close to the appliance. High temperatures can melt plastic and lead to the fire.
· Do not block or cover the ventilation holes. Allow 10 cm clearance from the rear, 10 cm from the top of the appliance, and 10 cm from each side.
· Do not place the appliance on a bed, rug or similar surface that may block the ventilation openings.
· Do not place the appliance in a built-in installation such a bookcase, cabinet or airtight rack where ventilation may be impeded.
· Place the appliance on a flat level surface avoiding anywhere, which may be subject to strong vibration.
· The appliance should be moved with care, as the weight balance is not even. Do not place heavy objects on the appliance.
· Do not allow anyone, especially children, to push anything into the slots or any other openings in the cabinet.
· Do not allow children to play with the remote control.
· Do not place the appliance near appliances, which may cause electromagnetic interference, such as microwave ovens or loudspeakers.
· For added protection against lightning, or when left unattended and unused for an extended period of time, unplug the appliance from the power
supply.
· Do not leave the appliance switched on when you do not use it.
· Do not operate after malfunction or damage of cord.
· Do not handle the plug with wet hands.
· Do not attempt to repair, adjust or replace parts in the appliance. Repair the malfunctioning appliance in the nearest service center.
· In case of smoke, strange noise or strange smell from the unit, switch it off, unplug it from the wall outlet and contact your dealer or service center.
· When the TV being moved from cold place, it needs some right time for dew inside unit evaporating fully before turn on the unit.
· Disconnect the AC power supply cord while connecting external equipment.
4
Colour TV features
· 14 (37 cm)
· PAL/SECAM BG/DK receiving and playback
· NTSC 3,58 & 4,43 playback only
· 2 front speakers
· Stereo, maximum output power 2x1.5 W
· 255 program memory
· Auto & manual programmable scan
· 4 preset image modes
· Multifunctional colored Russian / English OSD
· Multifunctional Remote Control
· Child lock function
· Clock
· Off programmable timer
· Real time On/Off programmable timer
· Side and back Audio / Video input jack
· Headphone jack
· Adjustment resume function
Preparation
Connection of antenna
Indoor antenna
Connect the end of feeder from the telescopic antenna to a 75 Ohm ~ 300 Ohm converter and plug the converter into the antenna socket on the rear of
the unit. Adjust the antenna length, angle and direction until optimum reception is achieved.
Outdoor antenna
When the optimum reception cannot be obtained with indoor antenna due to shielding by concrete building, nearby tall buildings or hills, outdoor
antenna is required for better reception.
When 75 Ohm coaxial cable is used for wiring, directly plug antenna into the antenna socket on the rear of the unit.
When 300 Ohm flat feeder cable is used for wiring, trim the end of feeder cable as the following figure shown, and connect the end to a 75 Ohm ~ 300
Ohm converter, then plug the converter into the antenna socket on the rear of the unit.
5
Inserting the batteries in the remote control
1. Detach the battery cover on the rear of the remote control and insert two batteries size AAA according to the diagram in the battery compartment.
Note:
1.The batteries will last at least one year under normal operation.
2.If you do not intend to use the remote controller for a long period of time, remove them to avoid damage due to leakage.
3.Do not mix the old batteries with new one.
Use of Remote control
Point the remote towards the sensor on the main unit.
Note:
1.If direct sunlight, incandescent light, or any other strong light sources hit the remote control, use of the remote control may not be possible.
2.If there is an obstacle between the main unit and the remote control, use of the remote control may not be possible.
6
Input and output terminals
Side AV jacks
7
Rear AV jacks
Control location
1. Remote Sensor
2. Power Indicator
3. AV/TV Button
4. Menu Button
5. Volume Down Button
6. Power Switch
7. Volume Up Button
8. Program Down/Up Buttons
8
External connection
VTR, DVD connection
· To view the program played on VTR, connect the VIDEO OUT and AUDIO OUT of the VTR to the VIDEO IN jack (VIDEO), AUDIO IN
(AUDIO) jacks on the rear panel of the unit respectively. This unit has AV inputs, AV IN on the rear Cabinet are for VIDEO mode using.
· As this unit has AV output terminal, for storing TV program, you can connect a set of cables between the AV out jacks on the TV and the AV
IN jacks on the VTR separately.
Connect to Audio equipment
Connect this unit with the audio input terminal (pinhole) of a stereo system, then you may enjoy quality sound at the same time of enjoying quality
picture.
9
Remote control
10
POWER
Power (Stand By) button
Press this button to turn the TV on/off. Press this button or Program Button, picture and sound will come on within a few seconds.
MUTE
Mute button
Press this button to mute the sound, red MUTE will display on the screen.
Press it again of press VOL to return to previously set sound level.
SYSTEM
System button
Press this button to enter system menu.
0-9
-/--
Program selection button
Push the number for your desired program and the program indicator will be displayed on the screen. Press 0~9 numeric buttons to
select single digit channels. For double or triple digit channels, press (-/--) followed by the 0~9 numeric buttons.
PROG
PROG , PROG button
Press the PROG button to select the program forwards.
Press the PROG button to select the program backwards.
VOL
Volume buttons
Press these buttons to decrease or increase the volume.
P.P.
Personal presets button
You can select four preset image effects and one custom effect: STANDART, SOFT, VIVID, LIGHT, PERSONAL.
RECALL
Recall button
Press this key to view the previous program.
For example:
If Program 3 is viewed before Program 16, pressing this button will return to Program 3. To return to Program16, just press this button
again. This button is used to swap between the current and previous Program.
SLEEP
Sleep button
Press SLEEP button to display the following time on the screen for you to select: 10 -> 20 -> 30.....->OFF
To cancel sleep time, press SLEEP button continuously until OFF appears.
MENU
Main MENU button
Press MENU button to enter main menu
11
LOCK
Lock button
The key is to prevent a child watching the TV.
Press this button to display password menu. Input your correct password to enter LOCK menu.
Set CHANNEL LOCK ON or OFF to lock or unlock current channel.
Set AV LOCK ON or OFF to lock or unlock all AV.
Change password: select CHANGE PASSWORD and use VOL button to display "please input old password" on the screen, then
input your old password, and "please input new password" will display on the screen, just input your new password, and "please input
new password" will display again to check your new password; If the password you input is the same, "password changed please
remember" and the password has changed, if "password not changed please remember" displaying on the screen, that means your
password has not changed.
If channel or AV is locked, a small lock figure will appear on channel/AV OSD.
2173 is the default password for unlocking the LOCK menu.
TV/AV
TV/AV button
Press this button to select TV AV repeatedly.
DISPLAY
Display button
Press this button to display current program number, color system, sound system, clock (if have), sleep time (if you have set sleep
time. If you have set OFF time, then sleep time will be OFF time) information. If you are watching AV program, the information does
not include sound system. Information display will disappear 5 seconds later.
If OSD information has been displayed on the screen and pressing this button will exit OSD displaying.
If you are playing game, press this button to exit game.
PICTURE
Picture button
Press this button to enter into the PICTURE menu.
OPTION
Option button
Press this button to enter into the OPTION menu
ZOOM
Zoom button
Press ZOOM button, screen size will change as below:
Normal Wide Normal Zoom
12
Basic Operation
Power ON/ OFF
Connect to the mains
Insert the mains plug of the unit into 110~240V AC mains outlet, unplug it when the unit will not be used for a long period of time.
How to power on/off
1. Press the main power switch, the image or snowy picture will display.
2. In case of the screen no snowy or picture, press POWER button on the remote control to exit Standby status.
3. If you want to turn off the unit temporarily during watching, press down POWER button on the remote control.
4. Press down the POWER switch on the unit to power off completely.
Non-signal automatic power-off in 10 minutes
In case the unit under non-signal screen saver state, TV will enter standby status automatically 10 minutes later, to turn it on again, please press down
POWER button on the remote control or PROG. button on the unit.
Memory Function Before Power off
The setting of picture, sound and the preset channels will be memorized before turning off the unit. When being started up again, the unit will work
according to your preset settings before being turned off. But please note that if the mode is AV before being turned off, it will work under AV mode
when being started again.
Preset menu
Presetting the channels
This unit being offered automatic and semi-automatic preset way to preset channel, select one to set channels.
Auto Search preset
1. Press MENU button six times to enter PRESET menu as the figure shown:
2. Press PROG. button to select AUTO-SEARCH.
3. Press VOL button to start AUTO-SEARCH, and the program will return to program 0 at the end of searching.
4. Press MENU button again to stop searching at any time.
13
After presetting:
Press PROG. button to check every channel, if the image or sound of one channel is abnormal, please press SYSTEM button to enter SYSTEM
menu and adjust colour or sound .
Search preset
1. Use PROG. button or number buttons to select one channel you desired.
2. Press MENU button six times to enter PRESET menu as the figure shown.
3. Use PROG. button to select SEARCH as the figure shown.
4. Press VOL button to search higher position channel or VOL button to search lower position channel, when one program being selected, the
searching will stop and store this program.
5. Press MENU button again to stop searching during SEARCH operation.
6. Press MENU button to return to normal picture. If you need to preset other channels, just repeat step1 to step 6.
7. You can adjust all your desired channels to your desired program with this function.
Fine tune preset (FINE)
1. Press PROG. button or number buttons to select one channel.
2. Press MENU button six times to enter PRESET menu as figure shown.
3. Press to select FINE.
4. Press VOL button to search higher position channel or press VOL button to search lower position channel, loose VOL or VOL
button when reaching one program.
5. Press MENU button to return to normal picture, to set other channels, please repeat step 1 to step 4.
6. If one program has been preset with fine tune, AFT function will be off automatically and this program number will display in yellow while
you select this program to watch.
Skip unnecessary program number
1. Use PROG. or number buttons to select one channel.
2. Press MENU button six times to enter PRESET menu as figure shown.
14
3. Press PROG. button to select REMEMBER ON.
4. Press VOL button to set REMEMBER to OFF.
5. Press MENU button to exit menu, and when you press PROG. button to select program to watch, this program you have set will be skipped.
6. To restore the skipped program number, repeat above step except that the display to the right of REMEMBER should be OFF instead of ON.
Picture menu
Picture control
Selection of Picture Effect
Press P.P button on the remote control to select four preset image effects and one custom effect.
Adjust picture effect
1. Press MENU button one time or PICTURE button on the remote control to enter PICTURE menu as shown:
2. Using PROG. button or PICTURE button to select the item you need to adjust, then press VOL button to adjust the value or mode. If
you adjust the value, the menu will display every item separately as shown:
15
ITEM VOL- VOL+
BRIGHT DARK BRIGHT
CONTRAST LIGHT HEAVY
COLOR WEAK STRONG
SHARP LOW HIGH
3. Color temperature has three modes: Normal/Cool/Warm, it is usually set to Standard mode.
4. Press MENU button sequentially to return to the normal picture.
Audio menu
Sound control
1. Press MENU button two times to enter AUDIO menu as shown:
ITEM VOL- VOL+
VOLUME WEAK STRONG
TREBLE WEAK STRONG
BASS WEAK STRONG
BALANCE L STRONG R STRONG
MODE MEMORY/MUSIC/MOVIE/NEWS
SURROUND ON/OFF
2. Press PROG. button to select the item you need to adjust, then use VOL button to adjust the value or mode.
3. Press MENU button continuously to return to normal picture.
4. Press VOL button on the remote control to control the volume of program as figure shown.
16
Clock menu
Function Selection
CLOCK setup
1. Press MENU button four times to enter CLOCK menu as the figure shown.
2. Use PROG. button to select the item you need to change, then use VOL button to set the clock. You can set minutes with VOL
button and set hour with VOL button.
3. Please set TIME first after entering CLOCK menu, else other items cannot be set.
4. ON-TIME, set time to turn on TV at preset time.
5. OFF-TIME, set time to turn off TV at preset time.
6. ALARM, set time to make your alarm at preset time, and when the time is up, one flickering clock figure will display on the screen till you
press any button to exit.
7. BESPOKE TIME, set the time to swap program to your preset program number at preset time, and the program will swap to your desired
program when time is up.
8. POSITION, set program number you want to watch at preset time or at time turning on TV.
9. Press MENU button continuously to return to normal picture.
Option menu
1. Press MENU button three times or OPTION button directly to enter OPTION menu as figure shown.
17
2. Press PROG. button to select the item you need to change, then use VOL button to adjust the settings or enter the next OSD.
3. You can select OSD language in English/Turkish/Russian/Arabic/Persian.
4. When you set SCREEN SAVER to ON, screen will display a lovely pet when there is no signal transmission. When SCREEN SAVER is set to
OFF, screen will display black or snowy picture when there is no signal.
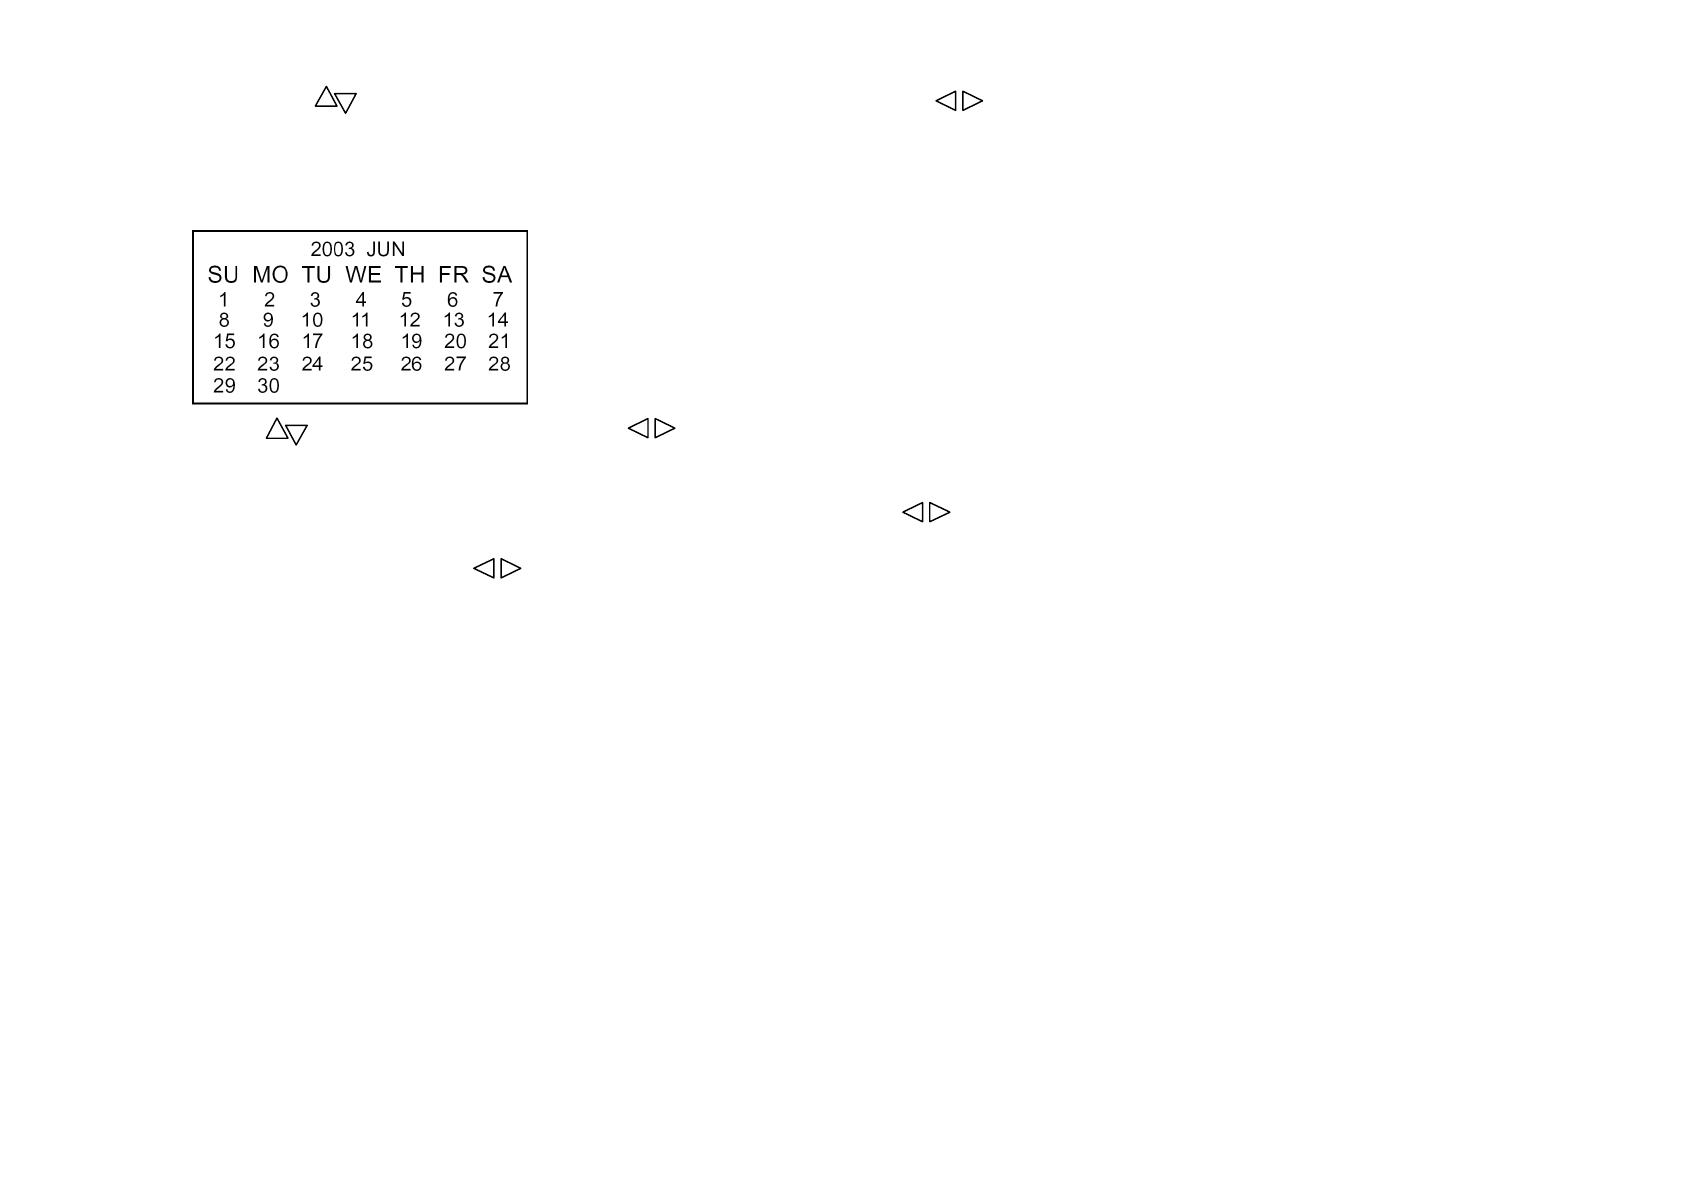
5. Enter Calendar menu as the figure shown:
Use PROG. Button to change year and VOL button to change month.
Press DISPLAY button to exit or press other button to swap to another menu.
6. Press MENU button continuously to return to normal picture.
7. Game1 (Money collection), after entering game menu, you can use VOL button to move left or right, RECALL button to pause during
game or to reply when game is over.
If game is paused just press VOL button or RECALL button to continue.
Press DISPLAY button to exit the game.
Other buttons except POWER button are not available when playing game. When the game starts, moneybag, coin, snow, cross, heart and bomb
will fall from the top, if you get the moneybag or coin, your score will be added, one moneybag will add 10 scores and one coin add 5 scores, all
moneybags and coins you have got will be counted automatically when the game over.
When the game just starts, the man will be green color, if you get snow, the man will turn into white (means the man is frozen) and the move speed
(left or right) will be slower, if you get cross after being frozen, the Speed will recovery; but if you get the bomb, then game over and the color of
the man will be red; if you get heart, the man will be purple for 5 seconds, and the game will not over even you get bomb when the man is purple.
This game will be one higher level every three minutes, and higher the level is, faster the falling speed will be.
8. Game2 (888):
Press RECALL button to play this game after you entering this game;
Press DISPLAY to exit the game.
Game rule:
If one of three numbers is 8, you will get one golden coin, two numbers are the same number but not 8, and you will get 2 golden coins;
If these two same numbers are 8, you will get three golden coins;
If these three numbers are in order (e.g. "123","321"), you will get 4 golden coins;
If these three numbers are the same numbers, you will get 5 golden coins.
9. BLACK.STRETCH are black level functions, extension you can set them to OFF or ON.
18
System menu
System Setup
1. Press MENU button five times or SYSTEM button directly to enter SYSTEM menu as the figure shown.
2. Press PROG. button to select the item you need to change, then use VOL button to adjust the item.
3. Color system: AUTO/PAL/N3.58/N4.43/SECAM.
4. Sound system: 4.5M/5.5M/6.0M/6.5M.
5. Color system and Sound system will be stored separately for every program.
6. SYSTEM menu would not be displayed under AV mode, please press SYSTEM button to change color system for AV mode.
7. EXCHANGE:
Select this item, then use 0~9 number buttons and -- button to input program number, use VOL button to exchange current program content
with the program number you have selected.
8. Press MENU button continuously to return to the normal picture.
19
The causes of interference
Incorporated in your TV receiver are the most up to-date devices to eliminate interference. Local radiation however, can create disturbances which
visibly affect your picture. Proper installation, a good aerial are your best safe-guards against these disturbances.
RF INTERFERENCE
Moving ripples across the screen are caused by nearby transmitting or receiving-short-wave radio equipment.
DIATHERMY
Herringbone pattern and partial picture loss can result from the operation of diathermy equipment from a nearby doctor's surgery or hospital.
SNOW
Weak TV signals from long distant stations result in an instead picture and give the effect of falling snow. An antenna adjustment or antenna amplifier
may be needed.
GHOST
Multiple image caused by TV signals reflected back from surrounding buildings, hills, aircraft, etc. is minimized by correct aerial positioning.
CAR IGNITION
Nearby cars and electrical motors can cause small streaks across the picture or make the picture roll.
20
Troubleshooting guide
· Before requesting servicing, check following points please.
Malfunction Check and adjustment
No picture, no sound Try different channel, if OK probably station trouble.
Check aerial connections on back of set.
Check aerial for broken wires.
Adjust fine tuning control.
Check if system switch is correct.
Check if on/off switch is on.
Poor sound, picture OK
Try different channel, if OK probably station trouble.
Re-orient aerial (if indoor type).
Probably local interference, such as an appliance.
Adjust fine tuning control.
Check if system switch is correct.
Poor picture, sound OK
Try different channel, if OK probably station trouble.
Check aerial connections on back of set.
Check aerial for broken wires.
Re-orient aerial (if indoor type).
Probably local interference, such as an appliance.
Adjust fine tuning control.
Adjust brightness control.
Check if system switch is correct.
Weak picture
Try different channel, if OK probably station trouble.
Check aerial connections on back of set.
Check aerial for broken wires.
Re-orient aerial (if indoor type).
Check if system switch is correct.
Blurred picture Try different channel, if OK probably station trouble.
Check aerial for broken wires.
Re-orient aerial (if indoor type).
Adjust fine tuning control.
  • Page 1 1
  • Page 2 2
  • Page 3 3
  • Page 4 4
  • Page 5 5
  • Page 6 6
  • Page 7 7
  • Page 8 8
  • Page 9 9
  • Page 10 10
  • Page 11 11
  • Page 12 12
  • Page 13 13
  • Page 14 14
  • Page 15 15
  • Page 16 16
  • Page 17 17
  • Page 18 18
  • Page 19 19
  • Page 20 20
  • Page 21 21
  • Page 22 22
  • Page 23 23
  • Page 24 24
  • Page 25 25
  • Page 26 26
  • Page 27 27
  • Page 28 28
  • Page 29 29
  • Page 30 30
  • Page 31 31
  • Page 32 32
  • Page 33 33
  • Page 34 34
  • Page 35 35
  • Page 36 36
  • Page 37 37
  • Page 38 38
  • Page 39 39
  • Page 40 40
  • Page 41 41
  • Page 42 42
  • Page 43 43
  • Page 44 44
  • Page 45 45
  • Page 46 46

Hyundai H-TV1403 User manual

Category
TV set-top boxes
Type
User manual

Hyundai H-TV1403 is a color television with a 14-inch (37 cm) screen, featuring PAL/SECAM BG/DK receiving and playback, as well as NTSC 3.58 & 4.43 playback. It boasts stereo sound with two front speakers and a maximum output power of 2x1.5 W. With a 255 program memory, auto & manual programmable scan, and four preset image modes, you'll have a variety of viewing options.

Ask a question and I''ll find the answer in the document

Finding information in a document is now easier with AI