Panasonic ET-PKL430B User manual

Category
Projector mounts
Type
User manual

Panasonic ET-PKL430B is a projector mount bracket for installing projectors. It offers secure installation with adjustable tilt and drop-prevention kit, ensuring your projector is stable and safe. Compatible with designated Panasonic projectors, it allows for flexible positioning and easy adjustment.

Panasonic ET-PKL430B is a projector mount bracket for installing projectors. It offers secure installation with adjustable tilt and drop-prevention kit, ensuring your projector is stable and safe. Compatible with designated Panasonic projectors, it allows for flexible positioning and easy adjustment.

ENGLISH
Installation Instructions
Projector Mount Bracket
TQZJ602-3
Model No.
ET-PKL430B
* The gure above shows a combination of this product and the separately sold ceiling mount bracket (for low
ceilings) ET-PKL100S.
Thank you for purchasing this Panasonic Product.
JTo customers
The “Installation Instructions” is intended for use by installation personnel. Be sure to employ certied
personnel to perform the installation. After installation, have the installation personnel return this “Installation
Instructions” to you, and save it for future use. When moving or removing the projector, give this “Installation
Instructions” to the installation personnel and have them perform the procedure.
JTo installation personnel
Carefully read the “Installation Instructions” and install this product correctly and safely.
Be sure to read through the section entitled “Read this rst!” (page 3) before proceeding with the installation.
After installation, return this “Installation Instructions” to the customer.
2 - ENGLISH
Contents
Read this rst! ................................................................................................... 3
Product description ........................................................................................... 4
Standard installation dimensions .................................................................... 5
Installation .......................................................................................................... 7
Setting up the screen .......................................................................................................... 7
Screws tightening torques .................................................................................................. 7
Installing the bracket to the projector .................................................................................. 7
Attaching the projector drop-prevention kit ......................................................................... 8
Specications .................................................................................................... 9
Dimensional relationship .................................................
............
......Appendix
ENGLISH - 3
CAUTION:
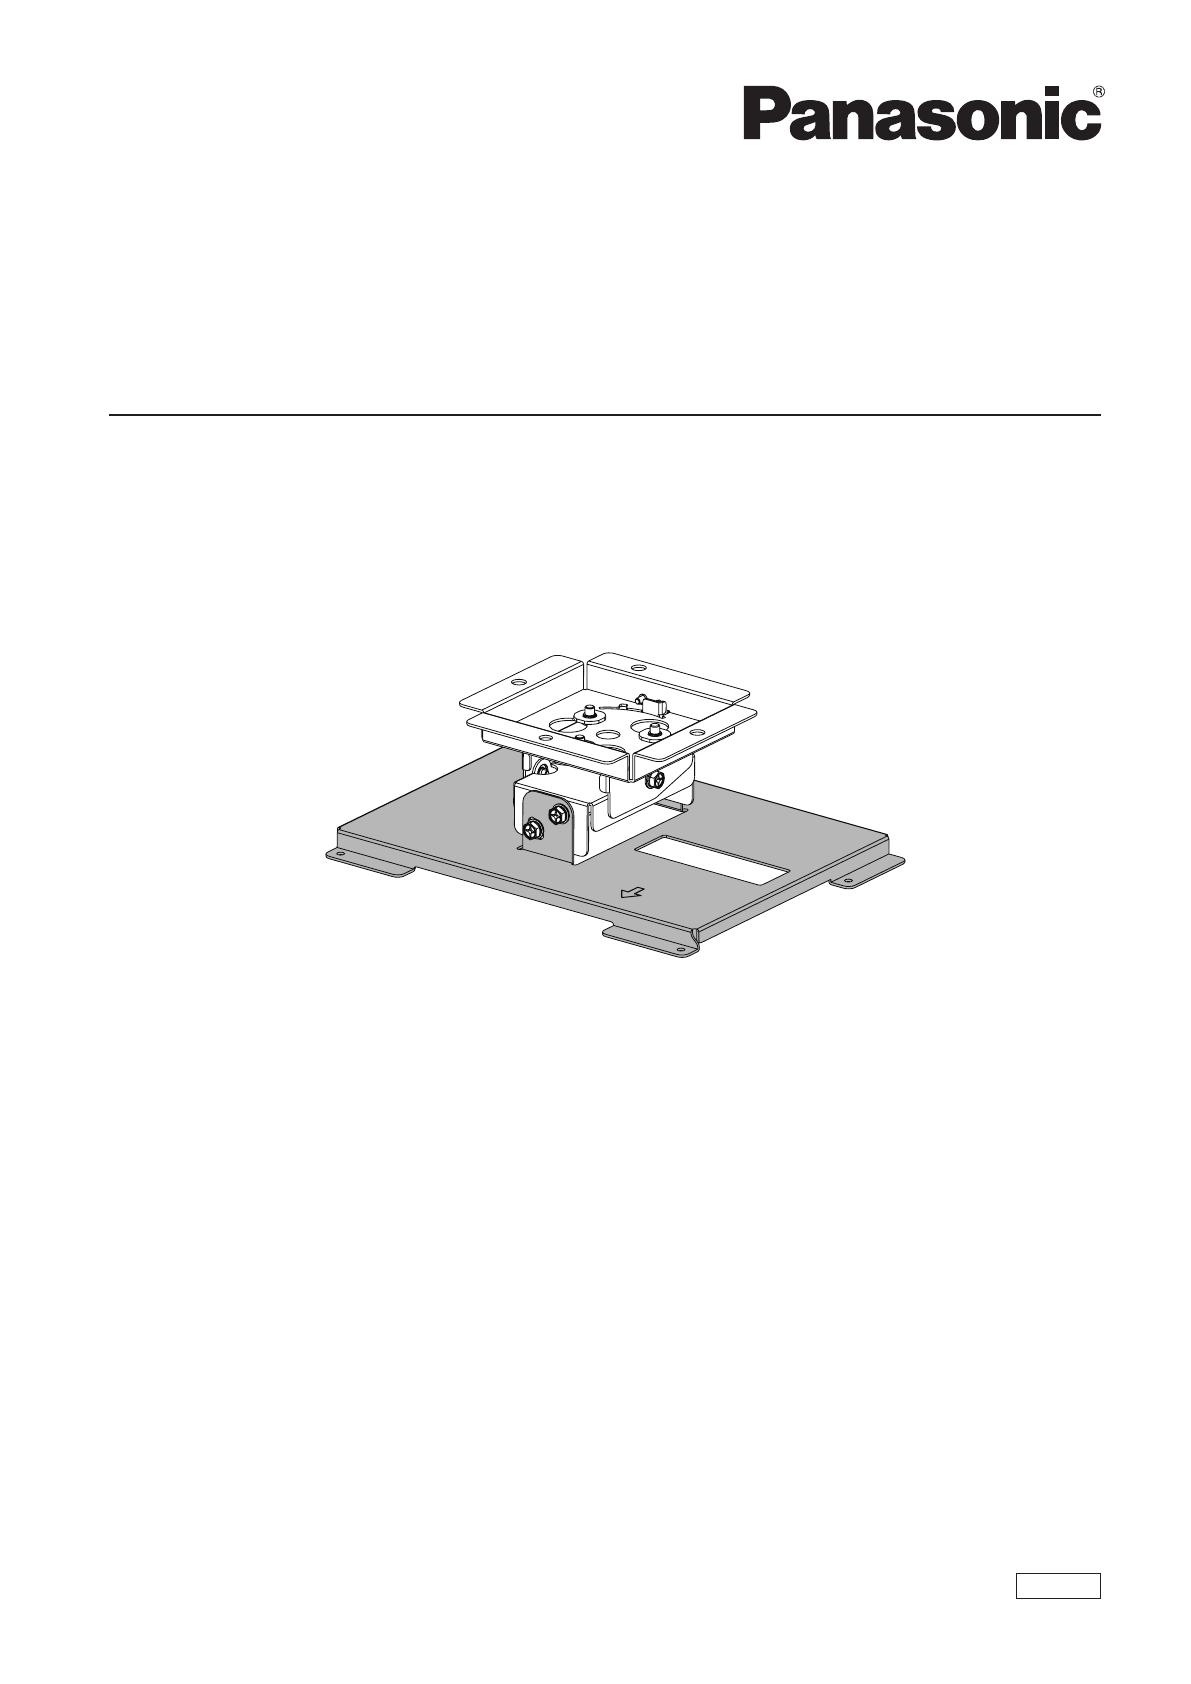
Only install a designated projector.
Only install using a designated method.
zThe projector may fall down and be damaged, and an injury may result.
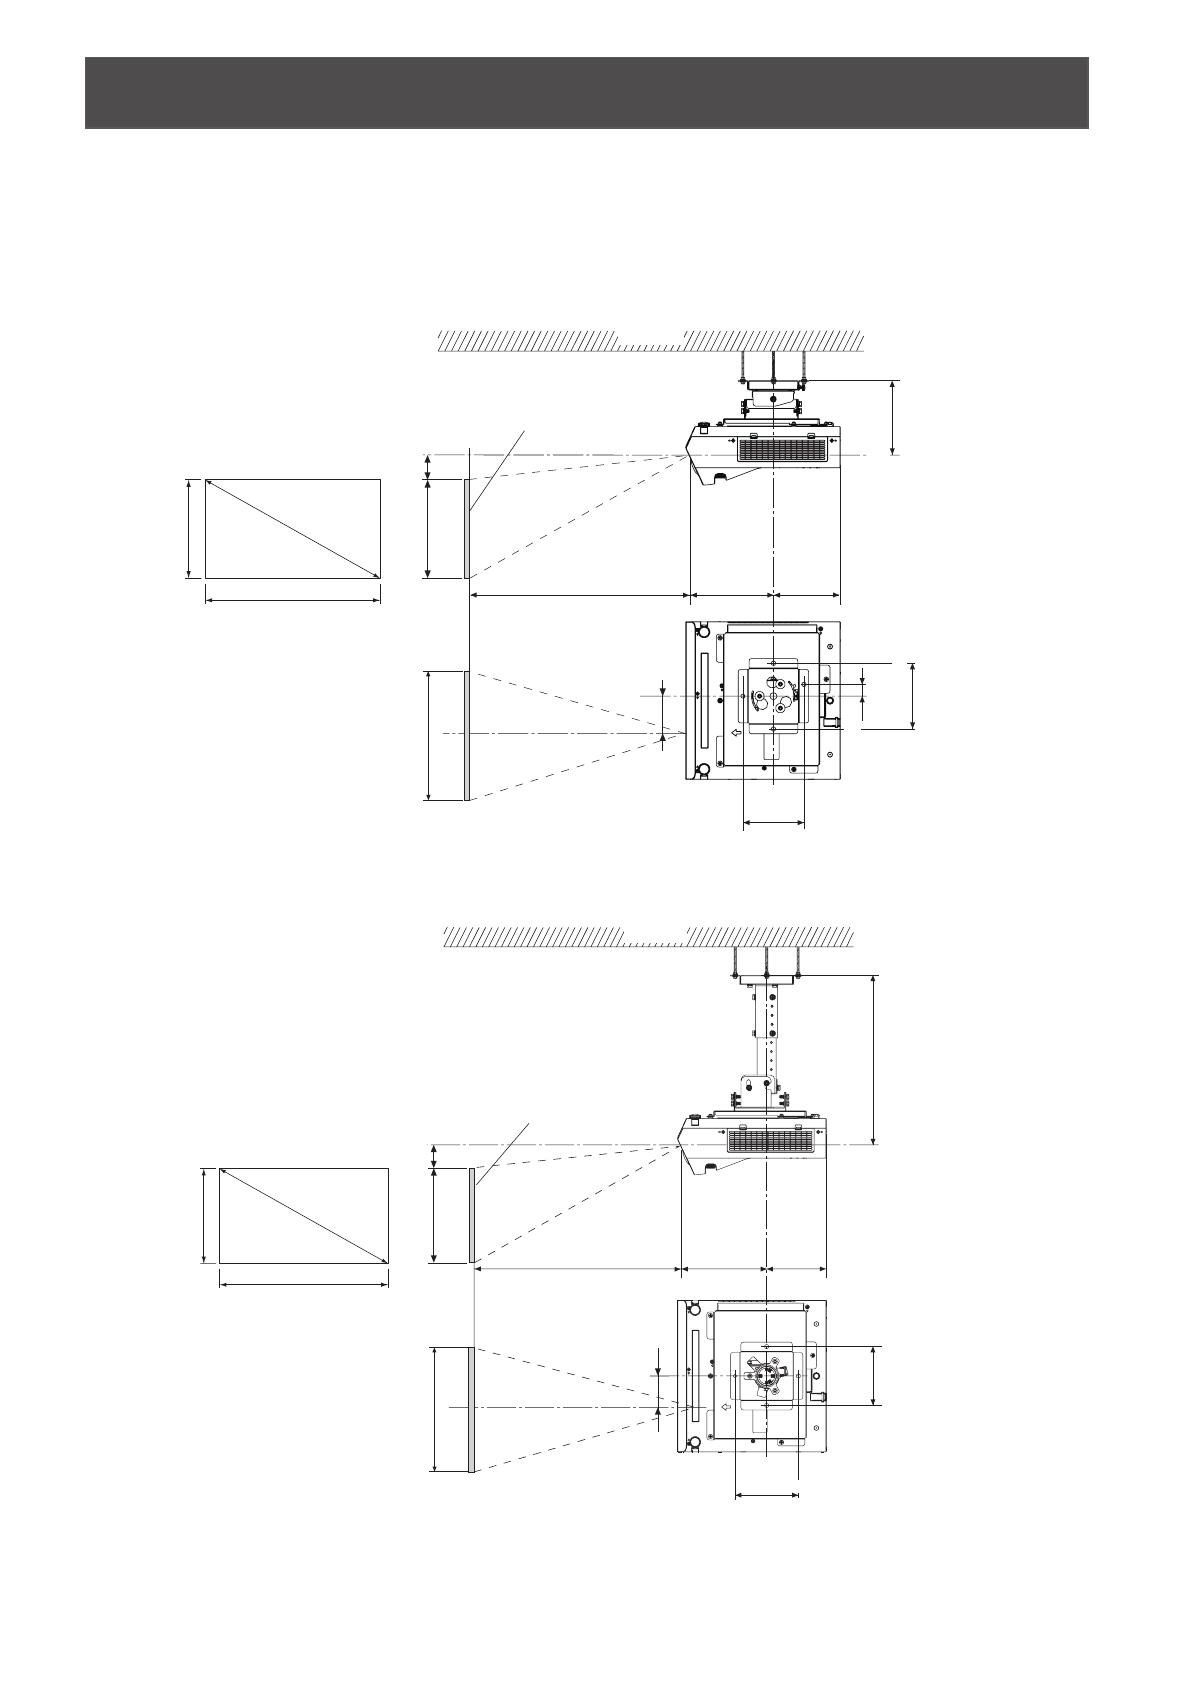
Do not install the unit in a location that may impede projector ventilation.
zA re may result.
Do not hang from or hang objects on the projector or ceiling mount bracket.
zThe projector may fall and cause injury.
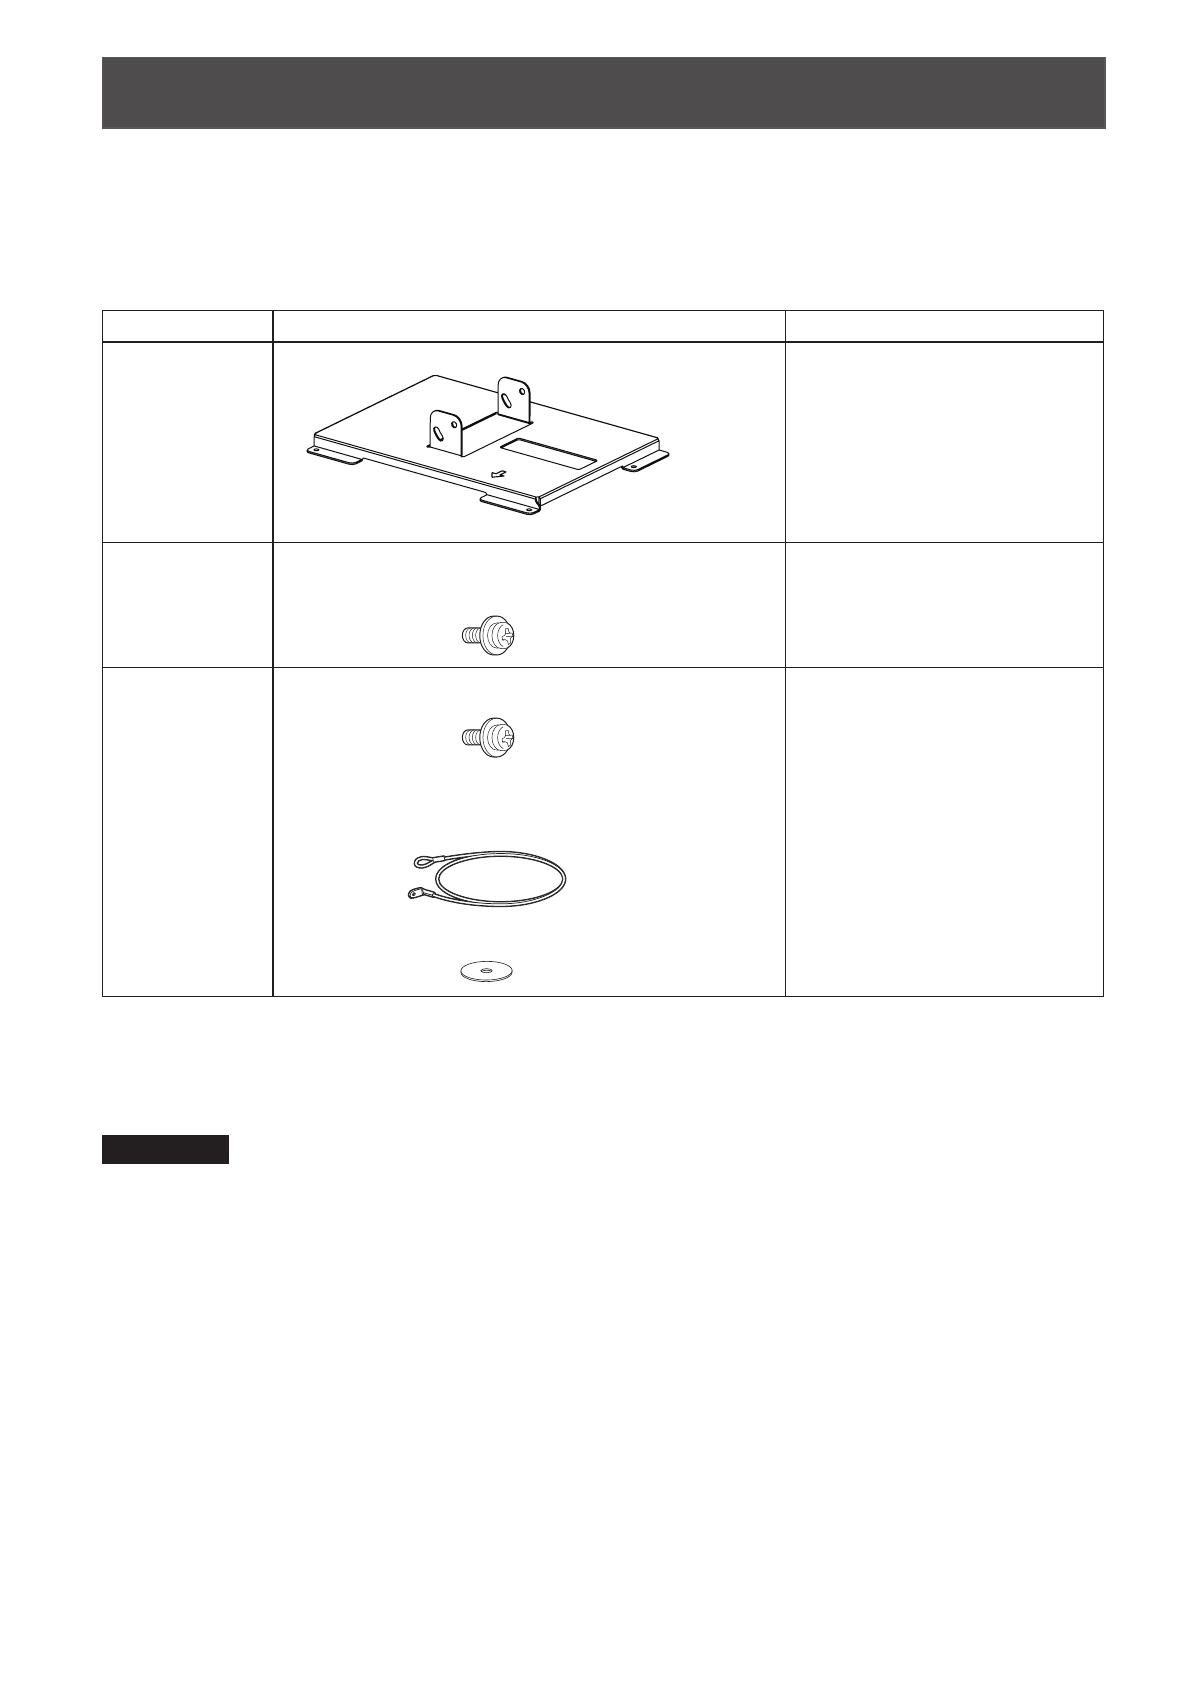
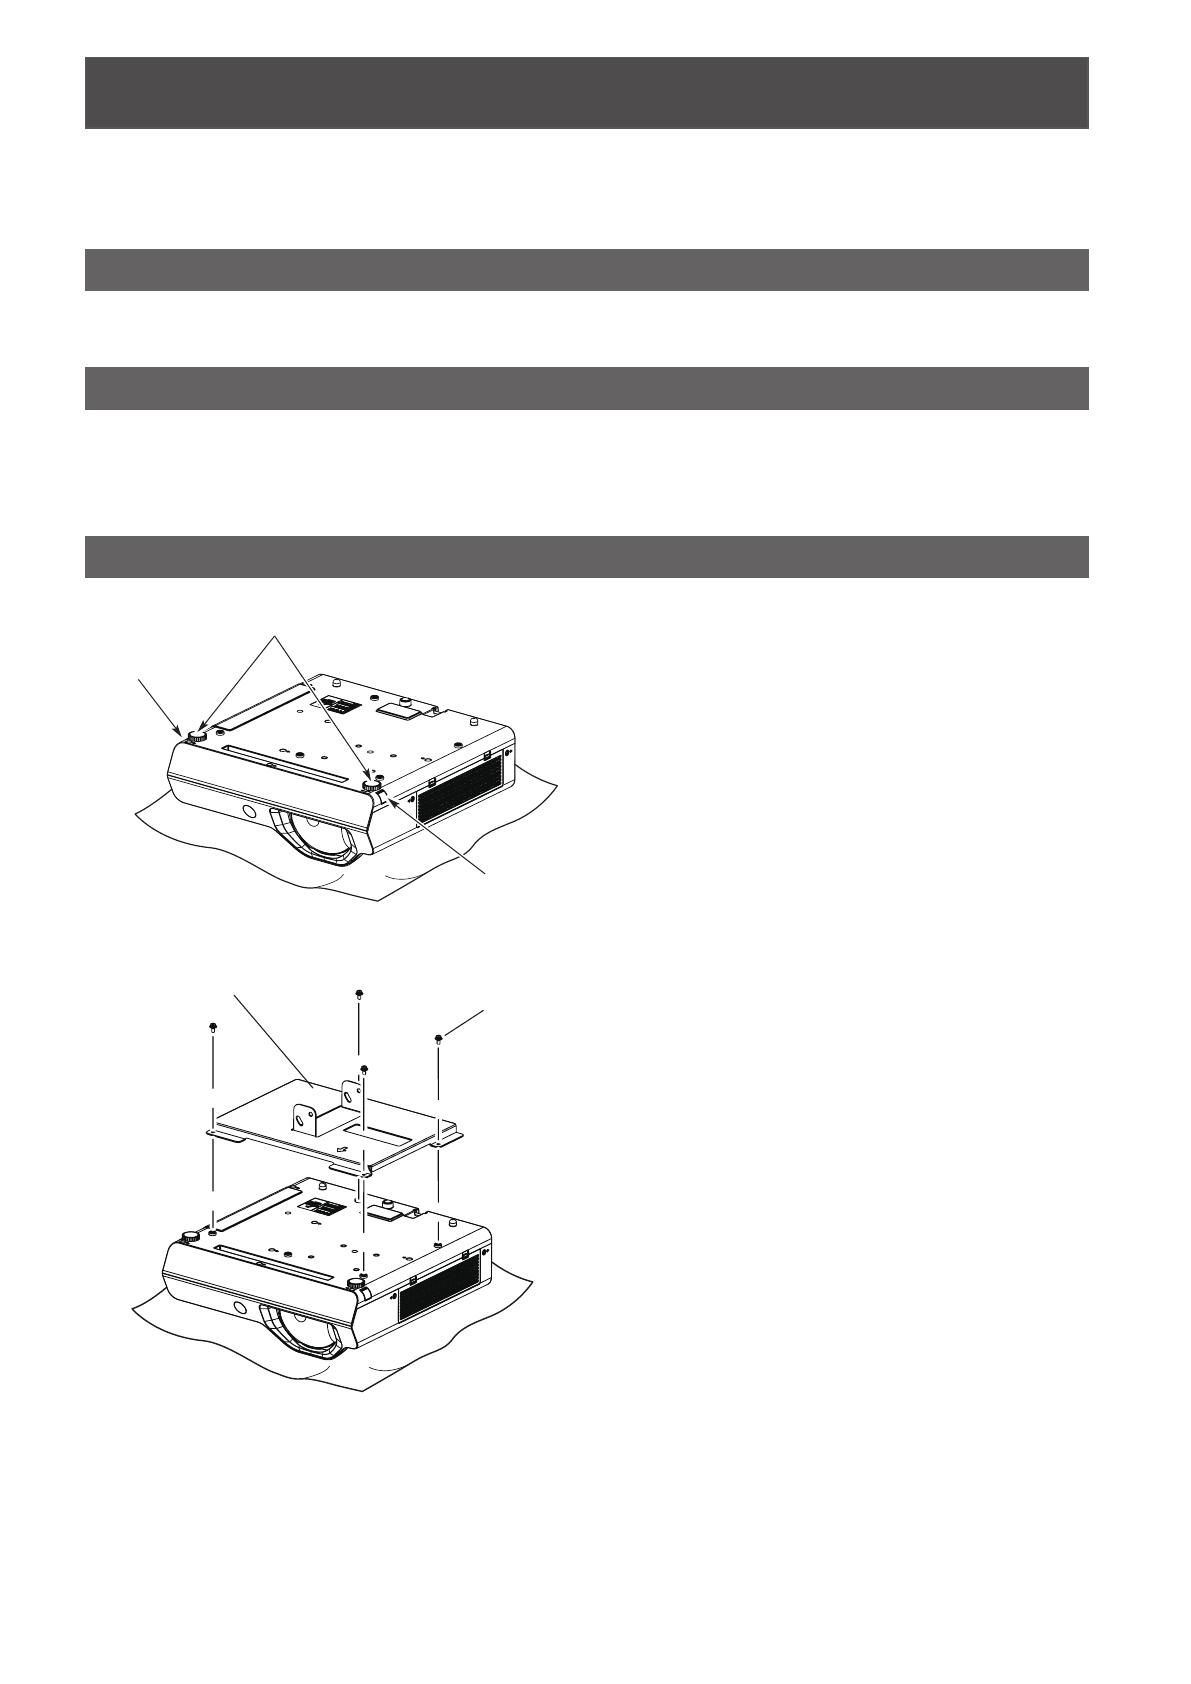
When installing, always use the supplied components.
zThe unit may be damaged, or the projector may fall down and an injury may result.
Install the mounting screws and power cable in such a way that they will not make contact with metal
objects inside the ceiling.
zElectric shocks may result from contact with any metal objects inside the ceiling.
rPanasonic Connect Co., Ltd. takes no responsibility for any accident or damage caused by the
installation of the ceiling mount bracket using methods that are not described or methods that do
not use the parts specied in these Installation Instructions.
rIf products are no longer being used, they should be dismantled and removed by certied personnel
as soon as possible.
WARNING:
Installation work should only be carried out by the certied personnel.
zIf this product is not installed correctly, serious accidents may result.
zFollow the instructions specied in “Installation” of this manual, and perform secure installation.
Install the ceiling mount bracket in accordance with the structure and materials of the installation
location.
zIf a mistake is made in the installation procedure, the ceiling mount bracket may fall down and an injury may
result.
Mounting and installation must be carried out by two or more persons.
zWhen installing the projector in an overhead location, for example, in a high ceiling, at least two persons will
be required to handle the installation.
Make sure that your footing is safe and secure during installation.
zIf your footing is not secure, you may fall down or drop the unit, and an injury may result.
Do not loosen or remove the unit screws and bolts unnecessarily.
zThe projector may fall down and an injury may result.
Do not install in a location that is not strong enough.
zIf the installation location is not strong enough, the unit may fall down and damage to the projector or an
injury may result.
Do not install the ceiling mount bracket in humid or dusty locations or in locations where the ceiling
mount bracket may come into contact with oily smoke or steam.
zUsing the projector under such conditions may result in re or electric shock. Also, the oil will cause the
plastic to deteriorate and the projector may fall down when installed on a ceiling.
Do not allow children to reach the supplied screws and at washer.
zThe supplied screws and at washer can cause personal injury if swallowed.
zIf swallowed, seek medical advice immediately.
Do not disassemble or modify the ceiling mount bracket.
zThe projector may be damaged or fall, causing injury.
Read this rst! Always follow these precautions
4 - ENGLISH
Product description
This is a projector mount bracket for installing projectors.
Applicable ceiling mount brackets
ET-PKL100S (for low ceilings) / ET-PKL100H (for high ceilings)
Structural components
Parts name Form (number of parts) Applications
Projector mount
bracket × 1
This is used to install the projector
itself.
It has a function which allows ad-
justment of the left and right tilt.
Screws
Screw, captive washer (M4×10) These are used to secure the pro-
jector mount bracket to the projec-
tor.
× 4
Projector drop-
prevention kit
Screw, captive washer (M4×12)
Prevents the projector from falling.
× 1
Wire rope
[2.0 mm (3/32") wire diameter, 600 mm (23-5/8") length]
× 1 × 1
Wire rope for projector Screw, captive
washer (M4×12)
Flat washe
r
(M8)
[2.0 mm (1/8") wire diameter,
600 mm (1´11) length]
× 1
× 1
Flat washer (M8)
× 1
zStore small parts in an appropriate manner, and keep them away from small children.
zTightening torque for the screw is M4: 1.25 ± 0.2 N • m.
zWhen tightening up the screws, use a tool such as a torque screwdriver. Do not use electric screwdrivers or
impact screwdrivers.
Attention
zDispose of the packaging materials properly after taking the product out of it.
ENGLISH - 5
Standard installation dimensions
The dimensional relationship between the screen and projection is shown below.
Establish the dimensions after assessing the area possible for installation.
Dimensional relationship diagram
<When using the ceiling mount bracket ET-PKL100S (for low ceilings)>
<When using the ceiling mount bracket ET-PKL100H (for high ceilings)>
* The thickness of
the attachment
plate is included.
* The thickness of
the attachment
plate is included.
SD
SH
SW
SW SH H
/
8QLWVPP!
&HLOLQJ
3URMHFWHGLPDJH
6FUHHQ












SD
SH
SW
3URMHFWHGLPDJH
SW SH H
/
8QLWVPP!
&HLOLQJ
6FUHHQ











6 - ENGLISH
Standard installation dimensions (continued)
Note
zThis illustration assumes that the projector will be installed so that the projected image lls the screen and prop-
erly aligned with it.
zThis drawing is not in exact scale.
SH Height of the projection area LProjection distance
SW Width of the projection area HDistance from the center of lens to the image
upper end
SD Diagonal length of the projection area
Note
zDepending on the product, the appearance may differ from the illustrations in these installation instructions.
Attention
zInstall the projector at least 500 mm (19-11/16") on the air intake ports (1,000 mm (39-3/8") on the exhaust port
side) away from the surrounding walls or objects in order to ensure that the air intake/exhaust ports of the pro-
jector will not be blocked.
zAvoid setting up in places which are subject to sudden temperature changes, such as near an air conditioner or
lighting equipment (studio lamps, etc.).
Dimensional relationship
For the formula of the projection distance (L), refer to the appendix at the end of this instruction.
ENGLISH - 7
Installation
After checking the height, width and structure of the installation location while referring to the “Dimensional rela-
tionship diagram” in the “Standard installation dimensions” (pages 5-6) and “Dimensional relationship” in the Ap-
pendix, determine the appropriate positions for setting up the screen and installing the projector.
Setting up the screen
Set up the screen according to the specied method in a position which takes into account the projection distance
and angle and the type of screen being used.
Screws tightening torques
M4………1.25 ± 0.2 N • m
zWhen tightening the screws, use a torque screwdriver or a hexagonal torque wrench to tighten the screws to
the specied tightening torques. Do not use electric screwdrivers or impact screwdrivers.
Installing the bracket to the projector
Install the projector mount bracket to the projector (sold separately) by following the procedure below.
1 Place the projector upside down on top of a soft
cloth.
2 Retract the adjustable feet.
zPress the adjustable feet lock latch and release
them at shortest length of the adjustable feet.
Or rotate the adjustable feet in clockwise to
retract them.
3 Secure the projector mount bracket to the bot-
tom of the projector using the 4 supplied captive
washer screws (M4 × 10) as illustrated on the
left.
Adjustable feet
Adjustable foot
lock latch
Adjustable foot
lock latch
Projector mount bracket Screw, captive
washer (M4 × 10)
8 - ENGLISH
Installation (continued)
Attaching the projector drop-prevention kit
Install the wire rope to the projector (sold separately).
A
A
As shown in the gure on the left, secure the one end
(round crimping terminal) of the supplied wire rope to
the A on the projector by using the 1 supplied captive
washer screw (M4 x 12).
Attention
zBe sure to use the supplied wire rope.
Note
zUse the supplied at washers while installing the wire
rope to the ceiling.
zThe position of A may vary with the model. For the
information of the position of installing the wire rope,
refer to the Operating Instructions of the projector.
Note
zFor information on how to join this product to the ceiling mount bracket (for low ceilings) (separately sold) or the
ceiling mount bracket (for high ceilings) (separately sold) and how to attach the wire rope in the ceiling, refer to
the installation instructions or other instructions supplied with the ceiling mount bracket (for low ceilings) or the
ceiling mount bracket (for high ceilings).
Wire rope
Wire rope
Screw, captive washer
(M4 × 12)
ENGLISH - 9
Range of
adjustment
Horizontal tilt
correction angle*1± 10 °
External dimensions
Width: 300 mm (11-13/16")
Height: 55 mm (2-5/32")
Depth: 242 mm (9-17/32")
Weight Approx. 0.8 kg (1.76 lbs)
*1 When using the ceiling mount bracket ET-PKL100S (for low ceilings) or the ceiling mount bracket ET-PKL100H
(for high ceilings).
Specications
SS0514JZ3042 -ST
Printed in Japan
Panasonic Connect Co., Ltd.
Web Site : https://panasonic.net/cns/projector/
© Panasonic Connect Co., Ltd. 2022
  • Page 1 1
  • Page 2 2
  • Page 3 3
  • Page 4 4
  • Page 5 5
  • Page 6 6
  • Page 7 7
  • Page 8 8
  • Page 9 9
  • Page 10 10

Panasonic ET-PKL430B User manual

Category
Projector mounts
Type
User manual

Panasonic ET-PKL430B is a projector mount bracket for installing projectors. It offers secure installation with adjustable tilt and drop-prevention kit, ensuring your projector is stable and safe. Compatible with designated Panasonic projectors, it allows for flexible positioning and easy adjustment.

Ask a question and I''ll find the answer in the document

Finding information in a document is now easier with AI