GAIA Underfloor Heating Mat Installation guide

Type
Installation guide

GAIA Underfloor Heating Mat is a safe and reliable heating system that can be installed under a variety of floor coverings, including tile, carpet, and timber. It is easy to install and comes with a 12-year warranty. The mat is compatible with most thermostats with a floor sensor and can be used as the sole heat source or as a supplement to an existing heating system. Additionally, the mat can be used in both residential and commercial applications.

GAIA Underfloor Heating Mat is a safe and reliable heating system that can be installed under a variety of floor coverings, including tile, carpet, and timber. It is easy to install and comes with a 12-year warranty. The mat is compatible with most thermostats with a floor sensor and can be used as the sole heat source or as a supplement to an existing heating system. Additionally, the mat can be used in both residential and commercial applications.

Trust in our Warmth
gaia.co.uk
Underfloor Heating
GaiaMat
Installation Manual
2gaia underfloor heating 01359 242 400
In this instruction manual you will find important information
regarding the installation of your underfloor heating system.
Please follow the step by step instructions, ensuring complete
care is taken. Check with the floor manufacturer if you have
any doubt about the suitability of laying our heating mat/s
under your floor covering.
All our underfloor heating mats come with a 12 year warranty.
Please register your product within 30 days from completion
of installation, using our warranty registration form, which can
be found at www.gaia.co.uk.
This warranty is only valid if installed by an IEE 18th Edition
qualified electrician/ electrical contractor. The installation
must conform to Part P of the Building Regulations 2005. For
full terms and conditions relating to our warranty please visit
our website www.gaia.co.uk.
Please note: The warranty does not extend to costs of
relaying, replacing or repairing any floor covering or floor. The
warranty is not valid if faults are caused by damage, incorrect
installation or mis-use.
Thank you for
investing in our
GaiaMat underfloor
heating system
04 DO’s and DONT’s
05 Floor Coverings
06 - 09 Step-by-Step Installation Guide
10 Guide Resistance Values
11 Floor Plan
12 Floor Build Ups
Contents
3
gaia underfloor heating www.gaia.co.uk
DO read through the
instructions carefully before
beginning work.
DO ensure your floor base is
clear of debris before
beginning your installation.
DO cover both heating cable
and connection joint under
the flooring.
DO check the GaiaMat will fit
into the free floor area of the
room, prior to unpacking.
DO test the cable before
installing, and then before and
after covering the GaiaMat
DO ensure the GaiaMat is
encapsulated in flexible tile
adhesive / flexible levelling
compound prior to your floor
finish being laid.
DO be careful not to damage
the cable at any stage during
installation.
DO check the heat loss if this is
to be the sole heat source.
DO ensure the system is
controlled by a thermostat
with a floor sensor.
DO consider additionally
insulating your sub-floor
before installing the underfloor
heating system.
DO ensure the system is
protected by a suitable
dedicated RCD (30mA).
DON’T install the GaiaMat
across two or more rooms.
DON’T place the GaiaMat
under any fixed furniture such
as kitchen units, baths or
showers.
DON’T touch or cross the
heating cables.
DON’T cut the yellow
heating cable.
DON’T lay the system so that
any cables are closer than
3cm to each other.
DON’T install the floor
temperature sensor cable
close to other heat sources
such as hot water pipes.
DON’T turn on the GaiaMat
while it is rolled up.
DON’T install the system if
the ambient temperature is
below 5°C as the cables can
become less flexible.
DON’T bend the joint between
the yellow heating cable and
the black cold tail.
Dont’sDo’s
4gaia underfloor heating 01359 242 400
Floor Finishes & Coverings
The underfloor heating system is compatible with most common floor finishes, such as:
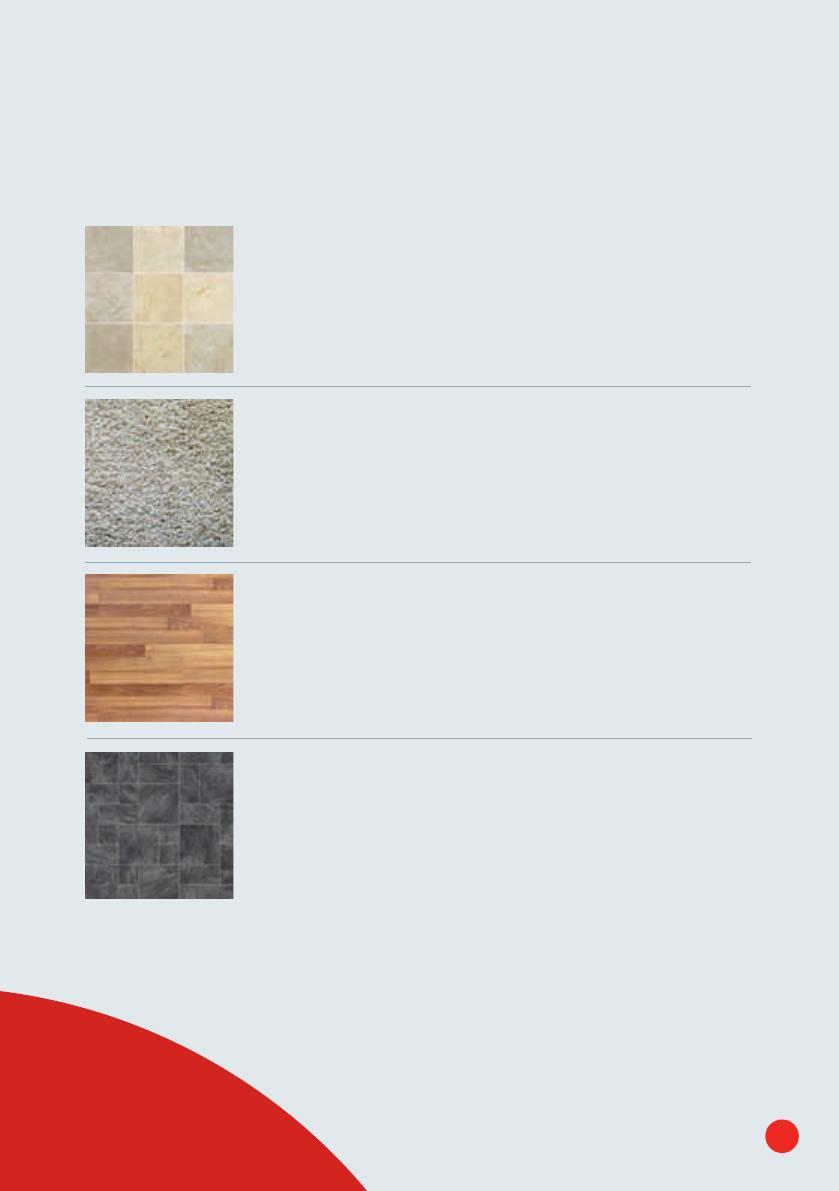
Tile / Stone
Fully encapsulate the GaiaMat with either a flexible smoothing
compound or flexible tile adhesive, prior to the tile / floor finish
being laid. Gaia recommends the use of a plastic trowel when
laying tile adhesive, to protect the underfloor heating cable from
accidental damage.
Carpet
Fully encapsulate the GaiaMat within a 10mm bed of flexible
smoothing compound, to provide a minimum of 5mm above
the top of the heating element., prior to the carpet floor finish
being laid. Avoid rubber or foam backed carpets. Please check
with the carpet manufacturer to ensure the carpet is suitable for
underfloor heating.
Timber
Fully encapsulate the GaiaMat within a nominal 10mm bed
of flexible smoothing compound layer, prior to the timber
floor finish being laid. When installing natural wood floors it is
recommended that soft wood floors should not exceed 20mm
in thickness, hard wood floors should not exceed 30mm in
thickness.
Vinyl
Fully encapsulate the GaiaMat within a 10mm bed of flexible
smoothing compound, to provide minimum of 5mm coverage
above the top of the heating element, prior to the vinyl floor
finish being laid.
The underoor heating system is compatible with the following most common oor
nishes, such as:
Floor Finishes & Coverings
Tile / Stone
Fully encapsulate the AmberMat within either a exible smoothing
compound or exible tile adhesive, prior to the tile / oor nish
being laid. Amber recommends the use of a plastic trowel when
laying tile adhesive, to protect the underoor heating cable from
accidental damage.
Carpet
Fully encapsulate the AmberMat within a exible smoothing
compound, to provide minimum of 5mm coverage above the top
of the heating element, prior to the carpet oor nish being laid.
Avoid rubber or foam backed carpets. Please check with the carpet
manufacturer to ensure the carpet is suitable for underoor heating.
Timber
Fully encapsulate the AmberMat within either 6-7mm bed of exible
smoothing compound layer, prior to the timber oor nish being
laid. When installing natural wood oors it is recommended that soft
wood oors should not exceed 20mm in thickness, hard wood oors
should not exceed 30mm in thickness.
Vinyl
Fully encapsulate the AmberMat within a 10mm bed of exible
smoothing compound, to provide minimum of 5mm coverage
above the top of the heating element, prior to the vinyl oor nish
being laid.
*Floor coverings should not exceed 0.15 m²K/W
Please note that thermally resistive items should not be left or installed onto underoor
heating in a way where heat can become trapped. This trapped heat could cause failure if left
without due care or attention.
Possible examples of thermal restrictive items could be heavy rugs, bean bags or a mattress
laid in direct contact with the oor. Some items of furniture that do not allow air ow could also
cause concern. If you are unsure please contact Amber.
5
gaia underfloor heating www.gaia.co.uk
*Floor coverings should not exceed 0.15 m2 K/W (1.5 tog)
Please note that thermally resistive items should not be left or installed onto
underfloor heating in a way where heat can become trapped. This trapped
heat could cause failure if left without due care or attention. Possible examples
of thermally resistive items could be heavy rugs, bean bags or a mattress laid
in direct contact with the floor. Some items of furniture that do not allow air flow
could also cause concern. If you are unsure please contact Gaia.
Installing the GaiaMat
Step-by-Step Guide
Let’s get started
A. Plan: Use your plan to calculate the heated area,
working out how to lay the mat evenly across the floor
whilst avoiding all floor obstructions and close floor
fitting objects (pipes, baths, cupboards). Detail on your
plan the location of the cold tail (where the mat starts),
floor sensor and connection box. It is acceptable to lay
the GaiaMat under suspended cupboards, wash basins
and wall mounted toilet pans
B. Once the floor is prepared: Mark the positions of the
floor fitting objects that will be installed once the floor is
finished, so these can be avoided when laying the mat.
Testing your Gaiamat
At each stage of the installation it is recommended that
you test your GaiaMat for the following:
Continuity. This checks that the heating cable (blue
and black wires) are intact and have the correct
resistance. Checked with a multimeter, the resistance
reading should match the rating on the cold tail label
with a tolerance of -5 to +10%. Ensure your multimeter is
capable of reading values between 28-800 ohms.
Insulation. This checks that the earth screen around
the heating cable has not been damaged and shorted
to the heating cables. The test can be made with a
multimeter and can be done by testing both the path
between the blue cable and the earth screen, and also
the black cable and the earth screen - both should
read infinity.
6gaia underfloor heating 01359 242 400
1
2
Tools required:
Preparation
The subfloor must be prepared as normally required
for tiling, ensure the installation surface is even, stable,
dry, clean and free of sharp objects. When installing
onto existing floorboards, it will be necessary to brace
the floor with WBP plywood of standard recommended
thickness or tile backer boards.
Each mat is supplied with a piece of flexible tubing
(only one tube is required for each thermostat), this is
to house the floor sensor, so that in the unlikely event
that the sensor fails, it can be easily removed and
replaced without lifting the floor. The sensor should be
laid between two cable loops 15-20cm into the floor,
avoiding any heat sources.
In some situations a small channel may have to be
made in the floor to accommodate the tubing. If so, cut
a channel from the thermostat position approximately
20-30cm across the floor.
Fitting the Mat
Remove the plastic outer and place the cold tail of the
mat at the connection point. The GaiaMat has a self-
adhesive backing, lay this towards the floor and roll the
mat out, referring to your layout plan. Upon reaching
the end of the run, simply cut the grey mesh (NOT THE
YELLOW CABLE) and turn the mat, positioning the next
piece beside the first.
When cutting and turning the mat ensure there is a
minimum 50mm gap between the cable loops. To
avoid risk of damage at a later stage do not lay the mat
where objects will be put onto or fixed to the floor. After
fitting, measure the resistance value of the mat again.
Use the same procedure as in step 2 – then make a
note of the values on the commissioning certificate.
Note: If required, the cable can be removed from the mesh and
loops formed manually, but ensure the cables are spaced at 75mm
(the same distance as those on the mat).
7
gaia underfloor heating www.gaia.co.uk
3
4
Fitting/Final Measurement
The mat can now be covered in one of two methods:
Concrete and wooden floors using flexible tile adhesives
Working with a width of GaiaMat at a time, apply flexible
tile adhesive through the mat with a rubber back trowel
or similar so that the heating cable is covered, making
sure there are no air pockets. Another layer of adhesive
can then be applied carefully using a suitable notched
trowel to comb the adhesive before applying the tiles.
Concrete and wooden floors using self-levelling
compounds
An alternative method is to cover the GaiaMat with
a suitable self levelling/latex type compound. This
product will find its own level giving you a level surface
to then apply a layer of flexible tile adhesive using a
suitable notched trowel to comb the adhesive before
applying the tiles.
Please note: Other floor finishes can be applied, please
see page 5 for more details.
After covering the mat, measure the resistance value of
the mat again. Use the same procedure as in in step 2
– then make a note of the values on the commissioning
certificate.
For professional guidance refer to your adhesive
manufacturers recommendations.
8gaia underfloor heating 01359 242 400
Finishing
After the work has been completed the floor must dry
completely before the floor heating and thermostat are
connected.
This process usually takes 8-10 days, but you should
refer to the adhesive and floor finish manufacturers
guidelines. To connect the thermostat, please refer to
the installation guidelines supplied with the thermostat.
6
5
9
gaia underfloor heating www.gaia.co.uk
Resistance Values
GaiaMat 100W/m2
Product Code Mat Area (m2)Output (W) Resistance (ohms)
72100G010 1.0 100 529
72100G015 1.5 150 353
72100G020 2.0 200 265
72100G025 2.5 250 212
72100G030 3.0 300 176
72100G035 3.5 350 151
72100G040 4.0 400 132
72100G050 5.0 500 106
72100G060 6.0 600 88.2
72100G070 7.0 700 75.6
72100G080 8.0 800 66.1
72100G090 9.0 900 58.8
72100G100 10.0 1000 52.9
72100G120 12.0 1200 44.1
GaiaMat 150W/m2
Product Code Mat Area (m2)Output (W) Resistance (ohms)
72150GO05 0.5 75 705
72150G010 1.0 150 353
72150G015 1.5 225 235
72150G020 2.0 300 176
72150G025 2.5 375 141
72150G030 3.0 450 118
72150G035 3.5 525 101
72150G040 4.0 600 88.2
72150G050 5.0 750 70.5
72150G060 6.0 900 58.8
72150G070 7.0 1025 50.4
72150G080 8.0 1200 44.1
72150G090 9.0 1350 39.2
72150G100 10.0 1500 35.3
72150G120 12.0 1800 29.4
Floor Plan
Please sketch your floor plan of the room and show the following:
Layout of the cables, indicating your heated area.
Placement of junction boxes.
Placement of the floor sensor and thermostat.
10 gaia underfloor heating 01359 242 400
1
2
3
45
11
gaia underfloor heating www.gaia.co.uk
Floor Build Ups
GaiaMat onto
Concrete Floors
1 Floor Finish
2 Adhesive/Levelling Compound
3 Underfloor Heating Mat
4 Tilebacker Board (recommended)
5 Concrete Sub-Floor
1
2
3
45
For optimum performance, Gaia always recommends the use of suitable insulation, helping to increase
the performance of the heating system.
GaiaMat onto
Timber Floors
1 Floor Finish
2 Adhesive/Levelling Compound
3 Underfloor Heating Mat
4 Tilebacker Board (recommended)
5 Timber Sub-Floor
gaia.co.uk
Contact Us
Unit 4, Brickfields Business Park
Woolpit, Suffolk IP30 9QS, UK
Tel: 01359 242 400
Fax: 0800 652 4165
For technical support:
  • Page 1 1
  • Page 2 2
  • Page 3 3
  • Page 4 4
  • Page 5 5
  • Page 6 6
  • Page 7 7
  • Page 8 8
  • Page 9 9
  • Page 10 10
  • Page 11 11
  • Page 12 12

GAIA Underfloor Heating Mat Installation guide

Type
Installation guide

GAIA Underfloor Heating Mat is a safe and reliable heating system that can be installed under a variety of floor coverings, including tile, carpet, and timber. It is easy to install and comes with a 12-year warranty. The mat is compatible with most thermostats with a floor sensor and can be used as the sole heat source or as a supplement to an existing heating system. Additionally, the mat can be used in both residential and commercial applications.

Ask a question and I''ll find the answer in the document

Finding information in a document is now easier with AI