3
Parts List for After service
MY18 CONTACT SWITCH SEATPOST
ACCESSARY TOP AND BOTTOM CLAMP W/TI
BOLT(FOR CONTACT SWITCH S)
MY18 CONTACT SWITCH SEATPOST
ACCESSARY TOP AND BOTTOM CLAMP
W/STL BOLT(FOR CONTACT SWITCH)
MY18 CONTACT SWITCH SEATPOST
ACCESSARY HORIZONTAL REMOTE LEVER
W/WIRE AND ADJ BOLT
MY18 CONTACT SWITCH SEATPOST
ACCESSARY VERTICAL REMOTE LEVER
W/WIRE AND ADJ BOLT
MY18 CONTACT SWITCH SEATPOST
ACCESSARY LOCKRING KIT(FOR CONTACT
SWITCH S & CONTACT SWITCH)
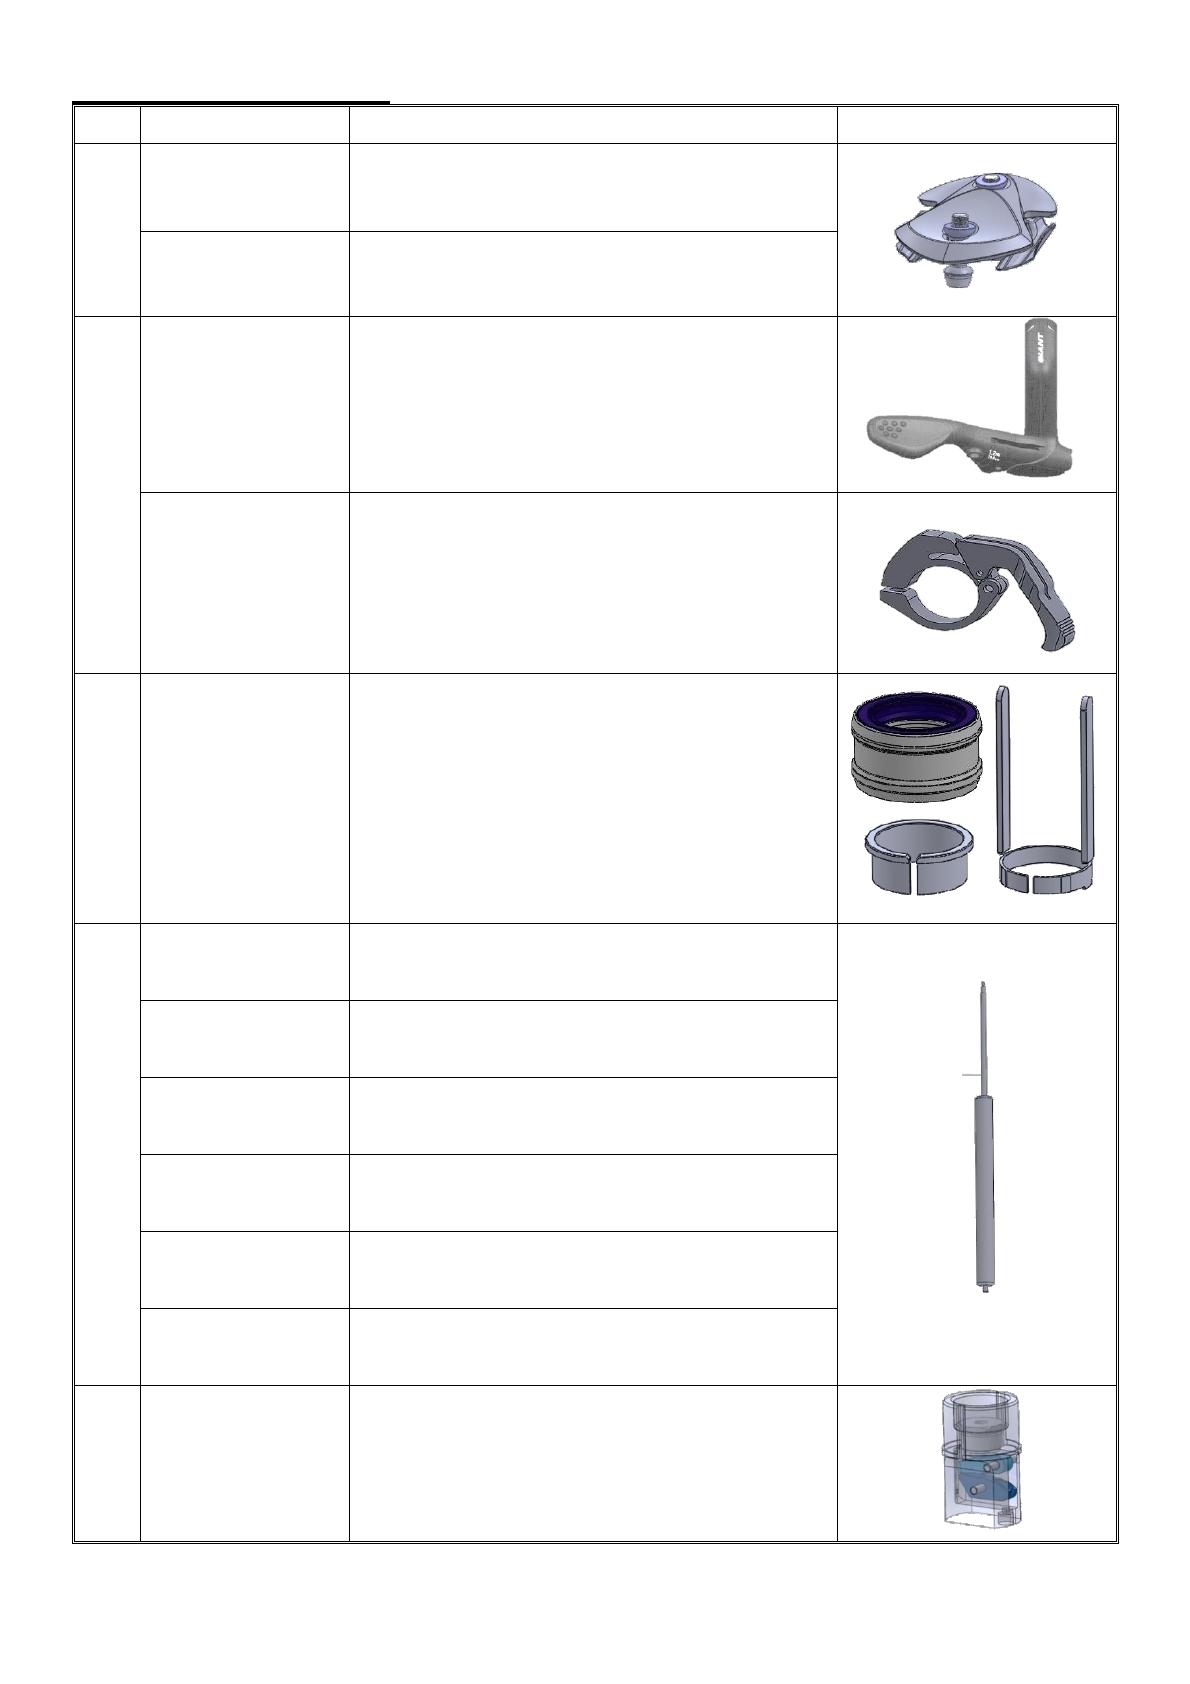
MY18 CONTACT SWITCH SEATPOST
ACCESSARY AIR DAMPER(ALLOY) 100MM
TRAVEL(FOR CONTACT SWITCH S)
MY18 CONTACT SWITCH SEATPOST
ACCESSARY AIR DAMPER(ALLOY) 125MM
TRAVEL(FOR CONTACT SWITCH S)
MY18 CONTACT SWITCH SEATPOST
ACCESSARY AIR DAMPER(ALLOY) 150MM
TRAVEL(FOR CONTACT SWITCH S)
MY18 CONTACT SWITCH SEATPOST
ACCESSARY AIR DAMPER(STEEL) 100MM
TRAVEL(FOR CONTACT SWITCH)
MY18 CONTACT SWITCH SEATPOST
ACCESSARY AIR DAMPER(STEEL) 125MM
TRAVEL(FOR CONTACT SWITCH)
MY18 CONTACT SWITCH SEATPOST
ACCESSARY AIR DAMPER(STEEL) 150MM
TRAVEL(FOR CONTACT SWITCH)
MY18 CONTACT SWITCH SEATPOST
ACCESSARY BOTTOM LOCK MOUNT(FOR
CONTACT SWITCH S & CONTACT SWITCH)


