1-3 Major Safety Precautions
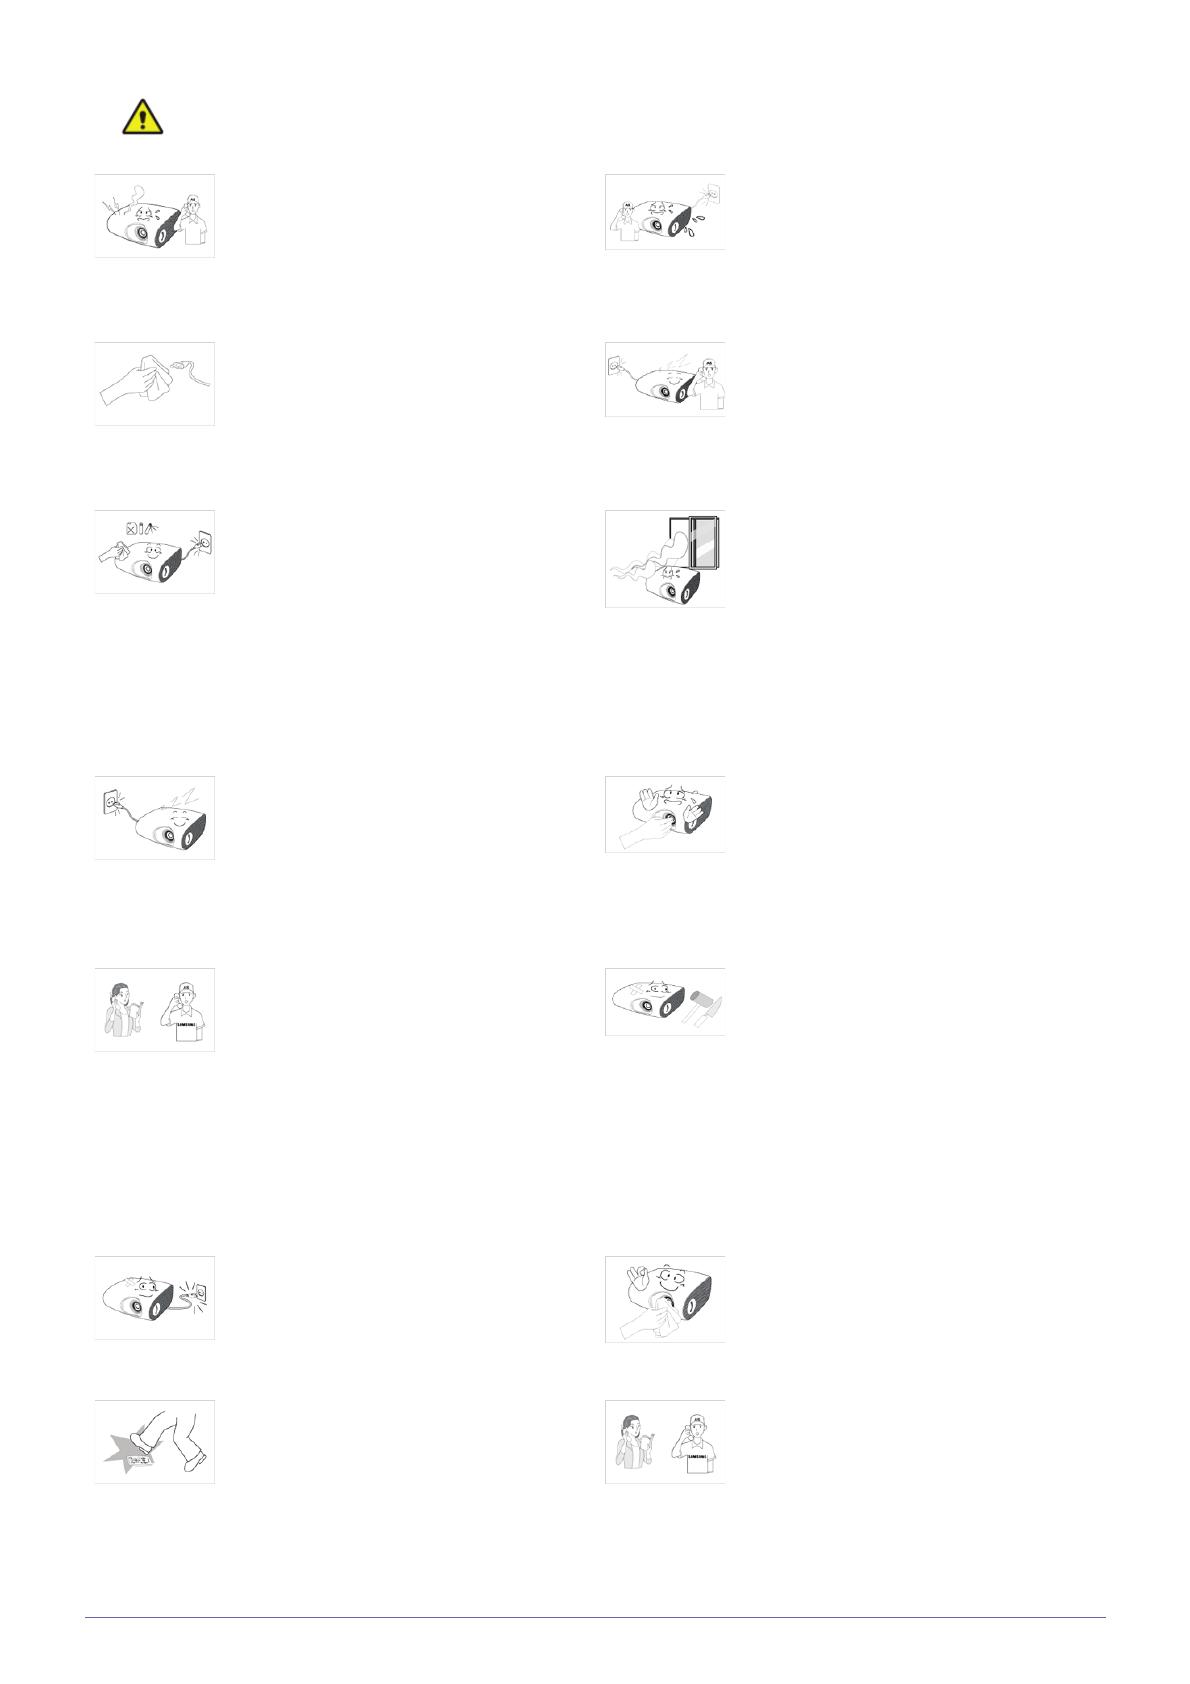
Caution
If the product generates a strange noise, a
burning smell, or smoke, unplug the power
plug immediately and contact a service
center.
• Failing to do so may result in electric
shock or fire.
If water or a foreign substance enters the
product, turn the product off, unplug the
power cord from a wall outlet, and contact
a Service Center.
If the power plug pin or jack is exposed to
dust, water or alien substances, clean it
thoroughly.
• There is a danger of electric shock or
fire.
Do not use the product while it indicates a
malfunction, such as no sound or no pic-
ture.
• Turn the product off immediately,
unplug the power cord from a wall
outlet, and contact a Service Center.
When cleaning the product, disconnect the
power cord and clean the product with a
soft dry cloth.
• Avoid using chemicals such as wax,
benzene, alcohol, thinner, mosquito-
repellent, fragrance, lubrication or
cleansing agent when cleaning the
product.
This may result in the exterior being
deformed or the print being removed.
When a gas leak occurs, do not touch the
product or the power plug and ventilate
immediately.
• A spark may result in an explosion or
fire.
• During a thunder or lighting storm, do
not touch the power cord or antenna
cable
When not using the product for a long
time, such as leaving your home, unplug
the power cord from the wall outlet.
• Otherwise, it may cause dust
accumulation and result in fire caused
by overheating or a short circuit or
result in an electric shock.
Do not touch the lens on the product.
• This may cause damage to the lens.
If the product is installed in a location
where the operating conditions vary con-
siderably, a serious quality problem may
occur due to the surrounding environment.
In this case, install the product only after
consulting our Call Center.
• Places exposed to microscopic dust,
chemicals, too high or low temperature,
high humidity, such as airports or
stations where the product is
continuously used for a long time etc..
Do not touch any outer part of the product
with tools such as a knife or a hammer.
If you drop the product or the case is dam-
aged, turn the power off and unplug the
power cord. Contact a service center.
• Failing to do so may result in fire or
electric shock.
To clean dirt or stains on the front projec-
tion lens, use spray or a wet cloth damp-
ened with neutral detergent and water.
Make sure to place your remote control on
a table or desk.
• If you step on the remote control, you
may fall and hurt yourself or the
product may be damaged.
Ask a Service Center to clean the interior
of the projector at least once per year.


