32 33
On-Screen Display Menu
Digital CC Preset
This function allows you to adjust the closed
caption screen appearance to suit your preference.
On mode allows you to set the options below. You
can adjust 7 items:
Caption Style:
Set to "As Broadcaster" or
"Custom" mode. If Custom mode is selected,
user can modify the detail styles described
below. The setting result will be shown
immediately on the bottom of the submenu OSD.
Note: This feature is only available in TV, AV and
Component mode.
Digital CC Size:
Selects this option to choose
a caption display size according to your
own preference. Select "Default", “Small”,
“Standard”, or “Large”.
Digital CC Font:
Select a character design for
the digital closed caption text. A font is a
complete assortment of letters, numbers,
punctuation marks, etc. in a given design. You
can choose from a variety of fonts: "Default /
Style 0~7".
Digital CC Background Color
: Lets you set
the color of the area behind the digital closed
caption text.
Digital CC Background Opacity:
Set the
appearance of the area behind the digital closed
c aption text.
Digital CC Color
: Sets the color of the digital
closed caption text.
Digital CC Opacity
- Sets the appearance of
the digital closed caption text.
Time Setup
Time Zone
You can set the correct Time Zone for your area.
Eastern / Atlantic / Newfoundland / Hawaii /
Alaska / Pacific / Mountain / Central
Time
This option allows you set the following time items:
Auto Synchronization
: choose On to acquire
the time automatically from digital channels.
When this item is set to Off, Date and Time can
be set.
Daylight Saving
: Select Auto to set the daylight
saving time for your area automatically.
Date
: When Date is highlighted, use
ŻŹ
to set
the date, press Enter to confirm. (Note: using
the same way to set the time below)
Time
: Lets you set the time manually.
Power On Timer
: Select Once/Daily/Off.
Power On Time
: Allows you to set the time you
want the TV to turn itself on.
Power Off Timer
: Select Once/Daily/Off.
Power Off Time
: Allows you to set the time you
want the TV to turn itself off.
Sleep Timer
Set the TV to turn off after a given amount of time:
Off/10min./20min./30min./40min./50min./60min./
90min./120min./180min./24180min..
System Information
This option allows you to see the system
information including SW Version and Model No..
Reset All
This option resets all settings (except parental
control settings) to the factory defaults. When
you select this option, a confirmation box opens,
press
ŻŹ
to select "OK" or "Cancel", then press
ENTER to confirm.
Parental Control
&YBNQMF
Parental Control
Picture
Sound
Setup
Parental Control
Language
USB
Exit
Channel Block
Button Block Off
V-Chip
Input Block
Change Password
Reset All
RETURN
Back
ENTER
Enter Select
Exit
Exit
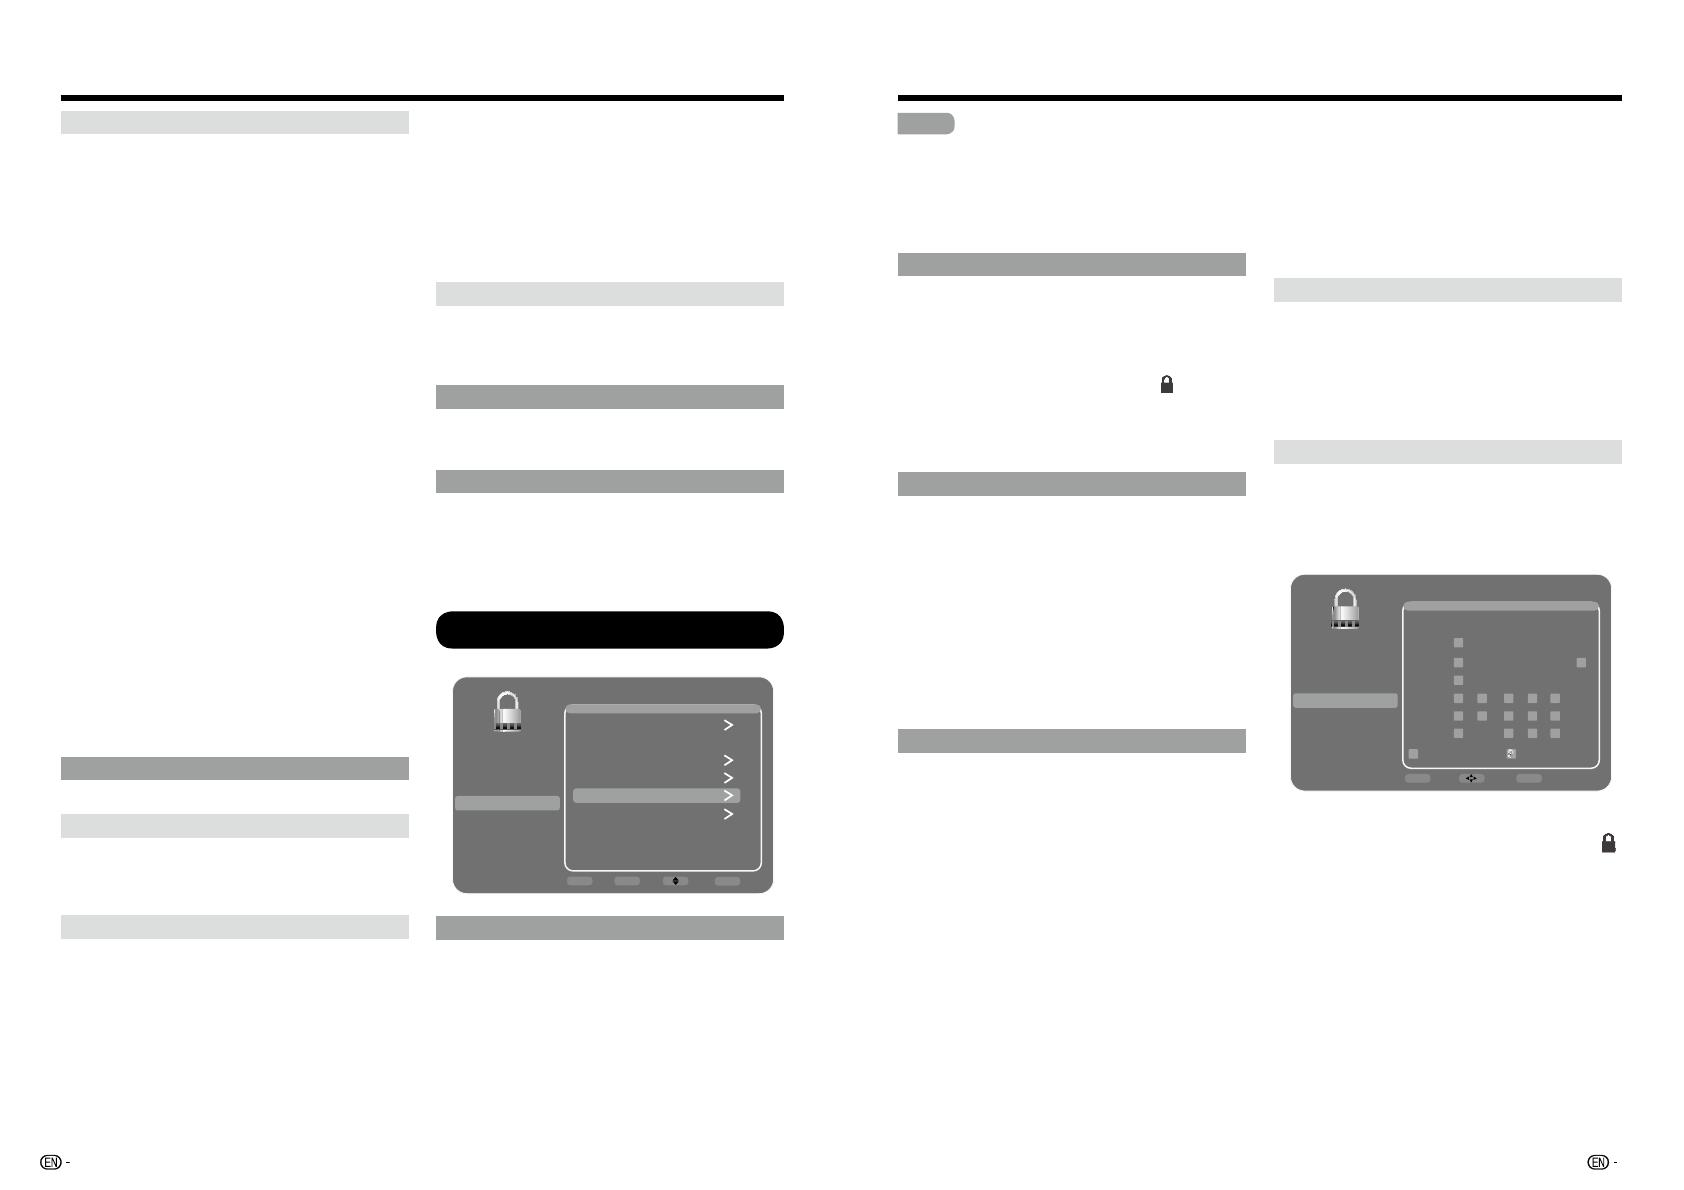
Change Password
The first time you enter the Parental Control
menu, you must set a password in order to adjust
other parental control settings. To enter a V-Chip
Password, follow these steps:
1. Selelct "Change Password", press ENTER or
Ź
to enter the Change Password screen.
2. Use the number buttons to enter the four-digit
number for your password.
3. Re-enter the same code to confirm the
password.
On-Screen Display Menu
NOTE
The password must be entered before the TV
will continue with Par
ental settings next time.
The super password is 2458, If you forget
your password, enter it to override any existing
password.
$IBOOFM#MPDL
To block a specific channel, follow these steps:
1. Select "Channel Block", press ENTER or
Ź
to
enter the next screen with channnel list on.
2. Press
Ÿź
to select the channel you wish to
block.
3. Press ENTER to place a lock icon (
) in the
box to block that channel. When you tune to
that channel, you will need to enter a password
to view the channel programming.
#VUUPO#MPDL
This option allows you to block (disable) or unblock
(enable) the TV panel buttons. The remote control
still tunes to any channel. If you are using this to
keep children from changing channels, be sure
to remove access to any remote that is capable
of operating the TV while you have the TV panel
button blocked. To block the TV panel buttons,
select Parental Control > Button Block, and press
ŻŹ
to choose the On option. To enable these
buttons again, return to this menu and choose the
Off option.
V-Chip
V-CHIP is an electronic filtering device built into
your TV. This tool gives parents a great degree
of control over broadcasts accessed by their
children. It allows parents to select programs
judged suitable for child viewing while blocking
ones judged not suitable. It does so automatically
once you activate the V-CHIP feature in your TV.
"V-Chip" and "Rating Enable" will not be selectable
from the menu if you do not first configure your
secret number.
t 5IF64IBTUXPSBUJOHTZTUFNTGPSWJFXJOH
content: TV Parental Guidelines and movie
ratings.
t 5IF571BSFOUBM(VJEFMJOFTXPSLJODPOKVODUJPO
with the V-CHIP to help parents screen out
inappropriate television shows from their
children.
t .PWJFSBUJOHTBSFVTFEGPSPSJHJOBMNPWJFTSBUFE
by the Motion Picture Association of America
(MPAA) as watched on cable TV and not edited
for television. The V-CHIP can also be set to
block MPAA-rated movies.
t 5IFTFUUJOHBVUPNBUJDBMMZFOUFST#MPDLGPSBOZ
ratings below your selection.
t *G3BUJOH&OBCMFJTOPUTFUUP0OUIF
configuration settings will not work.
Rating Enable
Used to enable or disable the parental control
function. This function will not be selectable from
the menu if you do not first configure your secret
number.
On:
Enables Parental Control.
Off:
Disables Parental Control.
U.S. V-Chip
U.S. V-Chip TV Ratings (TV Parental
Guidelines)
You can automatically block all
program ratings above a specified age-based
rating level.
&YBNQMF
U. S. TV Ratings
Picture
Sound
Setup
Parental Control
Language
USB
Exit
A D L S V FV
Allowed Rating
TV-Y
TV-Y7
TV-G
TV-PG
TV-14
TV-MA
RETURN
Back
ENTER
Lock/Unlock Select
Blocked Rating
Press
Ÿź
to adjust the item to your desired
position and press ENTER to confirm. "
"
indicates the item is blocked. Press MENU to exit.
Suggested age
TV-Y:
All children.
TV-Y7:
Directed to older children.
TV-G:
General audience.
TV-PG:
Parental Guidance suggested.
TV-14:
Parents strongly cautioned.
TV-MA:
Mature audience only.
When setting an individual content-based
rating item:
1. Press
Ÿź
to access blocked content items
from the currently selected age-based rating
item.


