Panasonic Corporation
Web Site:
http://panasonic.net
© Panasonic Corporation 2011
Da
RQTC0177-D
H0111YL0
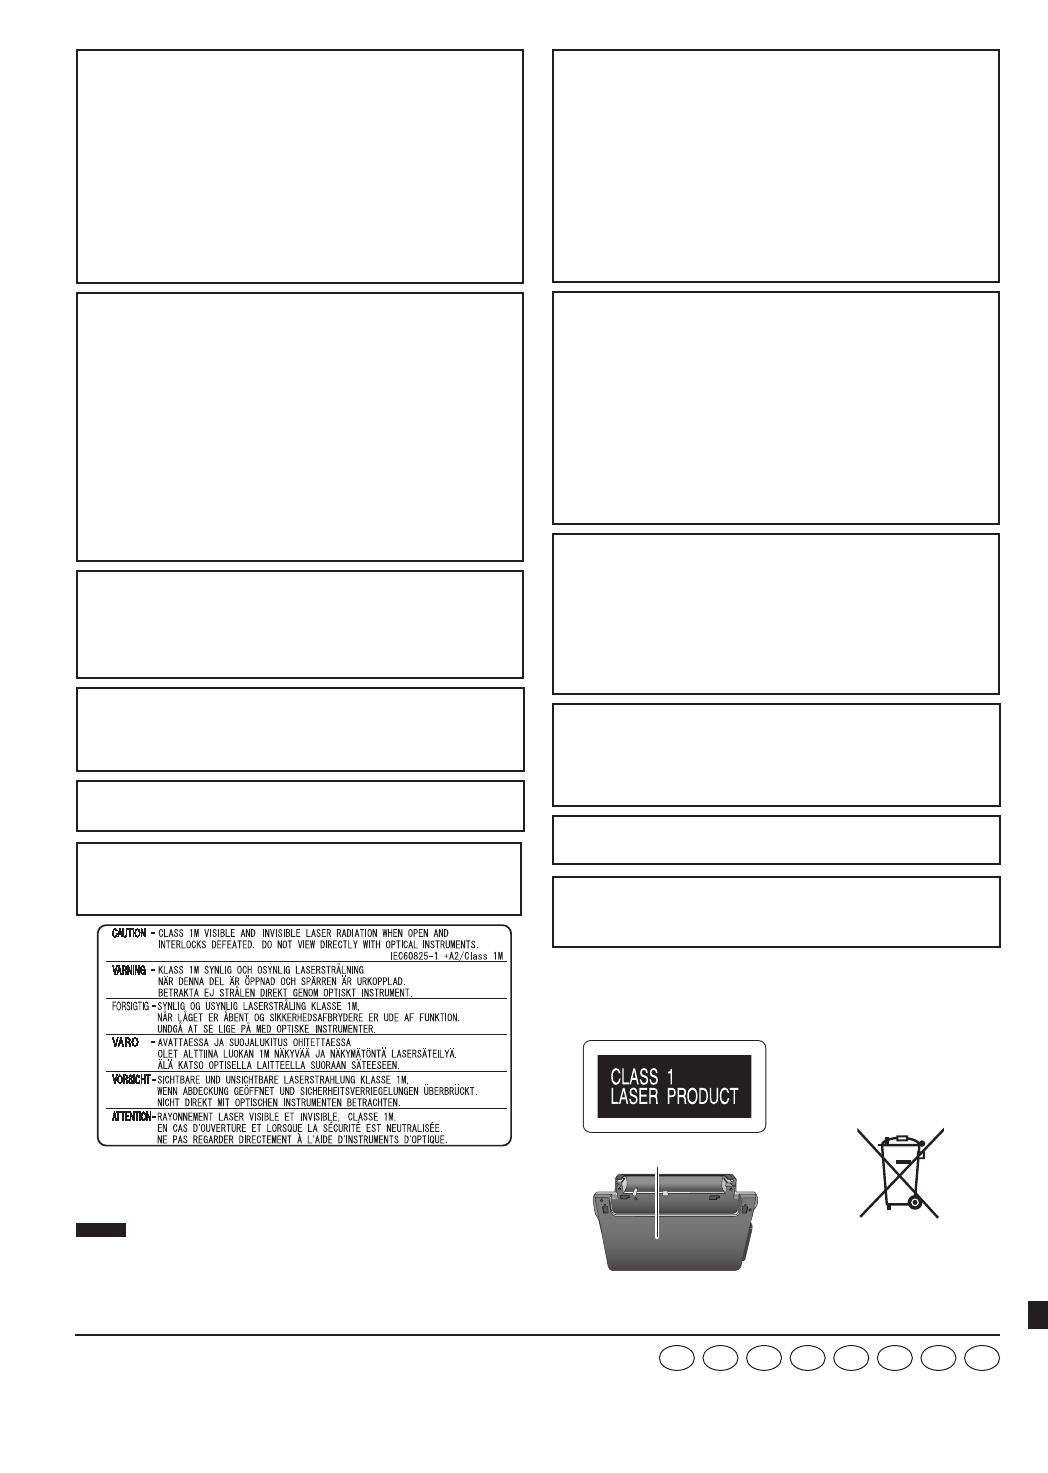
LUOKAN 1 LASERLAITE
KLASS 1 LASER APPARA
T
EU
(Bottom of product) (Unterseite des Gerätes) (Au fond de l’appareil)
(Parte inferior del aparato) (Parte inferiore del prodotto)
(Apparatens undersida) (Onderzijde van het apparaat)
(Pasåt under apparatet) (Produktets underside) (Tuotteen pohjassa)
DuSwItSpFrGeEn
VAROITUS:
VÄHENNÄ TULIPALON, SÄHKÖISKUN TAI LAITTEISTON
VAHINGOITTUMISEN VAARAA
●
TÄTÄ LAITETTA EI SAA ALTISTAA SATEELLE,
KOSTEUDELLE, ROISKEILLE TAI TIPPUVILLE NESTEILLE.
LAITTEEN PÄÄLLE EI SAA MYÖSKÄÄN ASETTAA MITÄÄN
NESTEELLÄ TÄYTETTYÄ ESINETTÄ, KUTEN MALJAKKOA.
● KÄYTÄ VAIN SUOSITELTUJA LISÄVARUSTEITA.
●
ÄLÄ IRROTA KANTTA (TAI TAUSTAA). SISÄLLÄ EI OLE
KÄYTTÄJÄN HUOLLETTAVISSA OLEVIA OSIA.
HUOLLON SAA SUORITTAA VAIN AMMATTITAITOINEN
HENKILÖKUNTA.
VAROITUS!
●
ÄLÄ ASENNA TAI LAITA TÄTÄ LAITETTA KABINETTITYYPPISEEN
KIRJAKAAPPIIN TAI MUUHUN SULJETTUUN TILAAN, JOTTA
TUULETUS ONNISTUISI. VARMISTA, ETTÄ VERHO TAI MIKÄÄN
MUU MATERIAALI EI HUONONNA TUULETUSTA, JOTTA
VÄLTETTÄISIIN YLIKUUMENEMISESTA JOHTUVA SÄHKÖISKU-
TAI TULIPALOVAARA.
● ÄLÄ PEITÄ LAITTEEN TUULETUSAUKKOJA
SANOMALEHDELLÄ, PÖYTÄLIINALLA, VERHOLLA
TAI MUULLA VASTAAVALLA ESINEELLÄ.
● ÄLÄ ASETA PALAVAA KYNTTILÄÄ TAI MUUTA
AVOTULEN LÄHDETTÄ LAITTEEN PÄÄLLE.
● HÄVITÄ PARISTOT LUONTOA
VAHINGOITTAMATTOMALLA TAVALLA.
VAROITUS!
LAITTEEN KÄYTTÄMINEN MUULLA KUIN TÄSSÄ
KÄYTTÖOHJEESSA MAINITULLA TAVALLA SAATTAA
ALTISTAA KÄYTTÄJÄN TURVALLISUUSLUOKAN 1
YLITTÄVÄLLE NÄKYMÄTTÖMÄLLE LASERSÄTEILYLLE.
Pistorasia tulee asentaa laitteen lähelle helppopääsyiseen paikkaan.
Verkkojohdon pistokkeen on oltava aina helposti käytettävissä.
Tämä laite voidaan kytkeä kokonaan irti verkkovirrasta
irrottamalla verkkojohdon pistoke pistorasiasta.
TÄMÄ LAITE ON TARKOITETTU KÄYTETTÄVÄKSI
LEUDOSSA ILMASTOSSA.
Tiedote uudelleenladattavasta akusta
Akku on tarkoitettu kierrätettäväksi.
Noudata paikallisia kierrätysmääräyksiä.
ADVARSEL:
FØLG NEDENSTÅENDE INSTRUKSER FOR Å REDUSERE RISIKOEN
FOR BRANN, ELEKTRISK STØT OG SKADE PÅ PRODUKTET:
●
DETTE APPARATET MÅ IKKE UTSETTES FOR REGN, FUKTIGHET,
DRYPP ELLER SPRUT, OG INGEN VÆSKEFYLTE GJENSTANDER,
SOM F.EKS. VASER, MÅ PLASSERES PÅ APPARATET.
● BRUK KUN ANBEFALT TILBEHØR.
● IKKE FJERN DEKSELET (ELLER BAKSIDEN);
APPARATET INNEHOLDER INGEN DELER SOM KAN
SKIFTES ELLER REPARERES AV BRUKEREN.
OVERLAT TIL KVALIFISERTE SERVICETEKNIKERE Å
UTFØRE SERVICE.
ADVARSEL!
●
APPARATET MÅ IKKE PLASSERES I EN BOKHYLLE, ET
INNEBYGGET KABINETT ELLER ET ANNET LUKKET STED
HVOR VENTILASJONSFORHOLDENE ER UTILSTREKKELIGE.
SØRG FOR AT GARDINER ELLER LIGNENDE IKKE FORVERRER
VENTILASJONSFORHOLDENE, SÅ RISIKO FOR ELEKTRISK
SJOKK ELLER BRANN FORÅRSAKET AV OVERHETING UNNGÅS.
●
APPARATETS VENTILASJONSÅPNINGER MÅ IKKE DEKKES
TIL MED AVISER, BORDDUKER, GARDINER OG LIGNENDE.
● PLASSER IKKE ÅPEN ILD, SLIK SOM LEVENDE LYS,
OPPÅ APPARATET.
●
BRUKTE BATTERIER MÅ KASSERES UTEN FARE FOR MILJØET.
ADVARSEL!
DETTE PRODUKTET ANVENDER EN LASER.
BETJENING AV KONTROLLER, JUSTERINGER ELLER
ANDRE INNGREP ENN DE SOM ER BESKREVET I DENNE
BRUKSANVISNING, KAN FØRE TIL FARLIG BESTRÅLING.
DEKSLER MÅ IKKE ÅPNES, OG FORSØK ALDRI Å
REPARERE APPARATET PÅ EGENHÅND. ALT SERVICE OG
REPARASJONSARBEID MÅ UTFØRES AV KVALIFISERT PERSONELL.
Strømuttaket må befinne seg i nærheten av utstyret og være
lett tilgjengelig.
Støpslet på strømkabelen må være klart til bruk.
Når dette apparatet skal kobles helt fra strømnettet (AC), må
støpslet på strømkabelen trekkes ut av stikkontakten.
DETTE APPARATET ER BEREGNET TIL BRUK UNDER
MODERATE KLIMAFORHOLD.
Merknad om det oppladbare batteriet
Batteriet er resirkulerbart.
Følg lokale retningslinjer for resirkulering.
SUOMI NORSK
Der tages forbehold for trykfejl.
Bølgelengde 655 nm/790 nm (DVD/CD)
Laserstyrke Ingen farlig stråling sendes ut
(med sikkerhets-beskyttelse)
DANSK
Pursuant to at the directive 2004/108/EC, article 9(2)
Panasonic Testing Centre
Panasonic Marketing Europe GmbH
Winsbergring 15, 22525 Hamburg, Germany
RQTC0177-D(¼òda).indd 112 27/1/2011 AM 10:41:50


