5
Setting Up
the DCP
Windows
®
Mac
®
OS
8.6-9.2
Mac
®
OS X
10.1/10.2.1 or greater
• DO NOT shake the ink cartridges.
If ink stains your body or
clothing, wash with soap or
detergent immediately.
• Brother multifunction machines
are designed to work with ink of
a particular specification and
work to a level of optimum
performance when used with
genuine Brother ink cartridges.
Brother cannot guarantee this
optimum performance if ink or
ink cartridges of other
specifications are used. Brother
does not therefore recommend
the use of cartridges other than
genuine Brother cartridges with
this machine or the refilling of
empty cartridges with ink from
other sources. If damage is
caused to the print head or other
parts of this machine as a result
of the use of ink or ink cartridges
other than genuine Brother
products due to the
incompatibility or lack of
suitability of those products with
this machine, any repairs
required as a result will not be
covered by the warranty.
• DO NOT insert and remove the
cartridges repeatedly. If you do
so, the ink may seep out of the
cartridge.
1
After the cleaning cycle is finished, the LCD
shows;
2
Make sure the paper is loaded in the paper
tray.
Press the
Colour Copy
key.
3
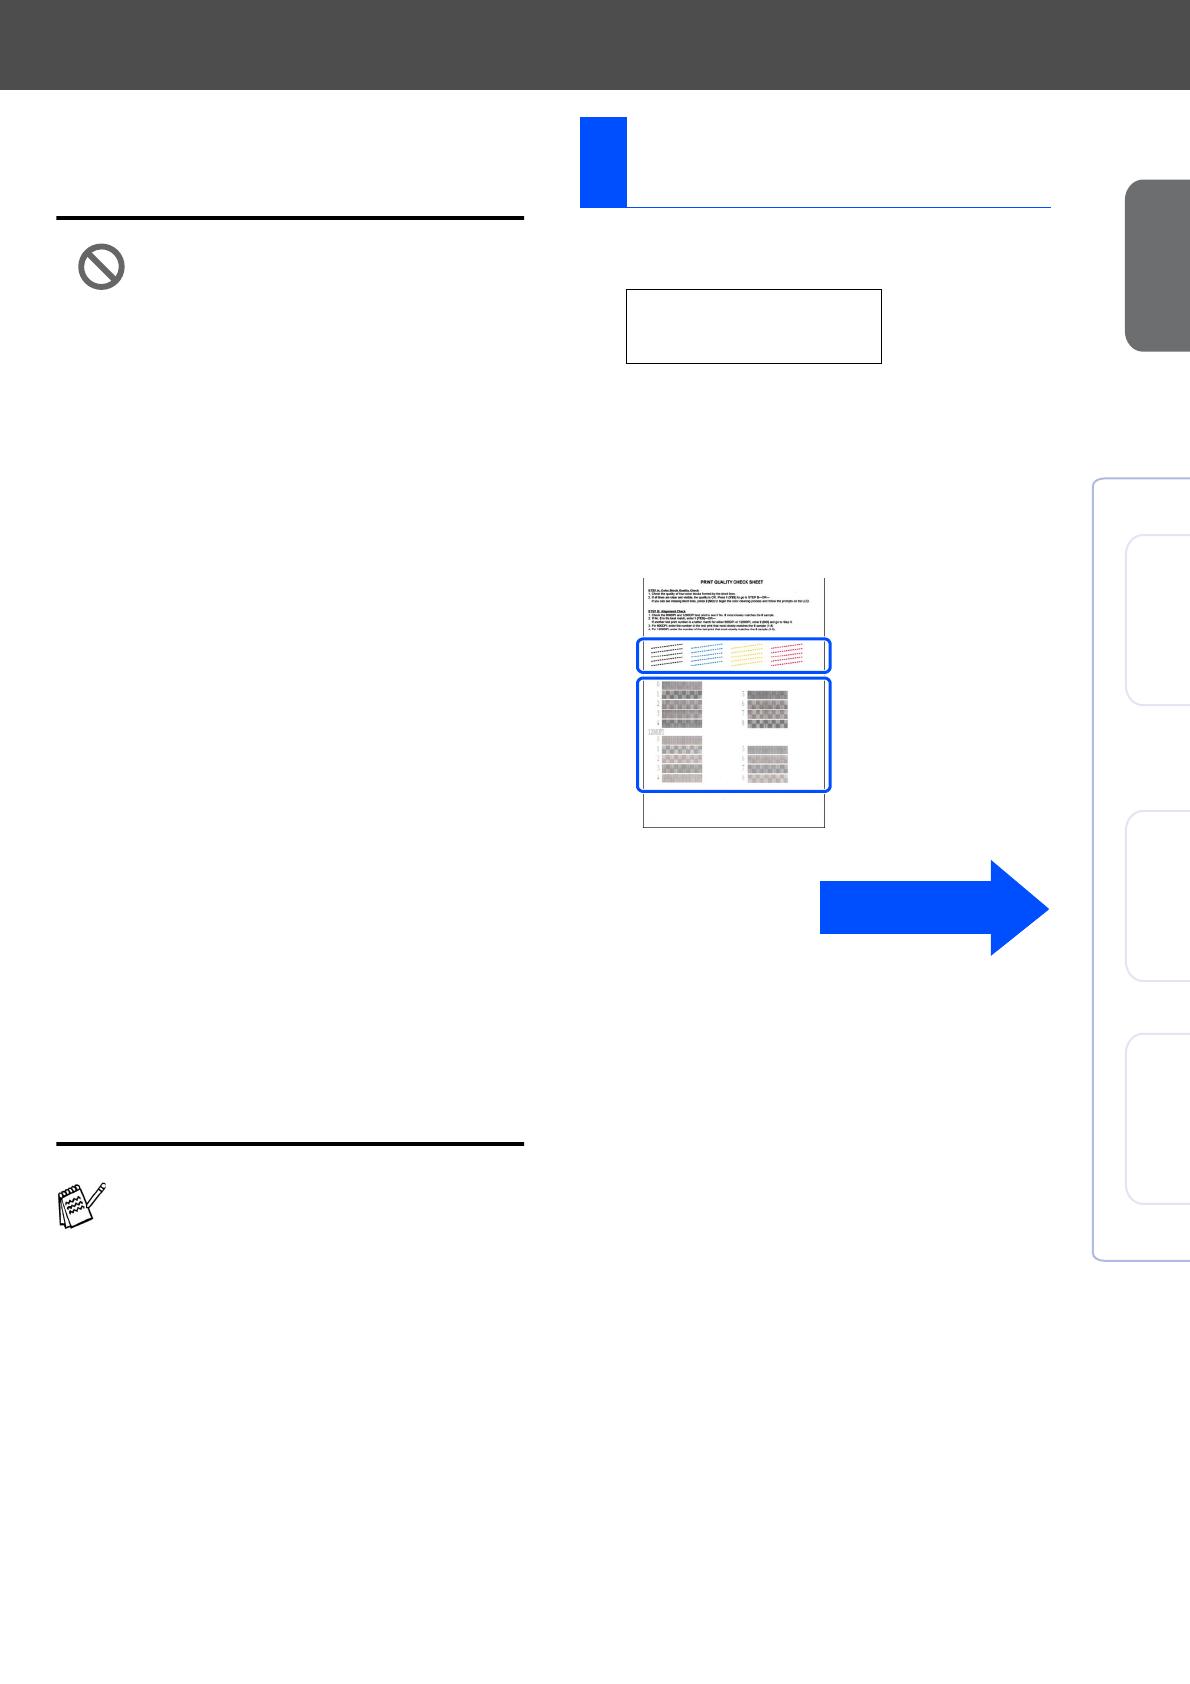
The DCP starts printing the PRINT
QUALITY CHECK SHEET (only during
initial ink cartridge installation).
If you mix the colours by installing an ink
cartridge in the wrong position, you must
clean the print head by running several
cleaning cycles after correcting the cartridge
installation. (See “Cleaning the print head” in
Chapter 15 of the User’s Guide.)
7
Colour Block Quality and
Alignment Check
SET PAPER AND
PRESS COLOUR CPY
Check in Step A
Check in Step B
To be continued


