11
Make sure that you have completed the instructions from Step 1 “Setting Up
the Machine” on pages 2 - 6.
1
Disconnect the machine from the power
socket and from the Macintosh
®
, if you have
already connected an interface cable.
2
Turn on your Macintosh
®
.
3
Insert the supplied CD-ROM into your
CD-ROM drive.
4
Double-click the Start Here OSX icon to
install the printer driver, Scanner driver and
Remote Setup program. If the language
screen appears, select your language.
5
Click MFL-Pro Suite to install.
6
Follow the on-screen instructions, and
restart your Macintosh
®
.
7
After the DeviceSelector window appears,
connect the USB interface cable to your
Macintosh
®
and then to the machine.
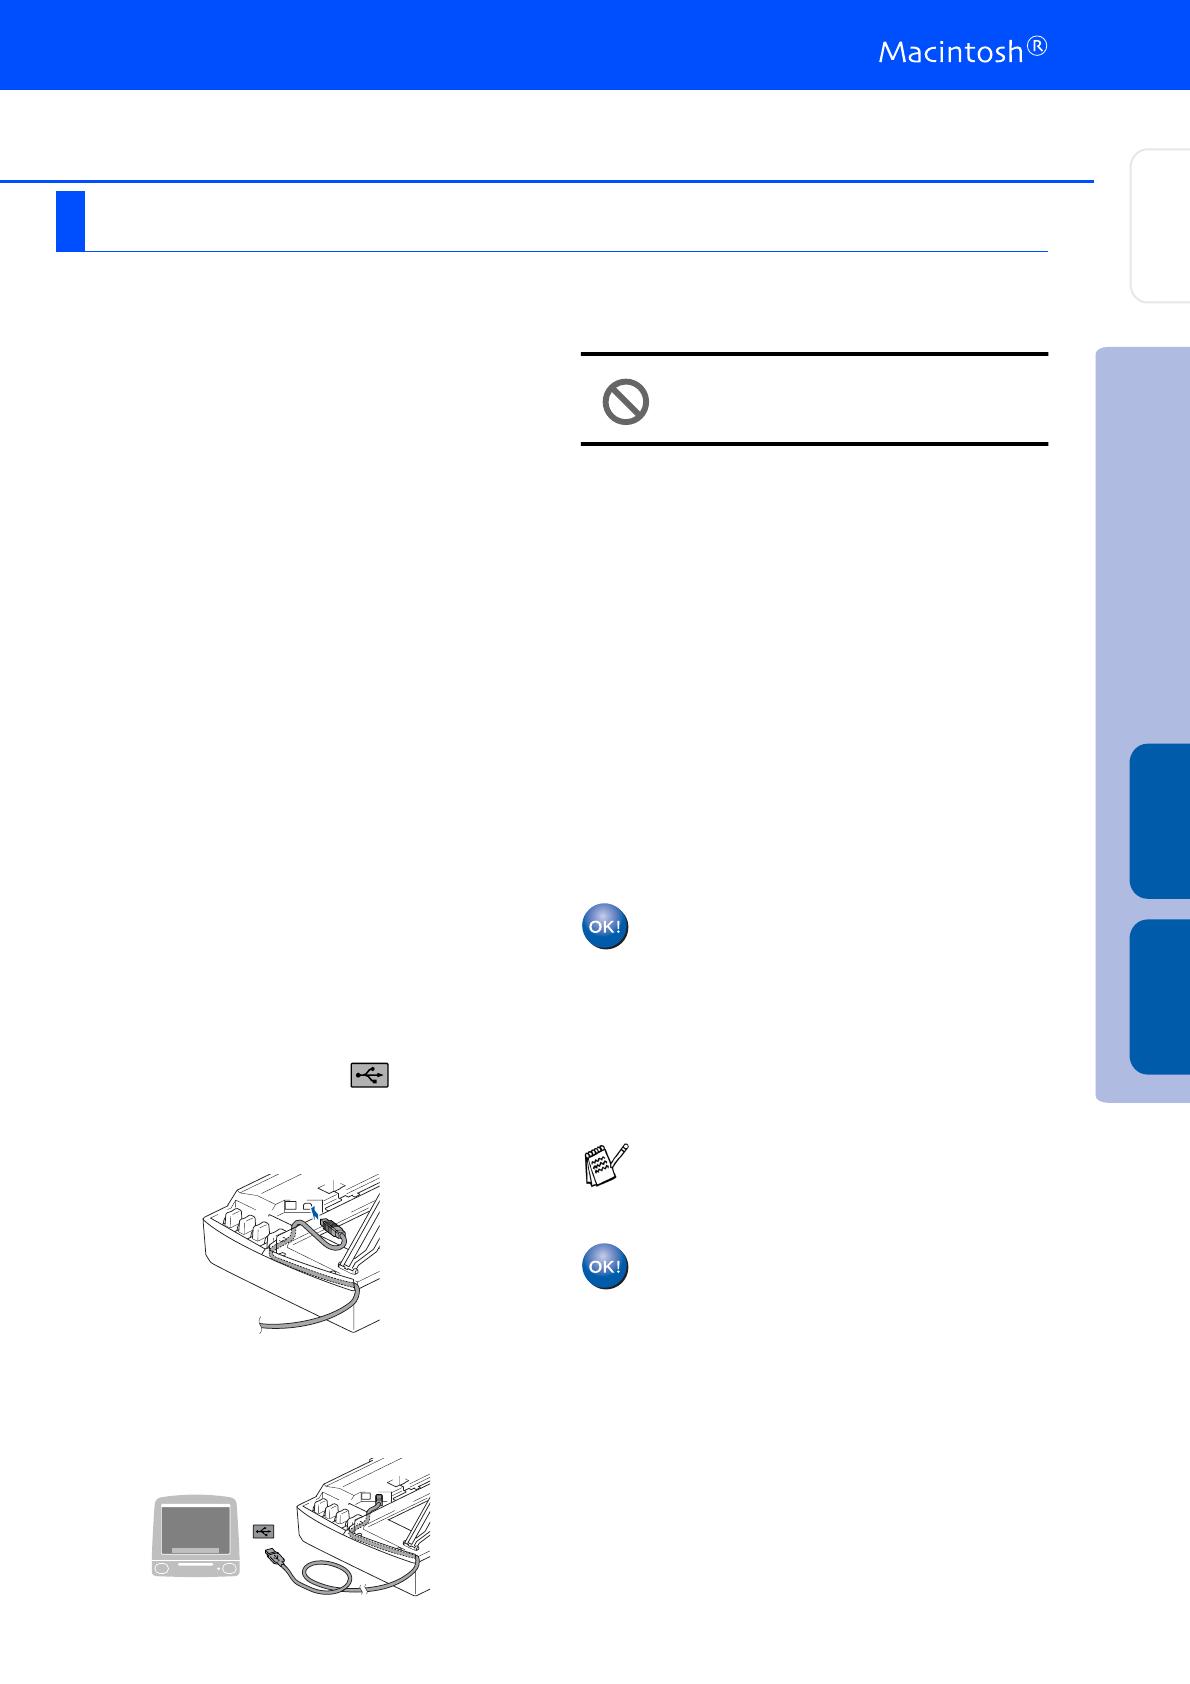
8
Connect the USB interface cable to your
Macintosh
®
, and then connect it to the
machine.
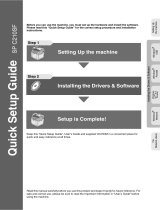
To connect the USB cable to the machine:
1. Open the scanner cover to its open
position.
2. Connect the USB cable into the USB
socket, marked with a symbol. You
will find the USB socket above and to the
left of the ink cartridge slots, as shown
below.
3. Carefully guide the USB cable into the
trench as shown below, following the
trench round and toward the back of the
machine.
DO NOT connect the machine to a
USB port on a keyboard or a non
powered USB hub.
9
Turn on the machine by plugging in the
power cord.
0
Select Applications from the Go menu.
A
Open the Utilities folder.
B
Open the Print Center icon.
C
Click Add.
D
Select USB.
E
Select DCP-115C and DCP-117C, and then
click Add.
F
Select
Quit Printer Setup Utility
from the
Printer Setup Utility menu.
The MFL-Pro Suite, Brother Printer
driver, Scanner driver and Remote
Setup Program have been installed and
the installation is now complete.
G
To install Presto!
®
PageManager
®
, click the
Presto! PageManager icon and follow the
on-screen instructions.
Presto!
®
PageManager
®
has been
installed and the installation is now
complete.
For Mac OS
®
X 10.2.4 or greater
You can easily scan, share and organize
photos and documents using Presto!
®
PageManager
®
.
Installing the Driver & Software
Setting Up
the Machine
Mac OS
®
X Mac OS
®
9.1 - 9.2