Samsung SP-M255W User manual

Category
Data projectors
Type
User manual
SP-M205W SP-M225W SP-M255W
LCD Projector
Owner’s Instructions
The color and the appearance of the product may differ
from the illustrations in this manual. The specifications are
subject to change without prior notice to improve
performance.
Table Of Contents
MAJOR SAFETY PRECAUTIONS
Before You Start . . . . . . . . . . . . . . . . . . . . . . . . . . . . . . . . . . . . . . . . . . . 1-1
Care and Maintenance . . . . . . . . . . . . . . . . . . . . . . . . . . . . . . . . . . . . . . 1-2
Safety Precautions . . . . . . . . . . . . . . . . . . . . . . . . . . . . . . . . . . . . . . . . . 1-3
INSTALLATION AND CONNECTION
Package Contents . . . . . . . . . . . . . . . . . . . . . . . . . . . . . . . . . . . . . . . . . 2-1
Installing the Projector . . . . . . . . . . . . . . . . . . . . . . . . . . . . . . . . . . . . . . 2-2
Leveling with Adjustable Feet . . . . . . . . . . . . . . . . . . . . . . . . . . . . . . . 2-3
Zoom and Focus Adjustment . . . . . . . . . . . . . . . . . . . . . . . . . . . . . . . . 2-4
Screen Size and Projection Distance . . . . . . . . . . . . . . . . . . . . . . . . . 2-5
Lamp Replacement . . . . . . . . . . . . . . . . . . . . . . . . . . . . . . . . . . . . . . . . . 2-6
Rear Side . . . . . . . . . . . . . . . . . . . . . . . . . . . . . . . . . . . . . . . . . . . . . . . . . 2-7
Supported Display Modes . . . . . . . . . . . . . . . . . . . . . . . . . . . . . . . . . . . 2-8
Connecting the Power . . . . . . . . . . . . . . . . . . . . . . . . . . . . . . . . . . . . . . 2-9
Connecting with a PC and Setting up the PC . . . . . . . . . . . . . . . . . . 2-10
Connecting a PC using an HDMI/DVI cable . . . . . . . . . . . . . . . . . . . . 2-11
Connecting an HDMI-Compatible Device . . . . . . . . . . . . . . . . . . . . . . 2-12
Connecting an AV device using a D-Sub cable . . . . . . . . . . . . . . . . . 2-13
Connecting an AV device with Component output . . . . . . . . . . . . . . 2-14
Connecting using a Video cable . . . . . . . . . . . . . . . . . . . . . . . . . . . . . 2-15
Connecting an External Speaker . . . . . . . . . . . . . . . . . . . . . . . . . . . . 2-16
Connecting to a Network . . . . . . . . . . . . . . . . . . . . . . . . . . . . . . . . . . 2-17
Kensington Lock slot . . . . . . . . . . . . . . . . . . . . . . . . . . . . . . . . . . . . . . 2-18
USING
Product Features . . . . . . . . . . . . . . . . . . . . . . . . . . . . . . . . . . . . . . . . . . 3-1
Front, Upper . . . . . . . . . . . . . . . . . . . . . . . . . . . . . . . . . . . . . . . . . . . . . . 3-2
Remote Control . . . . . . . . . . . . . . . . . . . . . . . . . . . . . . . . . . . . . . . . . . . 3-3
LED Indications . . . . . . . . . . . . . . . . . . . . . . . . . . . . . . . . . . . . . . . . . . . 3-4
Using the Screen Adjustment Menu (OSD: On Screen Display) . . . . 3-5
Network Management . . . . . . . . . . . . . . . . . . . . . . . . . . . . . . . . . . . . . . 3-6
MEDIA PLAY FUNCTION
Connecting a USB Storage Device and Precautions . . . . . . . . . . . . . 4-1
Documents . . . . . . . . . . . . . . . . . . . . . . . . . . . . . . . . . . . . . . . . . . . . . . . 4-2
Photo . . . . . . . . . . . . . . . . . . . . . . . . . . . . . . . . . . . . . . . . . . . . . . . . . . . 4-3
Music . . . . . . . . . . . . . . . . . . . . . . . . . . . . . . . . . . . . . . . . . . . . . . . . . . . 4-4
Movie . . . . . . . . . . . . . . . . . . . . . . . . . . . . . . . . . . . . . . . . . . . . . . . . . . . . 4-5
Settings . . . . . . . . . . . . . . . . . . . . . . . . . . . . . . . . . . . . . . . . . . . . . . . . . . 4-6
Supported File Formats . . . . . . . . . . . . . . . . . . . . . . . . . . . . . . . . . . . . . 4-7
TROUBLESHOOTING
Before Requesting Service . . . . . . . . . . . . . . . . . . . . . . . . . . . . . . . . . . 5-1
MORE INFORMATION
Specifications . . . . . . . . . . . . . . . . . . . . . . . . . . . . . . . . . . . . . . . . . . . . . 6-1
RS232C Command Table . . . . . . . . . . . . . . . . . . . . . . . . . . . . . . . . . . . . 6-2
Contact SAMSUNG WORLDWIDE . . . . . . . . . . . . . . . . . . . . . . . . . . . . . 6-3
Correct Disposal - Europe only . . . . . . . . . . . . . . . . . . . . . . . . . . . . . . . 6-4
Major Safety Precautions 1-1
1 Major Safety Precautions
1-1 Before You Start
Icons used in this manual
Using this Manual
• Make yourself fully aware of the safety precautions before using this product.
• The contents of this manual are subject to change without prior notice for performance improvement.
• If a problem occurs, refer to the 'Troubleshooting' section.
Copyright Notice
Copyright © 2010 Samsung Electronics Co., Ltd. All rights reserved.
The copyright of this manual is reserved by Samsung Electronics, Co., Ltd.
The contents of this manual may not be partially or in whole reproduced, distributed or used in any form without the written
permission of Samsung Electronics, Co., Ltd.
ICON NAME MEANING
Caution Indicates cases where the function may not work or the setting may be canceled.
Note Indicates a hint or tip to operate a function.
An administration fee may be charged if either.
(a) An engineer is called out at your request and there is no defect in the product.
(i.e. where you have failed to read this user manual).
(b) You bring the unit to a repair centre and there is no defect in the product.
(i.e. where you have failed to read this user manual).
The amount of such administration charge will be advised to you before any work or home visit is carried out.
1-2 Major Safety Precautions
1-2 Care and Maintenance
Cleaning the Surface and the Lens
Cleaning Inside the Projector
Clean the projector using a soft dry cloth.
• Avoid cleaning the product with a flammable substance such as
benzene or thinner.
• Avoid scratching the lens with your fingernails or a sharp object.
This may result in scratches or damage to the product.
• Avoid cleaning the product with a wet cloth or by directly
spraying water onto the product.
If water enters the product, it may result in fire, electric shock, or
a problem with the product.
• A white stain may appear on the surface of the projector if water
gets on it.
The appearance and the color may differ depending on the
model.
For cleaning the interior of the projector, contact an authorized
Samsung Service Center.
• Contact a Service Center if dust or other substances are inside
the projector.
Major Safety Precautions 1-3
1-3 Safety Precautions
Icons used for safety precautions
Power Related
The following images are for your reference and may differ depending on models and countries.
The appearance and the color may differ depending on models.
Warning
Caution
ICON NAME MEANING
Warning
Failing to follow the precautions marked with this sign may result in a serious injury or even
a fatality.
Caution
Failing to follow the precautions marked with this sign may result in a personal injury or
property damage.
Plug the power plug in firmly.
• Otherwise, it may result in fire.
Avoid connecting multiple electric appli-
ances to a single wall outlet.
• Otherwise, it may result in fire due to
overheating of the wall outlet.
Avoid using a damaged power cord or plug
or a loose power outlet.
• Otherwise, it may result in electric
shock or fire.
Avoid bending or twisting the power cord
excessively and avoid placing heavy
objects on the cord.
• Otherwise, it may result in electric
shock or fire due to a damaged power
cord.
Avoid plugging in or unplugging the power
supply with wet hands.
• Otherwise, it may result in electric
shock.
To move the product, turn the power off
and unplug the power cord and any other
wires connected to the product.
• Otherwise, it may result in electric
shock or fire due to the damaged
power cord.
Make sure to connect the power cord to a
grounded wall outlet (for insulation class 1
equipment only).
• Otherwise, it may result in electric
shock or injury.
When unplugging the power plug from the
wall outlet, make sure to hold the power
plug by the plug and not by the cord.
• Failing to do so may result in electric
shock or fire.
Do not turn the product on or off by plug-
ging or unplugging the power plug. (Do not
use the power plug as a power switch.)
1-3 Major Safety Precautions
Installation Related
Warning
Caution
Unplug the power plug before cleaning the
product.
• There is a danger of electric shock or
fire.
Keep the power cord away from sources of
heat.
Connect the power plug to a wall outlet
that can be easily reached.
• When a problem occurs with the
product, you must unplug the power
plug to cut the power off completely.
You cannot cut the power off
completely using only the power button
on the product.
Avoid installing the product in a location
exposed to direct sunlight and installing
the product near a heat source such as a
fire or heater.
• This may shorten the product life cycle
or cause fire.
Avoid installing the product in a badly-ven-
tilated location such as inside a bookshelf
or closet.
• Otherwise, it may result in fire due to
internal overheating.
When installing the product in a cabinet or
shelf, take care so that the front end of the
product is completely supported by the
cabinet or shelf.
• Failing to do so may result in the
product falling and resulting in damage
to the product or injury.
• Make sure to use a cabinet or shelf
suitable to the size of the product.
When installing the product on a console
or shelf, make sure that the front of the
product does not protrude out of the con-
sole or shelf.
• Otherwise, this may cause the product
to fall off and result in a malfunction or
injury.
Keep the power cord away from heaters.
• The coating of the power cord may
melt and cause electric shock or fire.
When thunder or lighting occurs, unplug
the power cord.
• Failing to do so may result in electric
shock or fire.
Do not install the product in a location
exposed to dust, moisture (sauna), oil,
smoke or water (rain drops) and do not
install it in a vehicle.
• This may result in electric shock or fire.
Do not install the product in areas with
heavy dust.
Take care not to block the vent with a table
cloth or curtain.
• Otherwise, it may result in fire due to
internal overheating.
Do not let the product drop while moving it.
• This may result in a problem with the
product or injury.
Major Safety Precautions 1-3
Usage Related
Caution
When putting the product down, place it
gently.
• Failing to do so may result in a problem
with the product or injury.
Do not install the product at a height where
children may reach it.
• If a child touches the product, the
product may fall and this may result in
injury.
Avoid inserting metal objects such as
chopsticks, coins or hairpins, or inflamma-
ble objects into the product (the vents,
ports, etc).
• If water or an alien substance enters
the product, turn the power off, unplug
the power cord and contact a service
center.
• Otherwise, it may result in a problem
with the product, electric shock or fire.
Do not let children place objects such as
toys or cookies on the product.
• If a child tries to reach for any of these
objects, the product may fall and cause
harm.
Do not disassemble, or attempt to fix or
modify the product.
• When the product requires repairs,
contact a Service Center.
Do not look directly at the light of the lamp
nor project the picture into someone's
eyes.
• This is dangerous, especially for
children.
Avoid using or placing inflammable spray
or objects near the product.
• This may result in an explosion or fire.
When you remove batteries from the
remote, be careful that they are not swal-
lowed by children. Keep batteries out of
the reach of children.
• If swallowed, see a doctor immediately.
Avoid placing a liquid container such as a
vase, flowerpot, beverage, cosmetics or
drugs, or a metal object over the product.
• If water or an alien substance enters
the product, turn the power off, unplug
the power cord and contact a service
center.
• Otherwise, it may result in a problem
with the product, electric shock or fire.
If the product generates a strange noise, a
burning smell, or smoke, unplug the power
plug immediately and contact a service
center.
• Failing to do so may result in electric
shock or fire.
If water or a foreign substance enters the
product, turn the product off, unplug the
power cord from a wall outlet, and contact
a Service Center.
If the power plug pin or jack is exposed to
dust, water or alien substances, clean it
thoroughly.
• There is a danger of electric shock or
fire.
Do not use the product while it indicates a
malfunction, such as no sound or no pic-
ture.
• Turn the product off immediately,
unplug the power cord from a wall
outlet, and contact a Service Center.
1-3 Major Safety Precautions
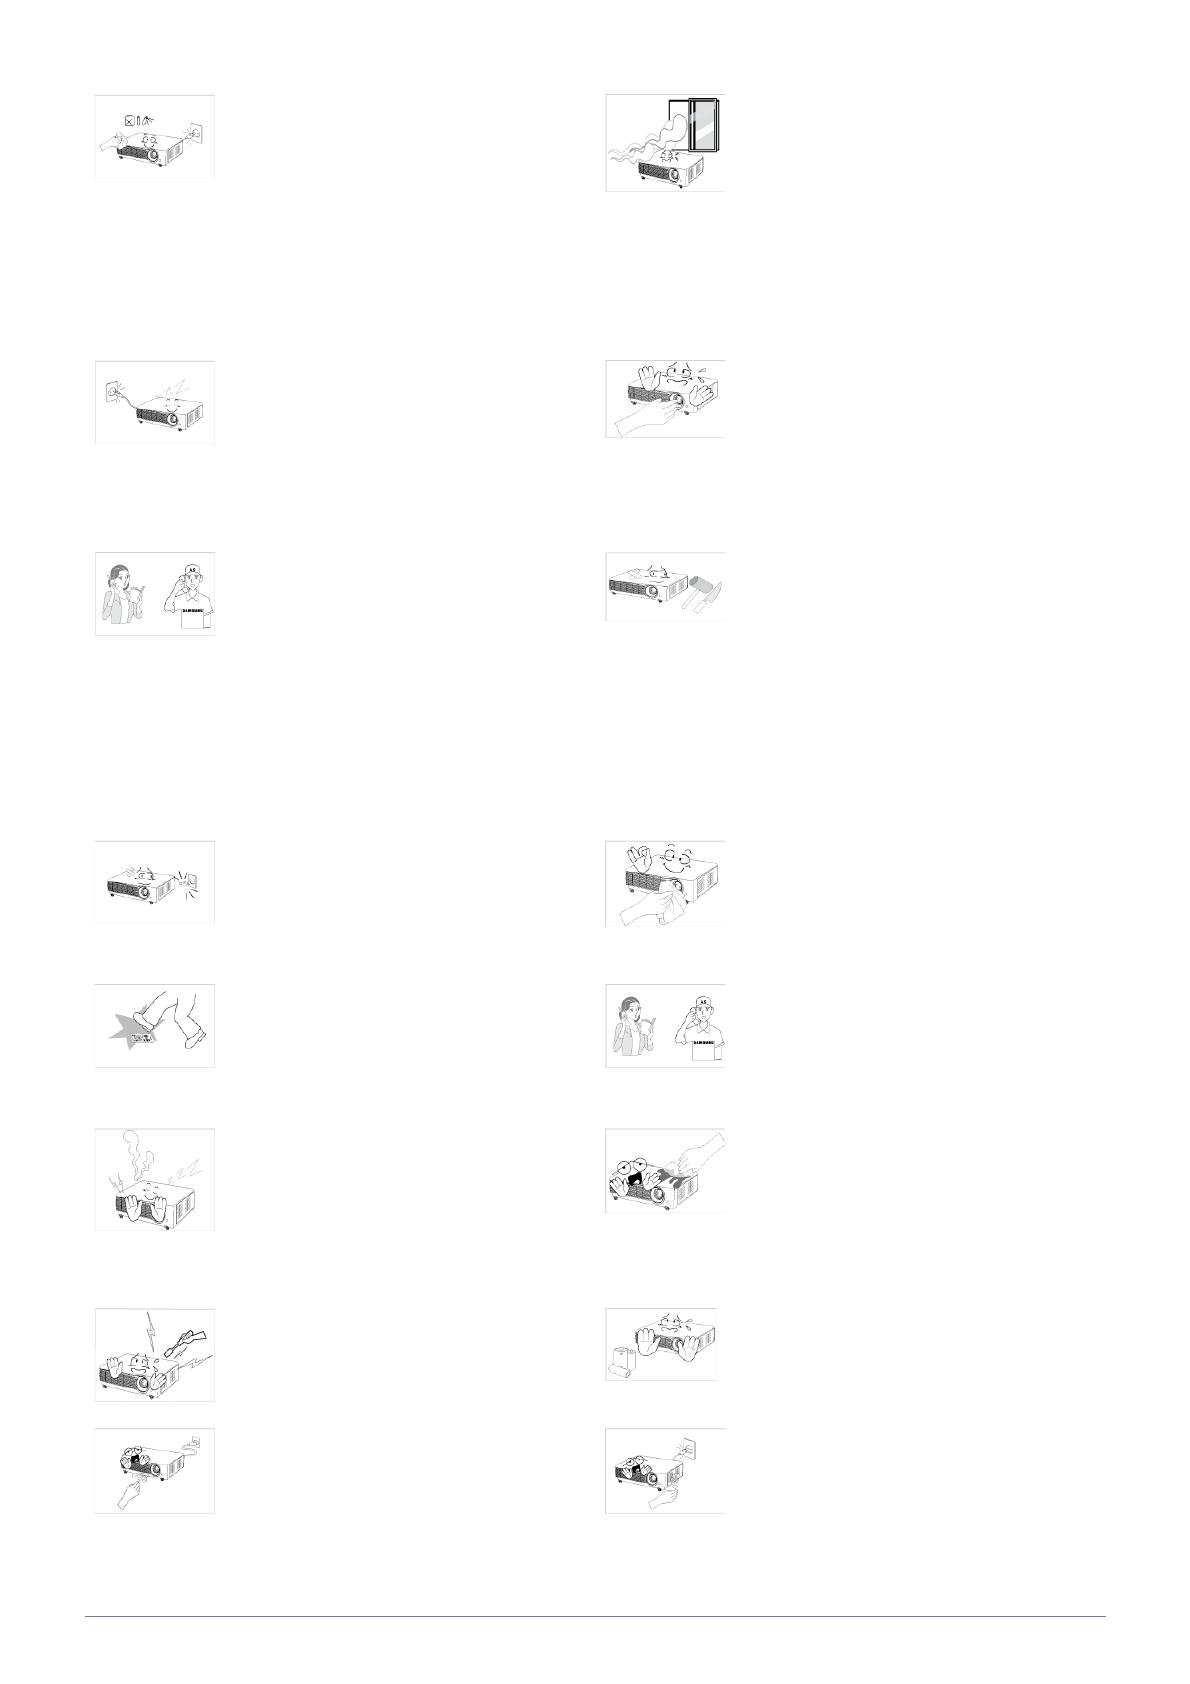
When cleaning the product, disconnect the
power cord and clean the product with a
soft dry cloth.
• Avoid using chemicals such as wax,
benzene, alcohol, thinner, mosquito-
repellent, fragrance, lubrication or
cleansing agent when cleaning the
product.
This may result in the exterior being
deformed or the print being removed.
When a gas leak occurs, do not touch the
product or the power plug and ventilate
immediately.
• A spark may result in an explosion or
fire.
• During a thunder or lighting storm, do
not touch the power cord or antenna
cable
When not using the product for a long
time, such as leaving your home, unplug
the power cord from the wall outlet.
• Otherwise, it may cause dust
accumulation and result in fire caused
by overheating or a short circuit or
result in an electric shock.
Do not touch the lens on the product.
• This may cause damage to the lens.
If the product is installed in a location
where the operating conditions vary con-
siderably, a serious quality problem may
occur due to the surrounding environment.
In this case, install the product only after
consulting our Call Center.
• Places exposed to microscopic dust,
chemicals, too high or low temperature,
high humidity, such as airports or
stations where the product is
continuously used for a long time etc..
Do not touch any outer part of the product
with tools such as a knife or a hammer.
If you drop the product or the case is dam-
aged, turn the power off and unplug the
power cord. Contact a service center.
• Failing to do so may result in fire or
electric shock.
To clean dirt or stains on the front projec-
tion lens, use spray or a wet cloth damp-
ened with neutral detergent and water.
Make sure to place your remote control on
a table or desk.
• If you step on the remote control, you
may fall and hurt yourself or the
product may be damaged.
Ask a Service Center to clean the interior
of the projector at least once per year.
To avoid burning yourself, do not touch the
vents or lamp cover while operating or
right after turning off the product.
Do not clean the product using water spray
or a wet cloth. Avoid using any chemicals
such as detergents, industrial or automo-
tive polish, abrasive, wax, benzene, alco-
hol on any plastic part of the product such
as projector case, since this may cause
damage.
Do not open any cover on the product.
• This would prove hazardous because
of high-voltage current inside the
product.
Do not use any undesignated battery.
Be careful not to touch the ventilation hole
while the projector is on as hot air comes
out.
The ventilation hole is hot for some time
though the projector is turned off. Keep
you hands or body off the ventilation hole.
Major Safety Precautions 1-3
Do not place objects vulnerable to heat
near the projector.
Be careful to keep your body away from
the projector lamp. The lamp is hot.
(Children and those who have sensitive
skin should be more careful.)
Take care not to lose the lens cover of the
product.
• The lens could get damaged.
The lens cover protects the lens and
should be used when the projector is
turned off.
• To hide the screen while the projector is
turned on, use the
BLANK
feature.
2-1 Installation and Connection
2 Installation and Connection
2-1 Package Contents
• Unpack the product and check if all of the contents listed below have been included.
• Store the packaging box in case you need to move the product at a later date.
Projector
A ceiling mount is not included and must be purchased separately. Use the included screws to attach the projector to
the ceiling mount bracket.
CONTENTS
Quick Setup Guide Warranty Card (Not available
in all locations)
User Manual Power Cord
Remote Control / 2 Battery
( Not available in all loca-
tions)
Cleaning Cloth D-Sub Cable Lens cover
4 Screws
(For ceiling mount bracket.)
Projector case
Installation and Connection 2-2
2-2 Installing the Projector
Install the projector so that the beam from the projector is perpendicular to the screen.
• Place the projector so that the lens aims at the center of the screen. If the screen is not vertical, the picture on the
screen may not appear rectangular.
• Do not install the screen in bright surroundings. If the surroundings are too bright, the picture on the screen will be
washed out and not display clearly.
• When using the projector in bright surroundings, use curtains to block the light.
• You can install the projector in the following locations relative to the screen : <Front-Floor> / <Front-Ceiling> / <Rear-
Floor> / <Rear-Ceiling>. To view the installation position settings, see below.
To adjust the picture when you install the projector behind the screen
To adjust the picture when you install the projector in the front of the screen
Installing behind a semi-transparent screen.
When you install the projector behind a semi-transparent screen,
you can use the menu to adjust the picture so that it displays cor-
rectly, depending on where you've located the projector, rear-
floor (or low) or rear-ceiling.
1. For rear-floor, press :
Menu > Setup > Install > Rear-Floor
2. For rear-ceiling, press :
Menu > Setup > Install > Rear-Ceiling
Installing the projector in front of the screen.
When you install the projector in front of a screen, you can use
the menu to adjust the picture so that it displays correctly,
depending on where you’ve located the projector, front-floor (or
low) or front-ceiling.
1. For front-floor, press :
Menu > Setup > Install > Front-Floor
2. For front-ceiling, press :
Menu > Setup > Install > Front-Ceiling
2-3 Installation and Connection
2-3 Leveling with Adjustable Feet
The projector can be adjusted to a height of up to 1.18 inches (30mm, about 12 °) from the reference point.
If
<Auto Keystone>
is set to
<On>, <V-Keystone>
is adjusted automatically
.
If fine tuning is required after auto-adjustment, use <
V-Keystone
>.
Press the PUSH buttons, as shown, to adjust the legs and level
the projector.
Installation and Connection 2-4
2-4 Zoom and Focus Adjustment
The size of your screen determines the distance you set your projector from the screen.
If you do not install your projector at the projection distance specified in the Screen Size and Projection Distance table in
Section 2-5, you will not be able to adjust the focus correctly.
Zoom Knob You can adjust the size of the image within the zoom range
by manipulating the Zoom Knob.
Focus Ring Focus the picture on the screen using the Focus Ring.
2-5 Installation and Connection
2-5 Screen Size and Projection Distance
A. Screen / Z. Throw Distance / Y’. Distance from Lens Center to Image Bottom
Install the projector on a flat, even surface and level the projector using the adjustable feet to obtain optimal picture quality.
If images are not clear, adjust them using the Zoom Knob or Focus Ring, or move the projector forward and backward.
SCREEN SIZE THROW DISTANCE OFFSET
M (DIAGONAL) X (HORIZONTAL) Y (VERTICAL) Z (TELE) Z (WIDE) Y'
INCHES CM INCHES CM INCHES CM INCHES CM INCHES CM INCHES CM
30 76.2
25 64.6 16 40.4 45.3 115.0 37.7 95.8 1.1 2.9
40 101.6
34 86.2 21 53.8 60.4 153.4 50.3 127.8 1.5 3.8
50 127.0
42 107.7 26 67.3 75.5 191.7 62.9 159.7 1.9 4.8
60 152.4
51 129.7 32 80.8 90.6 230.0 75.5 191.7 2.3 5.8
70 177.8
59 150.8 37 94.2 105.7 268.4 88.1 223.6 2.6 6.7
80 203.2
68 172.3 42 107.7 120.8 306.7 100.6 255.6 3.0 7.7
90 228.6
76 193.9 48 121.2 135.8 345.1 113.2 287.5 3.4 8.7
100 254.0
85 215.4 53 134.6 150.9 383.4 125.8 319.5 3.8 9.6
110 279.4
93 236.9 58 148.1 166.0 421.7 138.4 351.4 4.2 10.6
120 304.8
102 258.5 64 161.5 181.1 460.1 150.9 383.4 4.5 11.5
130 330.2
110 280.0 69 175.0 196.2 498.4 163.5 415.3 4.9 12.5
140 355.6
119 301.5 74 188.5 211.3 536.8 176.1 447.3 5.3 13.5
150 381.0
127 323.1 79 201.9 226.4 575.1 188.7 479.2 5.7 14.4
160 406.4
136 344.6 85 215.4 241.5 613.4 201.3 511.2 6.1 15.4
170 431.8
144 366.2 90 228.9 256.6 651.8 213.8 543.1 6.4 16.3
180 457.2
153 387.7 95 242.3 271.7 690.1 226.4 575.1 6.8 17.3
190 482.6
161 409.2 101 255.8 286.8 728.5 239.0 607.0 7.2 18.3
200 508.0
170 430.8 106 269.2 301.9 766.8 251.6 639.0 7.6 19.2
210 533.4
178 452.3 111 282.7 317.0 805.1 264.2 670.9 7.9 20.2
220 558.8
187 473.9 117 296.2 332.1 843.5 276.7 702.9 8.3 21.2
230 584.2
195 495.4 122 309.6 347.2 881.8 289.3 734.8 8.7 22.1
240 609.6
204 516.9 127 323.1 362.3 920.2 301.9 766.8 9.1 23.1
250 635.0
212 538.5 132 336.5 377.4 958.5 314.5 798.7 9.5 24.0
Installation and Connection 2-5
This projector is designed to show images optimally on a 80 ~ 120 inch sized screen.
260 660.4
220 560.0 138 350.0 392.5 996.8 327.0 830.7 9.8 25.0
270 685.8
229 581.6 143 363.5 407.5 1035.2 339.6 862.6 10.2 26.0
280 711.2
237 603.1 148 376.9 422.6 1073.5 352.2 894.6 10.6 27.0
290 736.6
246 624.6 154 390.4 437.7 1111.9 364.8 926.5 11.0 27.9
300 762.0
254 646.2 159 403.9 452.8 1150.2 377.4 958.5 11.4 28.9
310 787.4
263 667.7 164 417.3 467.9 1188.5 389.9 990.4 11.7 29.8
320 812.8
271 689.3 170 430.8 483.0 1226.9 402.5 1022.4 12.1 30.8
330 838.2
280 710.8 175 444.2 498.1 1265.2 415.1 1054.3 12.5 31.8
340 863.6
288 732.3 180 457.7 513.2 1303.5 427.7 1086.3 12.9 32.7
350 889.0
297 753.9 185 471.2 528.3 1341.9 440.3 1118.2 13.2 33.7
360 914.4
305 775.4 191 484.6 543.4 1380.2 452.8 1150.2 13.6 34.7
370 939.8
314 796.9 196 498.1 558.5 1418.6 465.4 1182.1 14.0 35.6
380 965.2
322 818.5 201 511.6 573.6 1456.9 478.0 1214.1 14.4 36.6
390 990.6
331 840.
0
207 525.0 589 1495.2 489.0 1243.2 14.8 37.5
400 1016
339 861.6 212 538.5 604 1533.6 502.0 1275.1 15.2 38.5
SCREEN SIZE THROW DISTANCE OFFSET
M (DIAGONAL) X (HORIZONTAL) Y (VERTICAL) Z (TELE) Z (WIDE) Y'
INCHES CM INCHES CM INCHES CM INCHES CM INCHES CM INCHES CM
2-6 Installation and Connection
2-6 Lamp Replacement
Cautions on Lamp Replacement
• The projector lamp is an expendable item. For best operating performance, replace the lamp according to the usage time.
You can view the lamp usage time in the Information Display (INFO button).
• Replace the lamp with the one specified below only.
- For inquiries on lamp purchase, please see 'Contact SAMSUNG WORLDWIDE' in section 6-3.
• Check that the power cord is unplugged before replacing the lamp.
• Because the lamp is a high temperature and high voltage product, wait at least one hour from the time you disconnect the
power cord before replacing the lamp.
• The projector lamp is on the top of the projector.
• Do not leave the old lamp near flammable items or in reach of children. There is a danger of fire, burns, or injury.
• Remove dirt or foreign material around or inside the lamp unit using a proper vacuum device.
• When handling the lamp, avoid touching any part of it except for the handles. If you handle the lamp incorrectly, you can
shorten the lamp’s lifetime and affect picture quality.
• When you change the lamp, put the projector on a flat surface.
• The projector has been designed so that the projector does not work if the lamp cover is not completely assembled after a
lamp replacement. If the projector does not work properly, please check the operating status of the indicator LED.
Lamp contains Mercury. Dispose According to Local, State or Federal Laws.
Lamp Replacement Procedure
• Because the lamp is a high temperature and high voltage product, wait at least one hour from the time that the power
cord is disconnected before replacing it.
• The projector lamp is on the top of the projector.
1. Remove the screw shown in the figure below, and then open the cover.
2. Wtih the cover open, remove the three (3) screws on the top of the projector as shown in the figure below.
3. To remove the lamp, hold and then pull the lamp handle as shown in the figure below.
Model SP-M205W, SP-M225W SP-M255W
Lamp Model Name DPL3311U DPL3321U
Installation and Connection 2-6
Install a new lamp in the reverse order of removal.
Replacing and Cleaning the Filter
Precautions when replacing the projector filter:
• The filter is on the side of the projector.
• Turn off the power of the projector, and then disconnect the power cord after the projector has cooled sufficiently.
Otherwise, its parts may be damaged due to internal heat.
• When you replace the filter, you may release some dust.
• For inquiries on replacement filter purchase, please see 'Contact SAMSUNG WORLDWIDE' in Chapter 6.
To replace or clean the filter, follow these steps:
1. Turn off the power of the projector, and then disconnect the power cord after the projector has cooled sufficiently.
2. Open the filter cover.
3. Replace or clean the filter.
• When cleaning the filter, use a small vacuum cleaner designed for computers and small electronics products, or wash it under
running water.
• After washing the filter under running water, make sure to dry it completely. The moisture may cause the filter to corrode.
• If dust cannot be separated from the filter or the filter is torn, it must be replaced.
• After cleaning or replacing the filter, run <Reset> -> <Reset Filter Time> in the <Setup> menu.
Ventilation openings
For the location of the ventilation openings, see the picture below:
• Do not block the ventilation openings. Blocking the ventilation openings can cause your projector to overheat and may cause
it to fail.
2-6 Installation and Connection
Air outtake vent
Air intake vent
Installation and Connection 2-7
2-7 Rear Side
ICON NAME
Kensington Lock slot
PC IN port
VIDEO IN port
AUDIO IN (L-AUDIO-R) port
HDMI/DVI IN port
Remote Control Signal Receiver
Power Input port
AUDIO OUT/ port
RS232C port
LAN Port
USB Port
  • Page 1 1
  • Page 2 2
  • Page 3 3
  • Page 4 4
  • Page 5 5
  • Page 6 6
  • Page 7 7
  • Page 8 8
  • Page 9 9
  • Page 10 10
  • Page 11 11
  • Page 12 12
  • Page 13 13
  • Page 14 14
  • Page 15 15
  • Page 16 16
  • Page 17 17
  • Page 18 18
  • Page 19 19
  • Page 20 20
  • Page 21 21
  • Page 22 22
  • Page 23 23
  • Page 24 24
  • Page 25 25
  • Page 26 26
  • Page 27 27
  • Page 28 28
  • Page 29 29
  • Page 30 30
  • Page 31 31
  • Page 32 32
  • Page 33 33
  • Page 34 34
  • Page 35 35
  • Page 36 36
  • Page 37 37
  • Page 38 38
  • Page 39 39
  • Page 40 40
  • Page 41 41
  • Page 42 42
  • Page 43 43
  • Page 44 44
  • Page 45 45
  • Page 46 46
  • Page 47 47
  • Page 48 48
  • Page 49 49
  • Page 50 50
  • Page 51 51
  • Page 52 52
  • Page 53 53
  • Page 54 54
  • Page 55 55
  • Page 56 56
  • Page 57 57
  • Page 58 58
  • Page 59 59
  • Page 60 60
  • Page 61 61
  • Page 62 62
  • Page 63 63
  • Page 64 64
  • Page 65 65
  • Page 66 66
  • Page 67 67
  • Page 68 68
  • Page 69 69
  • Page 70 70
  • Page 71 71
  • Page 72 72
  • Page 73 73
  • Page 74 74
  • Page 75 75
  • Page 76 76
  • Page 77 77
  • Page 78 78
  • Page 79 79
  • Page 80 80
  • Page 81 81
  • Page 82 82
  • Page 83 83
  • Page 84 84
  • Page 85 85
  • Page 86 86
  • Page 87 87
  • Page 88 88
  • Page 89 89
  • Page 90 90
  • Page 91 91
  • Page 92 92

Samsung SP-M255W User manual

Category
Data projectors
Type
User manual

Ask a question and I''ll find the answer in the document

Finding information in a document is now easier with AI