Xerox 3140 Owner's manual

Category
Laser/LED printers
Type
Owner's manual

This manual is also suitable for

Copyright_2
copyright
© 2009 Xerox Corporation. All rights reserved.
This user guide is provided for information purposes only. All information included herein is subject to change without notice.
Xerox Corporation is not responsible for any direct or indirect damages, arising from or related to use of this user guide.
Xerox and Xerox logo are trademarks of Xerox Corporation.
PCL and PCL 6 are trademarks of Hewlett-Packard Company.
Microsoft, Windows, and Windows Vista are either registered trademarks or trademarks of Microsoft Corporation.
TrueType, LaserWriter and Macintosh are trademarks of Apple Computer, Inc.
All other brand or product names are trademarks of their respective companies or organizations.
REV. 1.00
Table of contents_ 3
table of contents
7Safety
12 About this user guide
14 Features of your new product
INTRODUCTION
16
16 Machine overview
Front view
Rear view
18 Control panel overview
19 Understanding the control panel
LEDs
Button
GETTING STARTED
20
20 Setting up the hardware
20 Printing a demo page
21 Supplied software
21 System requirements
Windows
Macintosh
Linux
22 Installing driver for USB connected machine
Windows
Macintosh
Linux
24 Sharing your machine locally
Windows
Macintosh
NETWORK SETUP (PHASER 3160N ONLY)
25
25 Network environment
25 Introducing useful network programs
CentreWare IS (Phaser 3160N only)
SetIP
25 Installing drivers for network connected machine
Windows
Macintosh
Linux
27 Using a wired network
Printing network configuration report
Setting IP address
Network parameter setting
Restoring factory default settings
29 IPv6 Configuration
Printing network configuration report
Setting IPv6 addresses
Manual address configuration
Installing printer driver
Using CentreWare IS
BASIC SETUP
30
30 Altitude adjustment
For Phaser 3140 and 3155
For Phaser 3160B and 3160N
30 Setting the default tray and paper
In the computer
31 Using power saving feature
For Phaser 3140 and 3155
table of contents
Table of contents_ 4
For Phaser 3160B and 3160N
31 Changing font setting (Phaser 3160B and Phaser 3160N only)
MEDIA AND TRAY
32
32 Selecting print media
Guidelines to select the print media
Media sizes supported in each mode
32 Changing the tray size
33 Loading paper in the tray
Tray 1
Manual tray
34 Printing on special media
Envelope
Transparency
Labels
Card stock/ Custom-sized paper
Letterhead/ Preprinted paper
Photo
Glossy
36 Using the output support
PRINTING
37
37 Printer driver features
Printer driver
37 Basic printing
Canceling a print job
38 Opening printing preferences
Using a favorite setting
38 Using help
38 Using special print features
Printing multiple pages on one sheet of paper
Printing posters
Printing booklets (Manual)
Printing on both sides of paper (Manual)
Change percentage of your document
Fitting your document to a selected paper size
Using Troubleshooting tab
Using watermarks
Using overlay
Graphics tab options
41 Changing the default print settings
42 Setting your machine as a default machine
42 Printing to a file (PRN)
42 Macintosh printing
Printing a document
Changing printer settings
Printing multiple pages on one sheet of paper
44 Linux printing
Printing from applications
Printing files
Configuring printer properties
MANAGEMENT TOOLS
46
46 Using CentreWare IS (Phaser 3160N only)
To access CentreWare IS:
CentreWare IS overview
46 Using utility applications
Understanding Status Monitor
table of contents
Table of contents_ 5
Using Printer Settings Utility (Phaser 3160B, Phaser 3160N only)
Opening the Troubleshooting Guide
47 Using SetIP program (Phaser 3160N only)
Windows
Macintosh
Linux
48 Using the Unified Linux Driver Configurator
Opening the Unified Driver Configurator
Printers configuration
Ports configuration
MAINTENANCE
50
50 Printing a machine report
50 Using toner low alert (Phaser 3160B and Phaser 3160N only)
50 Cleaning a machine
Cleaning the outside
Printing a cleaning sheet (Phaser 3160B and Phaser 3160N only)
Cleaning the inside
51 Storing the toner cartridge
Handling instructions
Use of non-Xerox and refilled toner cartridge
Estimated cartridge life
51 Tips for moving & storing your machine
TROUBLESHOOTING
52
52 Redistributing toner
52 Tips for avoiding paper curls
53 Tips for avoiding paper jams
53 Clearing paper jams
In tray
In the manual tray
Inside the machine
In exit area
55 Solving other problems
Power problems
Paper feeding problems
Printing problems
Printing quality problems
Common Windows problems
Common Linux problems
Common Macintosh problems
SUPPLIES
62
62 How to purchase
62 Available supplies
62 Available maintenance parts
62 Replacing the toner cartridge
SPECIFICATIONS
64
64 Hardware specifications
64 Environmental specifications
65 Electrical specifications
66 Print media specifications
table of contents
Table of contents_ 6
GLOSSARY
67
Safety_7
safety
SAFETY INTRODUCTION
Notices and Safety
Please read the following instructions carefully before operating the machine and refer to them as needed to ensure the continued safe
operation of your machine.
Your Xerox product and supplies have been designed and tested to meet strict safety requirements. These include safety agency evaluation
and certification, and compliance with electromagnetic regulations and established environmental standards.
The safety and environment testing and performance of this product have been verified using Xerox materials only.
WARNING: Unauthorized alterations, which may include the addition of new functions or connection of external devices, may impact the
product certification. Please contact your Xerox representative for more information.
MARKS AND LABELS
Symbols
RADIO FREQUENCY EMISSIONS
FCC Notices For The USA
NOTE: This equipment has been tested and found to comply with the limits for a Class B digital device, pursuant to Part 15 of the FCC Rules.
These limits are designed to provide reasonable protection against harmful interference in a residential installation. This equipment generates,
uses and can radiate radio frequency energy and, if not installed and used in accordance with the instructions, may cause harmful interference
to radio communications. However, there is no guarantee that interference will not occur in a particular installation. If this equipment does
cause harmful interference to radio or television reception, which can be determined by turning the equipment off and on, the user is
encouraged to try to correct the interference by one or more of the following measures:
- Reorient or relocate the receiving antenna.
- Increase the separation between the equipment and receiver.
- Connect the equipment into an outlet on a circuit different from that to which the receiver is connected.
- Consult the dealer or an experienced radio/TV technician for help.
Changes or modifications to this equipment not specifically approved by the Xerox Corporation may void the user's authority to operate this
equipment.
EME Compliance for Canada
This Class "B" digital apparatus complies with Canadian ICES-003.
Cet appareil numérique de la classe « B » est conforme à la norme NMB-003 du Canada.
WARNING This symbol alerts users to areas of the equipment where there is the possibility of personal injury.
WARNING
This symbol alerts users to areas of the equipment where there are heated or hot surfaces, which should
not be touched.
CAUTION
This symbol alerts users to areas of the equipment which require special attention to avoid the possibility of
personal injury or damage to the equipment.
WARNING
This symbol indicates a Laser is being used in the equipment and alerts the user to refer to the appropriate
safety information.
NOTE
This symbol identifies information that is being emphasized and is important for you to remember.
Safety_8
LASER SAFETY INTRODUCTION
Laser Safety
OPERATIONAL SAFETY INFORMATION
Operational Safety Information
Your Xerox equipment and supplies have been designed and tested to meet strict safety requirements. These include safety agency
examination, approval, and compliance with established environmental standards.
To ensure the continued safe operation of your Xerox equipment, follow these safety guidelines at all times:
Do These
- Always follow all warnings and instructions that are marked on or supplied with the equipment.
- Before cleaning this product, unplug the product from the electrical outlet. Always use materials specifically designated for this product, the
use of other materials may result in poor performance and create a hazardous situation.
-
Do not use aerosol cleaners, they may be explosive and flammable under certain conditions.
-
Always exercise care when moving or relocating equipment. Please contact your local
Xerox
Service Department to arrange relocation of the copier
to a location outside of your building.
-
Always locate the machine on a solid support surface (not on plush carpet) that has adequate strength to support the weight of the machine.
-
Always locate the machine in an area that has adequate ventilation and room for servicing.
-
Always unplug this equipment from the electrical outlet before cleaning.
NOTE: Your Xerox machine is equipped with an energy saving device to conserve power when the machine is not in use. The
machine may be left on continuously.
WARNING: The metallic surfaces in the fuser area may be hot. Please use caution when removing paper jams from this area and
avoid touching any metallic surfaces.
Do Not Do These
-
Never use a ground adapter plug to connect the equipment to a power outlet that lacks a ground connection terminal.
- Never attempt any maintenance function that is not specifically described in this documentation.
- Never obstruct ventilation openings. They are provided to prevent overheating.
- Never remove covers or guards that are fastened with screws. There are no operator serviceable areas within these covers.
- Never locate the machine near a radiator or any other heat source.
- Never push objects of any kind into the ventilation openings.
- Never override or "cheat" any of the electrical or mechanical interlock devices.
- Never place this equipment where people might step on or trip on the power cord.
- This equipment should not be placed in a room unless proper ventilation is provided. Please contact your local Authorized dealer for further
information.
Warning - Electrical Safety Information
1. The power receptacle for the machine must meet the requirements stated on the data plate on the rear of the machine. If you are not sure
that your electrical supply meets the requirements, please consult your local power company or an electrician for advice.
2. The socket outlet shall be installed near the equipment and shall be easily accessible.
3. Use the power cable that is supplied with your machine. Do not use an extension cord or remove or modify the power cord plug.
4. Plug the power cable directly into a correctly grounded electrical outlet. If you are not sure whether or not an outlet is correctly grounded,
consult an electrician.
CAUTION: Use of controls, adjustments, or performance of procedures other than those specified in this guide may result in
hazardous light exposure.
This equipment complies with international safety standards and is classified as a Class 1 Laser Product.
With specific reference to lasers, the equipment complies with laser product performance standards set by governmental,
national, and international agencies as a Class 1 Laser Product. It does not emit hazardous light, as the beam is totally
enclosed during all phases of customer operation and maintenance.
Safety_9
5. Do not use an adapter to connect any Xerox equipment to an electrical outlet that lacks a ground connection terminal.
6. Do not place this equipment where people might step or trip on the power cable.
7. Do not place objects on the power cable.
8. Do not override or disable electrical or mechanical interlock devices.
9. Do not push objects into slots or openings on the machine. Electrical shock or fire may result.
10. Do not obstruct ventilation openings. These openings are used to provide proper cooling to the Xerox machine.
11. Disconnect Device: The power cable is the disconnect device for this equipment. It is attached to the back of the machine as a plug-in
device. To remove all electrical power from the machine, disconnect the power cable from the electrical outlet.
Electrical Supply
1. This product shall be operated from the type of electrical supply indicted on the product's data plate label. If you are not sure that your
electrical supply meets the requirements, please consult your local power company for advice.
2. WARNING: This equipment must be connected to a protective earth circuit. This equipment is supplied with a plug that has a
protective earth pin. This plug will only fit into an earthed electrical outlet. This is a safety feature. If you are unable to insert the plug into the
outlet, contact your electrician to replace the outlet.
3. Always connect equipment to a correctly grounded power outlet. If in doubt, have the outlet checked by a qualified electrician.
Disconnect Device
The power cable is the disconnect device for this equipment. It is attached to the back of the machine as a plug-in device. To remove all
electrical power from the equipment, disconnect the power cable from the electrical outlet.
Emergency Power Off
If any of the following conditions occur, turn off the machine immediately and disconnect the power cable(s) from the electrical outlet(s).
Contact an authorized Xerox Service Representative to correct the problem:
- The equipment emits unusual odors or makes unusual noises.
- The power cable is damaged or frayed.
- A wall panel circuit breaker, fuse, or other safety device has been tripped.
- Liquid is spilled into the machine.
- The machine is exposed to water.
- Any part of the machine is damaged.
Ozone Information
This product produces ozone during normal operation. The ozone produced is heavier than air and is dependent on copy volume. Install the
system in a well-ventilated room. Providing the correct environmental parameters will ensure that the concentration levels meet safe limits.
If you need additional information about ozone, please request the Xerox publication Facts About Ozone (part number 610P64653) by calling
1-800-828-6571 in the United States and Canada. In other markets, please contact your local Xerox representative.
MAINTENANCE INFORMATION
1. Any operator product maintenance procedures will be described in the customer documentation supplied with the product.
2. Do not carry out any maintenance on this product which is not described in the customer documentation.
3. Do not use aerosol cleaners. The use of cleaners that are not approved may cause poor performance of the equipment, and could cause a
dangerous condition.
4. Use supplies and cleaning materials only as directed in this manual.
5. Do not remove covers or guards that are fastened with screws. There are no parts behind these covers that you can maintain or service.
6. Do not perform any maintenance procedures unless you have been trained to do them by an authorized local dealer or unless a procedure
is specifically described in the user manuals.
Consumables Information
1. Store all consumables in accordance with the instructions given on the package or container.
2. Keep all consumables away from the reach of children.
3. Never throw toner, print cartridges or toner containers into an open flame.
Safety_10
PRODUCT SAFETY CERTIFICATION
This product is certified by the following Agency using the Safety standards listed;
REGULATORY INFORMATION
Certification in Europe
CE The CE mark applied to this product, symbolizes XEROX's declaration of conformity with the following applicable European Union
Directives, as of the dates indicated:
December 12, 2006: Council Directive 2006/95/EC as amended. Approximation of the laws of the member states related to low voltage
equipment.
December 15, 2004: Council Directive 2004/108/EC as amended. Approximation of the laws of the member states related to electromagnetic
compatibility.
A full declaration of conformity, defining the relevant directives and referenced standards, can be obtained from your XEROX Limited
representative or by contacting:
Environment, Heath and Safety
Xerox Limited
Bessemer Road
Welwyn Garden City
Herts
AL7 1BU
England, Telephone +44 (0) 1707 353434
WARNING: In order to allow this equipment to operate in proximity to Industrial, Scientific and Medical (ISM) equipment, the external
radiation from the ISM equipment may have to be limited or special mitigation measures taken.
WARNING: Shielded interface cables must be used with this product to maintain compliance with Council Directive 2004/108/EC.
PRODUCT RECYCLING & DISPOSAL
USA & Canada
Xerox operates a worldwide equipment take back and reuse/recycle program. Contact your Xerox sales representative (1-800-ASK-XEROX) to
determine whether this Xerox product is part of the program. For more information about Xerox environmental programs, visit
www.xerox.com/environment.html.
If your product is not part of the Xerox program and you are managing its disposal, please note that the product may contain lead and other
materials whose disposal may be regulated due to environmental considerations. For recycling and disposal information, contact your local
authorities. In the United States, you may also refer to the Electronic Industries Alliance web site: www.eiae.org.
European Union
WEEE Directive 2002/96/EC
Some equipment may be used in both a domestic/household and a professional/business application.
Agency Standard
Underwriters Laboratory Inc. UL60950-1 1st (2003) First Edition (USA/ Canada)
Intertek ETL Semko IEC60950-1: 2001 First Edition
Safety_11
ENERGY PROGRAM COMPLIANCE
USA
ENERGY STAR
As an ENERGY STAR
®
partner, Xerox Corporation has determined that this product meets the ENERGY STAR guidelines for energy
efficiency.
EH&S CONTACT INFORMATION
Contact Information
For more information on Environment, Health, and Safety in relation to this Xerox product and supplies, please contact the following customer
help lines:
USA:1-800 828-6571
Canada:1-800 828-6571
Europe:+44 1707 353 434
Professional/Business Environment
Application of this symbol on your equipment is confirmation that you must dispose of this equipment in compliance with
agreed national procedures. In accordance with European legislation, end of life electrical and electronic equipment
subject to disposal must be managed within agreed procedures.
Domestic/Household Environment
Application of this symbol on your equipment is confirmation that you should not dispose of the equipment in the normal
household waste stream. In accordance with European legislation, end of life electrical and electronic equipment subject to
disposal must be segregated from household waste.
Private households within EU member states may return used electrical and electronic equipment to designated collection
facilities free of charge. Please In some member states, when you purchase new equipment, your local retailer may be
required to take back your old equipment free of charge. Please ask your retailer for information.
Prior to disposal, please contact your local dealer or Xerox representative for end of life takeback information.
The ENERGY STAR and ENERGY STAR MARK are registered United States trademarks. The ENERGY STAR Imaging
Equipment Program is a team effort between U.S., European Union and Japanese governments and the office equipment
industry to promote energy-efficient copiers, printers, fax, multifunction machine, personal computers, and monitors.
Reducing product energy consumption helps combat smog, acid rain and long-term changes to the climate by decreasing
the emissions that result from generating electricity.
Xerox ENERGY STAR equipment is preset at the factory. Your machine will be delivered with the timer for switching to
Power Save Mode from the last copy/print out, set at 1 minutes. A more detailed description of this feature can be found in
the Machine Setup Section of this guide.
About this user guide_12
about this user guide
This user guide provides information about basic understanding of the machine as well as detailed explanation on each
step during actual usage. Valuable for both novice and professional users can refer to this as a guide for installing and
using the machine.
Read the safety information before using the machine.
If you have a problem using the machine, refer to the troubleshooting chapter. (See "Troubleshooting" on page 52.)
Terms used in this user guide are explained in the glossary chapter. (See "Glossary" on page 67.)
Use Index to find information.
All illustrations in this user guide may differ from your machine depending on its options or models.
The procedures in this user guide are mainly based on Windows XP.
CONVENTION
Some terms in this guide are used interchangeably, as below:
Document is synonymous with original.
Paper is synonymous with media, or print media.
Machine refers to printer or MFP.
The following table offers the conventions of this guide:
CONVENTION DESCRIPTION EXAMPLE
Bold For texts on the display or button names on the machine. Cancel
Note Provides additional information or detailed specification of the machine function
and feature.
The date format may differ from country
to country.
Caution Gives users information to protect the machine from possible mechanical
damage or malfunction.
Do not touch the green underside of the
toner cartridge.
Footnote Provides additional more detailed information on certain words or a phrase. a. pages per minute
(“Cross-reference”) Guides users to a reference page for the additional detailed information. (See "Finding more information" on
page 13.)
About this user guide_13
FINDING MORE INFORMATION
You can find information for setting up and using your machine from the following resources, either as a print-out or on screen.
MATERIAL NAME DESCRIPTION
Quick Install Guide This guide provides information on setting up your machine and this requires that you follow the instructions in the guide to prepare the
machine.
User guide This guide provides you with step-by-step instructions for using your machine’s full features, and contains information for maintaining
your machine, troubleshooting, and installing accessories.
Network Website If you have network model, you can set the network environment from your computer using network-managing programs, such as
SetIP, CentreWare IS, etc. This Website will be convenient for network administrators who need to manage many machines
simultaneously. SetIP program is provided in the software CD.
Machine Driver Help This help provides you with help information on printer driver and instructions for setting up the options for printing. (See "Using help"
on page 38.)
Xerox website If you have Internet access, you can get help, support, machine drivers, latest software and firmware vesions, manuals and order
information from the Xerox website, www.xerox.com/office/support.
Features of your new product_14
features of your new product
Your new machine is equipped with a number of special features that improve the quality of the documents you print.
SPECIAL FEATURES
Print with excellent quality and speed
Handle many different types of printable material
Create professional documents (Windows only)
Save time and money
Print in various environments
You can print with a resolution of up to 1,200 x 600 dpi
(Phaser 3140, Phaser 3155) and up to 1,200 x 1,200 dpi
(Phaser 3160B, Phaser 3160N) effective output.
Phaser 3140 prints up to 18 ppm, A4-sized paper or up to 19
ppm, letter sized paper. Phaser 3155, Phaser 3160B and
Phaser 3160N prints up to 24 ppm, A4-sized paper and
letter-sized paper.
Manual tray supports plain paper in various sizes, letterhead,
envelopes, labels, custom-sized media, postcards, and
heavy paper.
The 250-sheet tray supports plain paper.
Print Watermarks. You can customize your documents with
words, such as “CONFIDENTIAL”. (See "Using watermarks"
on page 40.)
Print Posters. The text and pictures of each page of your
document are magnified and printed across the sheet of
paper and can then be taped together to form a poster. (See
"Printing posters" on page 39.)
You can use preprinted forms and letterhead with plain
paper. (See "Using overlay" on page 40.)
To save paper, you can print multiple pages on one single
sheet of paper. (See "Printing multiple pages on one sheet of
paper" on page 38.)
This machine automatically conserves electricity by
substantially reducing power consumption when not in use.
To save paper, you can print on both sides of the paper
(Manual). (See "Printing on both sides of paper (Manual)" on
page 39.)
You can print with Windows 2000 and Windows
XP/2003/2008/Vista as well as Linux and Macintosh
systems.
Your machine is equipped with a USB interface.
The Phaser 3160N comes with a built-in Network interface,
10/100 Base TX.
IPv6
This machine supports IPv6. (Phaser 3160N only)
Features of your new product_15
FEATURES BY MODELS
The machine is designed to support all of your document needs from printing to more advanced networking solutions for your business.
Features by models include:
( : Included, Blank: Not available)
FEATURES
Phaser 3140 Phaser 3155 Phaser 3160B Phaser 3160N
Hi-Speed USB 2.0
a
a.USB 1.1
●●●
Network Interface Ethernet 10/100 Base TX
wired LAN
Duplex (2-sided) printing (Manual) ●●●●
Effective resolution 1,200 x 600 (dpi) ●●
1,200 x 1,200 (dpi) ●●
Print speed up to 19 ppm
up to 24 ppm ●●●
Introduction_16
1.introduction
This chapter gives you an overview of your machine:
This chapter includes:
Machine overview
Control panel overview
Understanding the control panel
MACHINE OVERVIEW
Front view
This illustration may differ from your machine depending on its model.
1
Document output tray
6
Manual feeder
2
Control panel
7
Manual feeder guide
3
Front cover handle
8
Output support
4
Front cover
9
Toner cartridge
5
Tray 1
Introduction_17
Rear view
This illustration may differ from your machine depending on its model.
1
Rear cover
3
USB port
2
Network Port
a
a.Phaser 3160N only.
4
Power receptacle
Introduction_18
CONTROL PANEL OVERVIEW
1
Error Shows the status of your machine. (See "LEDs" on page 19.)
2
Online Shows the status of your machine. (See "LEDs" on page 19.)
3
Cancel Stops an operation at any time and there are more functions. (See "Understanding the control panel" on page 19.)
4
Power You can turn the power on and off with this button. (See "Understanding the control panel" on page 19.)
Introduction_19
UNDERSTANDING THE CONTROL PANEL
LEDs
The color of the LEDs indicates the machine's current status.
Xerox does not recommend using non-genuine Xerox toner cartridge
such as refilled or remanufactured. Xerox cannot guarantee
non-genuine Xerox toner cartridge's quality. Service or repair required
as a result of using non-genuine Xerox toner cartridges will not be
covered under the machine warranty.
If the problem persists, call for service.
Button
(Cancel button)
By pressing the (cancel button), you can:
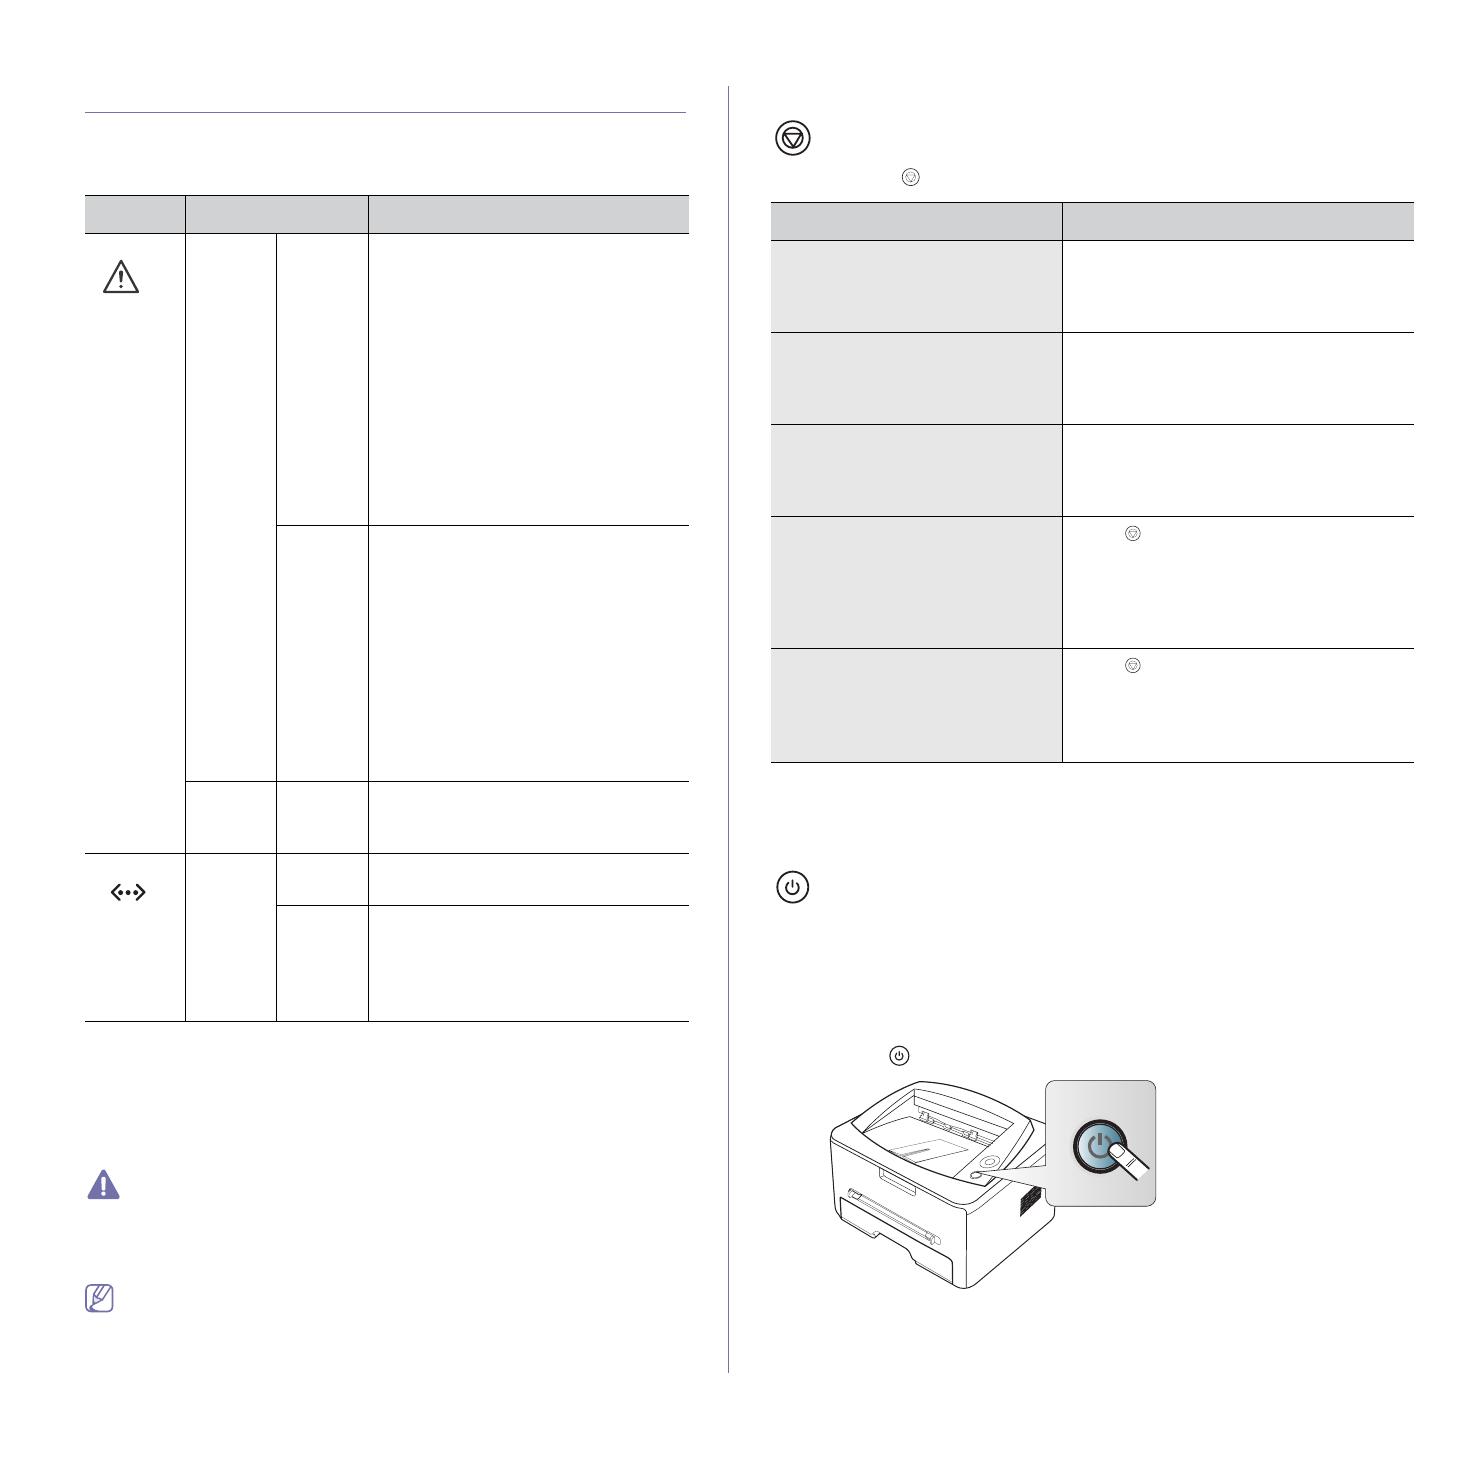
(Power button)
This button must be used to turn the machine on/off. When the machine is
not in use, it will automatically enter power save mode. (See "Using power
saving feature" on page 31.)
Turning on the machine
1. Plug in the power cord.
2. Press (power) on the control panel.
LED STATUS DESCRIPTION
Error
()
Red On The cover is opened. Close the
cover.
There is no paper in the tray. Load
paper in the tray.
The machine has stopped due to a
major error.
Your system has some problems. If
this problem occurs, contact your
service representative.
A toner cartridge has reached its
estimated cartridge life
a
(See
"Replacing the toner cartridge" on
page 62.)
a.Estimated cartridge life means the expected or estimated toner
cartridge life, which indicates the average capacity of print-outs and is
designed pursuant to ISO/IEC 19752. The number of pages may be
affected by operating environment, printing interval, media type, and
media size. Some amount of toner may remain in the cartridge even
when red LED turned on and the printer stops printing.
Blinking A minor error has occurred and the
machine is waiting for the error to
be cleared. When the problem is
cleared, the machine resumes.
Small amount of toner is left in the
cartridge. The estimated cartridge
life of toner is close. Order a new
cartridge for replacement. You may
temporarily increase the printing
quality by redistributing the toner.
(See "Redistributing toner" on
page 52.)
Orange On A paper jam has occurred.
(See "Clearing paper jams" on
page 53.)
Online
()
Green On The machine is on-line and can
receive data from the computer.
Blinking When the backlight slowly blinks,
the machine is receiving data from
the computer.
When the backlight blinks rapidly,
the machine is printing data.
FUNCTION DESCRIPTION
Printing demo page
a
a. When you print the demo page for Phaser 3140 and Phaser 3155,
configuration information is included on the same page.
In Ready mode, press and hold this
button for about 2 seconds until the status
LED blinks slowly, and release. (See
"Printing a demo page" on page 20.)
Printing configuration sheet
b
b.Phaser 3160B and Phaser 3160N only
In Ready mode, press and hold this
button for about 7 seconds until the status
LED blinks fast, and release. (See
"Printing a machine report" on page 50.)
Printing a cleaning sheet
b
In Ready mode, press and hold this
button for about 10 seconds until the
status LED blinks slow, and release. (See
"Cleaning the inside" on page 50.)
Cancel print job Press (cancel button) during printing.
The red LED blinks while the print job is
cleared from both the machine and the
computer and then the machine returns to
ready mode. This may take some time
depending on the size of the print job.
Manual print Press (cancel button) each time you
load a sheet of paper in the
manual tray when you select Manual
Feeder for Source from your software
application.
Getting started_20
2.getting started
This chapter gives you step-by-step instructions for setting up the USB connected machine and software.
This chapter includes:
Setting up the hardware
Printing a demo page
Supplied software
System requirements
Installing driver for USB connected machine
Sharing your machine locally
SETTING UP THE HARDWARE
This section shows the steps to set up the hardware, as is explained in the
Quick Install Guide. Make sure you read the Quick Install Guide first and
follow the steps below:
1. Select a stable location.
Select a level, stable place with adequate space for air circulation. Allow
extra space to open covers and trays.
The area should be well ventilated and away from direct sunlight or
sources of heat, cold, and humidity. Do not set the machine close to the
edge of your desk or table.
Printing is suitable for altitudes under 1,000 m (3,281 ft). Refer to the
altitude setting to optimize your printing. (See "Altitude adjustment" on
page 30.)
Place the machine on a flat, stable surface so that there is no incline
greater than 2 mm (0.08 inch). Otherwise, printing quality may be
affected.
2. Unpack the machine and check all the enclosed items.
3. Remove tape holding the paper tray.
4. Remove the toner sealing strip.
5. Install the toner cartridge.
6. Load paper. (See "Loading paper in the tray" on page 33.)
7. Make sure that all cables are connected to the machine.
8. Turn the machine on by pressing the (power button).
This equipment will be inoperable when the main power fails.
PRINTING A DEMO PAGE
Print a demo page to make sure that the machine is operating correctly.
To print a demo page:
In ready mode, press and hold the (cancel button) for about 2 seconds,
then release.
  • Page 1 1
  • Page 2 2
  • Page 3 3
  • Page 4 4
  • Page 5 5
  • Page 6 6
  • Page 7 7
  • Page 8 8
  • Page 9 9
  • Page 10 10
  • Page 11 11
  • Page 12 12
  • Page 13 13
  • Page 14 14
  • Page 15 15
  • Page 16 16
  • Page 17 17
  • Page 18 18
  • Page 19 19
  • Page 20 20
  • Page 21 21
  • Page 22 22
  • Page 23 23
  • Page 24 24
  • Page 25 25
  • Page 26 26
  • Page 27 27
  • Page 28 28
  • Page 29 29
  • Page 30 30
  • Page 31 31
  • Page 32 32
  • Page 33 33
  • Page 34 34
  • Page 35 35
  • Page 36 36
  • Page 37 37
  • Page 38 38
  • Page 39 39
  • Page 40 40
  • Page 41 41
  • Page 42 42
  • Page 43 43
  • Page 44 44
  • Page 45 45
  • Page 46 46
  • Page 47 47
  • Page 48 48
  • Page 49 49
  • Page 50 50
  • Page 51 51
  • Page 52 52
  • Page 53 53
  • Page 54 54
  • Page 55 55
  • Page 56 56
  • Page 57 57
  • Page 58 58
  • Page 59 59
  • Page 60 60
  • Page 61 61
  • Page 62 62
  • Page 63 63
  • Page 64 64
  • Page 65 65
  • Page 66 66
  • Page 67 67
  • Page 68 68
  • Page 69 69
  • Page 70 70
  • Page 71 71
  • Page 72 72
  • Page 73 73

Xerox 3140 Owner's manual

Category
Laser/LED printers
Type
Owner's manual
This manual is also suitable for

Ask a question and I''ll find the answer in the document

Finding information in a document is now easier with AI