1.12
User Guide
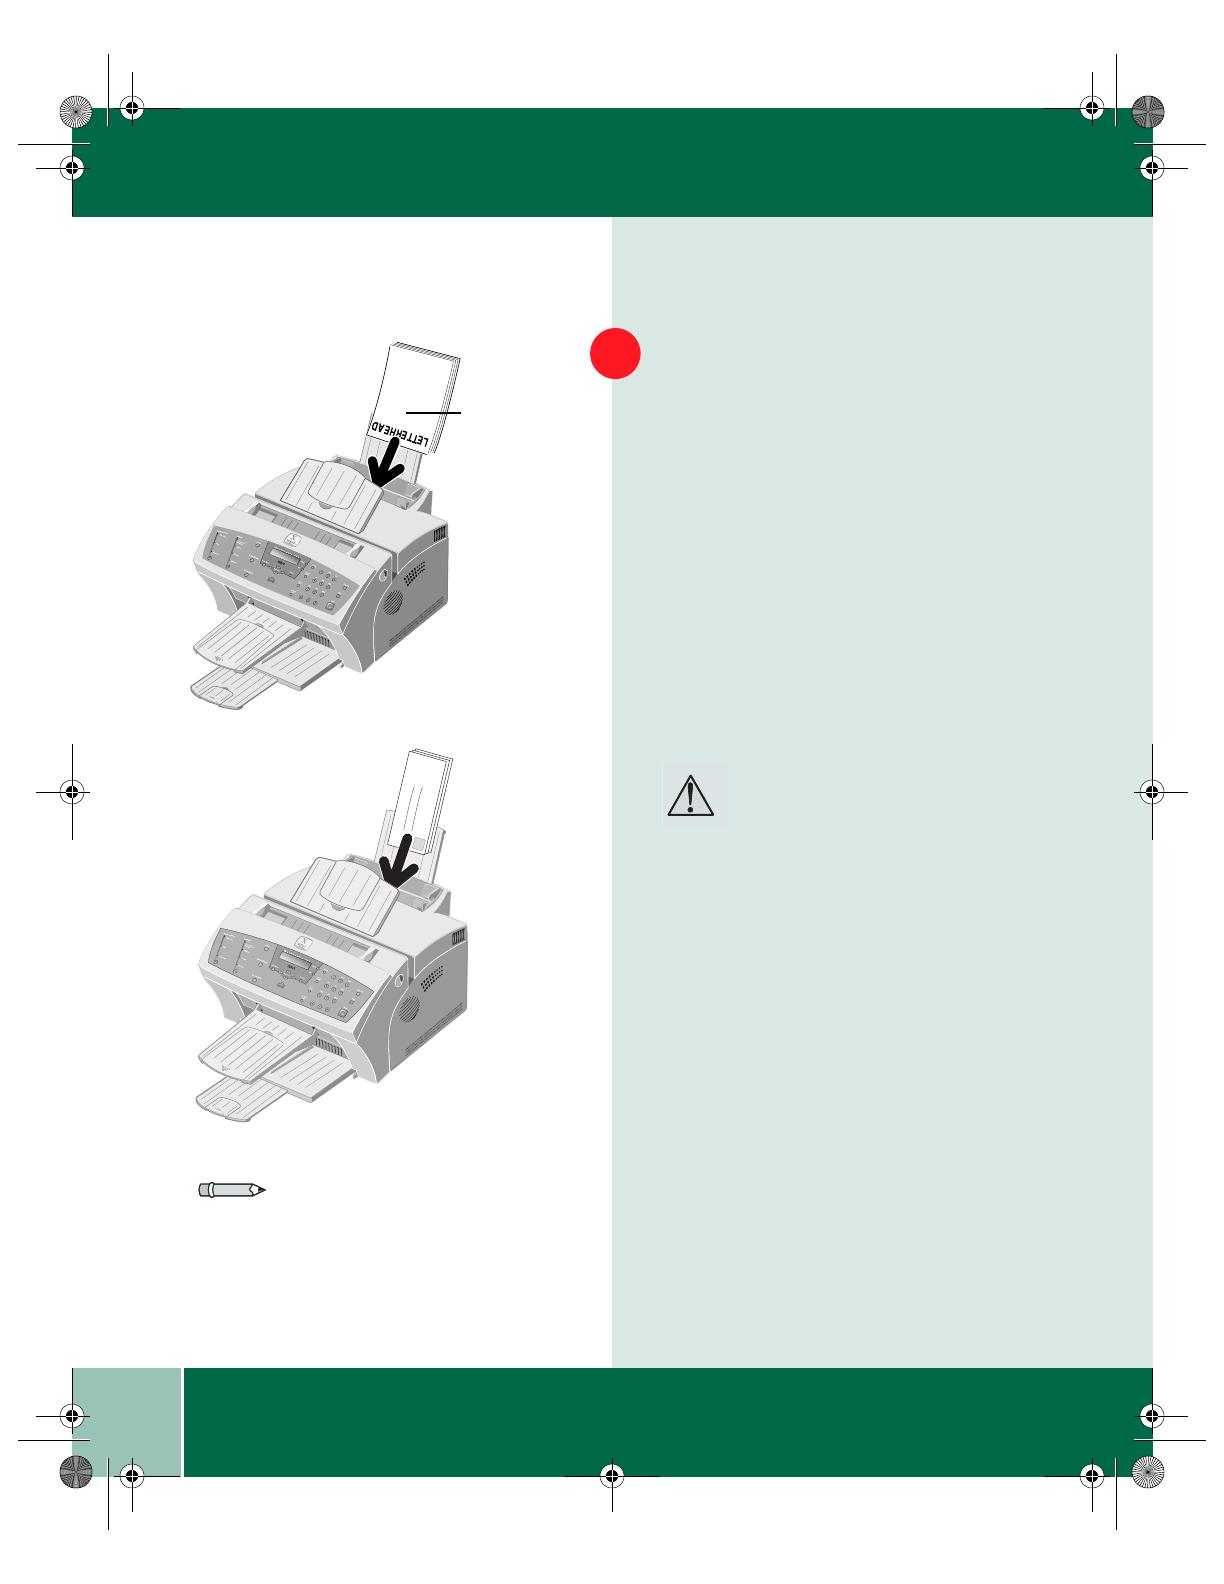
USING THE AUTOMATIC PAPER FEEDER
Load the print material in the Automatic
Paper Feeder.
Do not exceed the rated capacity for each type
of print material. Do not mix different types of
print media. Refer to the following
instructions for loading material.
• Load paper, letterhead, or transparencies
with the print side facing you.
• Load envelopes with the flap side facing
away from you. The end of the envelope
with the stamp area must enter the
Automatic Paper Feeder first.
Caution: Never use envelopes with stamps,
clasps, snaps, windows, coated linings, or
self-stick adhesives. These envelopes may
severely damage the printer.
3
The
WorkCentre
390 will
print on the
side facing
you.
Note: Do not feed stamped envelopes.
The stamp is shown in the previous
illustration for reference only.
390ug.bk Page 12 Friday, April 28, 2000 12:13 PM


