Installation & Operation Manual RTCSmp Built-In Module-Line Griddle & Braising Pan
2 Part # 4532414 Rev 3 (9/26/14)
WARRANTY
Our warranty statements for induction products are
available on-line. Please visit our website at
www.garland-group.com/minisite/service to download
the latest revision. If you might have any questions,
please contact Garland.
UNPACKING and PACKING SLIP
The packing slip attached to the shipment contains
detailed information on all components. Please retain
this packing slip for future reference.
USING THIS MANUAL
PLEASE READ ALL SECTIONS OF THIS MANUAL AND
RETAIN FOR FUTURE REFERENCE.
This manual contains important information regarding
safety, installation, operation, maintenance, and
troubleshooting. They must be read entirely and
carefully by the installers and operators before the
equipment is installed and taken into operation. This
manual must always be available for reference at the
place of operation.
Throughout this manual, the induction unit type
“RTCSmp Built-In Module Griddle or Braising Pan” is
referred to as “induction unit”.
THIS PRODUCT HAS BEEN CERTIFIED AS COMMERCIAL
COOKING EQUIPMENT AND MUST BE INSTALLED BY
PROFESSIONAL PERSONNEL AS SPECIFIED
INSTALLATION
AND ELECTRICAL CONNECTION MUST
COMPLY WITH CURRENT CODES:
IN CANADA – THE CANADIAN ELECTRICAL CODE PART 1
AND / OR LOCAL CODES.
IN USA – THE NATIONAL ELECTRICAL CODE ANSI / NFPA –
CURRENT EDITION.
WARNING
IMPROPER INSTALLATION, ADJUSTMENT, ALTERATION, SERVICE
OR MAINTENANCE CAN CAUSE PROPERTY DAMAGE, INJURY, OR
DEATH. READ THE INSTALLATION, OPERATING AND
MAINTENANCE INSTRUCTIONS THOROUGHLY BEFORE
INSTALLING OR SERVICING THIS EQUIPMENT
CAUTION
A SUITABLE GREASE-COLLECTING MEANS MUST BE IN PLACE
BEFORE OPERATING APPLIANCE
FOR YOUR SAFETY
DO NOT STORE OR USE GASOLINE OR OTHER FLAMMABLE
VAPORS OR LIQUIDS IN THE VICINITY OF THIS OR ANY OTHER
APPLIANCE
Users are cautioned that maintenance and repairs must be performed by a Garland authorized service agent using only
genuine Garland replacement parts. Garland will have no obligation with respect to any product that has been improperly
installed, adjusted, operated or not maintained in accordance with national and local codes and/or installation instructions
provided with the product or any product that has its serial number defaced, obliterated or removed, and/or which has
been modified or repaired using unauthorized parts or by unauthorized service agents. For a list of authorized service
agents and/or genuine replacement parts, please visit our website at www.garland-group.com for USA and Canada. For
international customers, please visit www.manitowocfoodservice.com. The information contained herein, including design
and part specifications, may be superseded and is subject to change without notice.
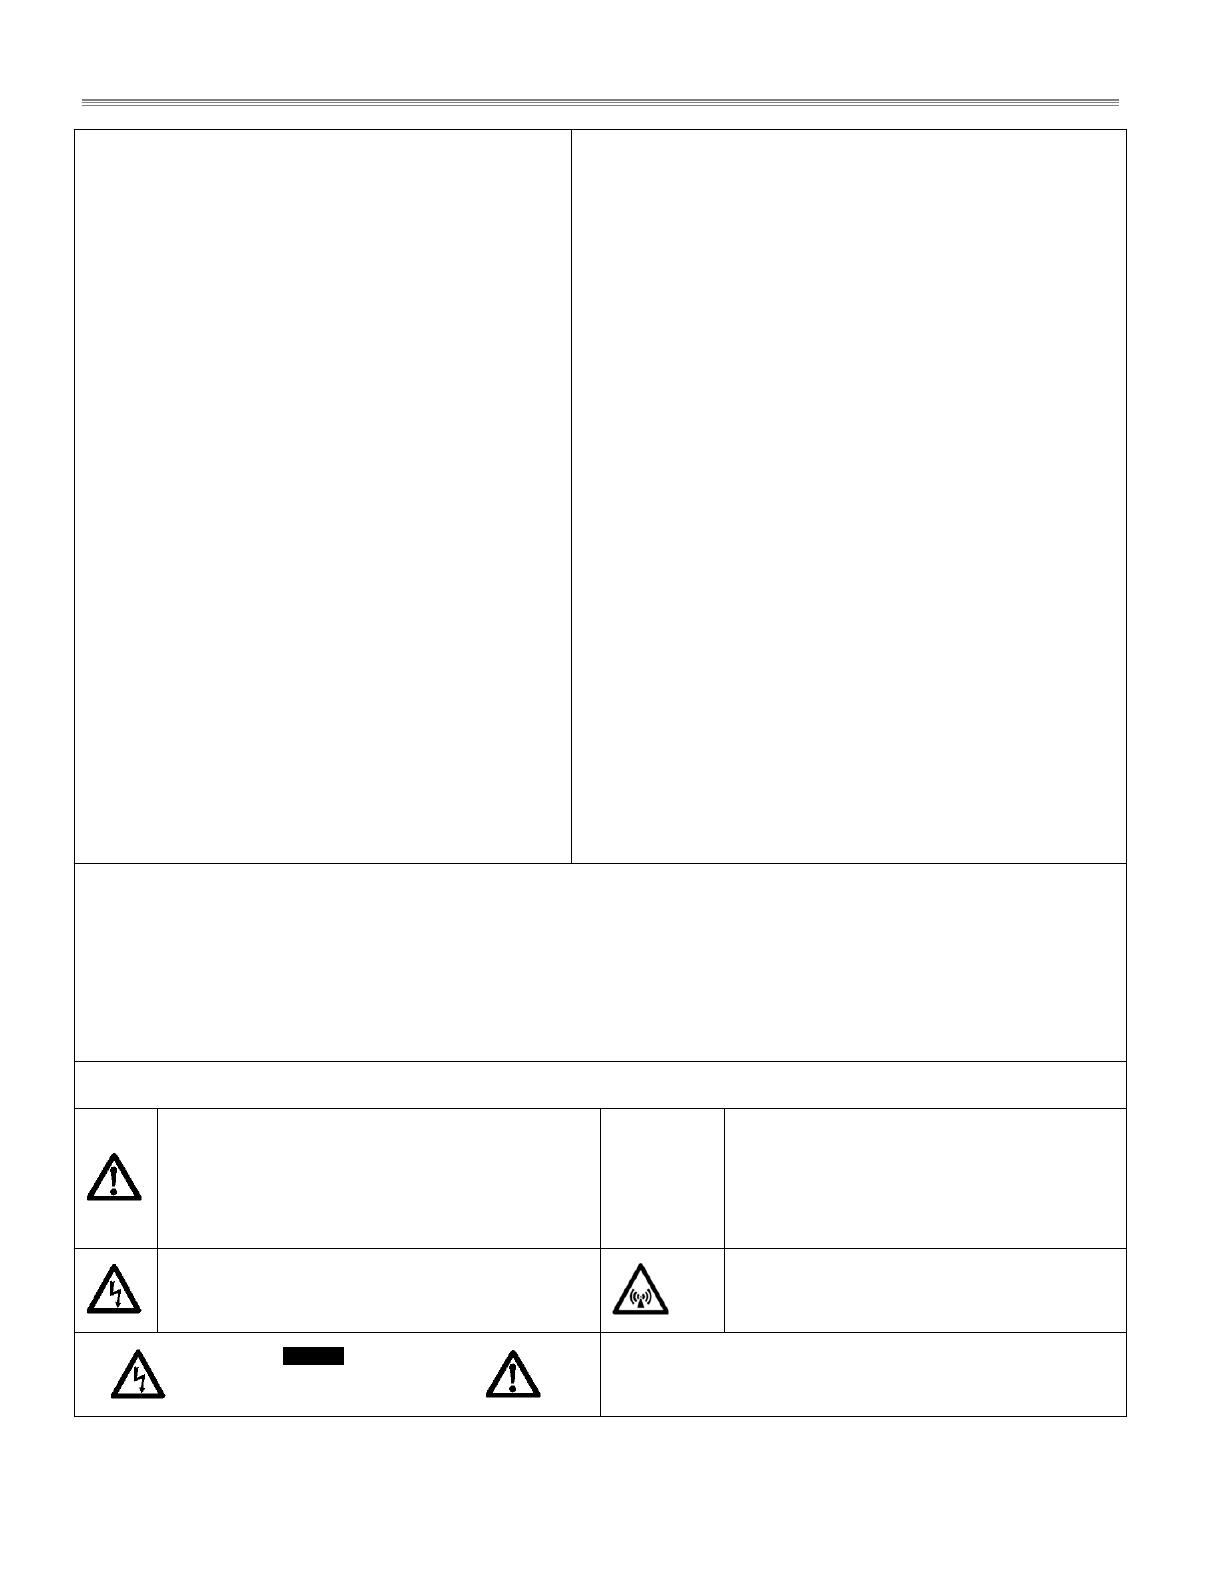
DESCRIPTION OF WARNING SYMBOLS
This symbol alerts you to a hazardous situation
that WILL or COULD cause serious bodily harm or
death. Be alert and implement relevant safety
precautions.
CAUTION
his symbol alerts a hazardous situation,
which if not avoided, COULD cause minor to
moderate personal injury or property
damage. The relevant safety precautions
MUST be implemented at all times.
his dangerous voltage warning symbol indicates
a risk of electric shock and hazards from
dangerous voltage.
Electromagnetic field.
Warning
Risk of fire or electric shock
Do not open
o reduce the risk of fire or electric shock, do not remove or
open cover. No user serviceable parts inside. Refer servicing
to qualified personnel.


