Ecostrad ASCOLI User manual

Type
User manual

Ecostrad ASCOLI is a designer electric radiator that combines style with efficient heating. It is pre-filled and comes with an electric heating element, so there's no need for a central heating system or dual source radiator. With its adjustable temperature settings and sleek design, the ASCOLI is perfect for any room in your home, providing warmth and comfort.

Ecostrad ASCOLI is a designer electric radiator that combines style with efficient heating. It is pre-filled and comes with an electric heating element, so there's no need for a central heating system or dual source radiator. With its adjustable temperature settings and sleek design, the ASCOLI is perfect for any room in your home, providing warmth and comfort.

Ecostrad Designer Electric Radiators
ASCOLI
PLEASE READ AND SAVE THESE INSTRUCTIONS
Ecostrad_Ascoli_V1.3_13052022 2
Symbols
Warning
This symbol indicates a hazard with an average risk level which, if not
avoided, could result in serious injury or death.
Warning of electrical voltage
This symbol indicates danger to the life and health of persons due to
electrical voltage.
Hot surface
This symbol located on the device indicates that its surfaces are hot during
and immediately after operation. Hot surfaces should not be touched:
danger of burns.
Observe instructions in manual
This symbol located on the device indicates that instructions in the operating
manual must be observed when installing and using the device.
Ecostrad_Ascoli_V1.3_13052022 1
Contents
1 | About the Manual - - - - - - - - - - - - - - - - - - - - 2
2 | Warnings & Precautions- - - - - - - - - - - - - - - - - 2
3 | Installation - - - - - - - - - - - - - - - - - - - - - - - - - 3
3-1 Components - - - - - - - - - - - - - - - - - - - - 3
3-2 Fitting the element - - - - - - - - - - - - - - - - 4
3-3 Wall mounting - - - - - - - - - - - - - - - - - - - 4
3-4 Connecting the element - - - - - - - - - - - - - 7
4 | Cleaning - - - - - - - - - - - - - - - - - - - - - - - - - - 7
5 | Warranty - - - - - - - - - - - - - - - - - - - - - - - - - - 8
6 | Disposal - - - - - - - - - - - - - - - - - - - - - - - - - - 8
Ecostrad_Ascoli_V1.3_13052022 2
1 | About the Manual
This manual describes the Ecostrad Ascoli Designer Radiator and details how to install
and use the product. It is important to thoroughly review this manual before using the
product.
For additional information regarding any aspect of the Ecostrad Ascoli Designer
Radiator, contact:
Ecostrad Ltd.
Firecrest House
Lingerfield Business Park
Market Flat Lane
Knaresborough
North Yorkshire
HG5 9JA
Tel: 0330 880 7005
https://ecostrad.com/
2 | Warnings & Precautions
Read all safety warnings and all instructions in this manual carefully before using or
installing the radiator. Failure to follow the warnings and instructions may result in
electric shock, fire, serious injury, or all of the above. Save all warnings and
instructions for future reference.
Check that all ancillary components are present and that the product has not
suffered any damage during transit.
NOTE - This radiator is supplied with an electric heating element and is for use
with an electric supply only. The product cannot be used as part of a central heating
system or as a dual source radiator. This radiator has been pre-filled and adjusted
for electric use. No filling is required. Do not remove any of the seals as this might
cause leakages and void the warranty. Improper adjustment of the fluid level in the
radiator can cause malfunction.
The radiator can be used for heating throughout the home provided it is fitted with
and controlled via the supplied heating element. Consult the manual of the supplied
element for full safety, installation and functionality details.
Warning
This appliance is not intended for use by persons (including children) with
reduced physical, sensory or mental capabilities, or lack of experience or
knowledge, unless they have been given supervision or instruction
concerning use of the appliance by a person responsible for their safety.
Children should be supervised to ensure they do not play with the
appliance.
Ecostrad_Ascoli_V1.3_13052022 3
Warning
As with conventional radiators, this electric radiator will get hot to
the touch during operation. If the radiator is left on full power for a
prolonged period of time the surface temperature can rise to 70 °C
(+/- 5 °C). Particular attention should be given where children and
vulnerable adults are present.
Warning
When drilling or fixing into walls, floors or ceilings it is essential you check for
pipes and wires before commencing. Please ensure that you wear all
necessary personal protective equipment.
3 | Installation
3-1 | Components
Before beginning installation, check that all fixings in Table 1 are supplied. The
radiator should only be mounted with the manufacturer’s fixings.
*The heating element is packaged separately from the radiator and may arrive in a
separate delivery.
Table 1 | Fixings and components
Part Description Quantity
A Left Brackets 3
B Right Brackets 2
C Bracket Guards 5
D Wall Plugs 5
E Washers 5
F Wall Screws (ST6x65) 5
G Element* 1
Ecostrad_Ascoli_V1.3_13052022 4
3-2 | Fitting the element
Full instructions for fitting the element can be found within the element manual. The
user must ensure installation is in accordance with the following:
The element must be fitted at the bottom of the radiator on the side. It may be
fitted on the left or right side.
The heating element must not be connected to the electric supply until it is
secured inside the radiator and correctly orientated.
The radiator is filled with an anti-freezing liquid exactly to the level required by
the element. Ensure that no liquid is lost during installation.
Do not hang the radiator with the heating element at the top (Figure 1).
3-3 | Wall mounting
Tools required for wall mounting:
NOTE - these tools are not provided with the radiator.
1. Check that the wall is strong enough to hold the weight of the pre-filled radiator.
The fixings supplied are suitable for use in solid masonry. For any other wall type
you will need to source appropriate fixings. If fitting to a plasterboard wall, either
fit directly to the wooden struts or otherwise strengthen the wall; do not fix
through plasterboard alone.
If you are fitting the radiator to a stud wall and struggling to line the bracket
positions up with the studs, swapping one or both bracket sets so that the back
plates flip to the other side may give you the necessary flexibility. It may also be
useful to choose a custom mounting position - see step 4. Additional brackets, if
required, are available on request.
Figure 1 | Correct and incorrect element positioning
Figure 2 | Tools required
Ecostrad_Ascoli_V1.3_13052022 5
2. Place the Bracket Guards (C) in the Brackets (A, B), as seen in Figure 3.
3. Choose a mounting position and affix the Brackets (A, B) accordingly.
a. Use the template provided in the box to mark the bracket positions on the
wall (see Figure 4).
b. Using a 10mm drill bit, drill four holes in the marked locations and push the
Wall Plugs (D) inside.
c. Position the Brackets (A, B) over the holes and fix in place using the
Washers (E) and Wall Screws (F). The Brackets (A, B) should slot between
the bars with their mounting plates facing together: with the Left Brackets
Figure 3 | Fixing the radiator brackets
Figure 4 | Fixing the wall brackets
Ecostrad_Ascoli_V1.3_13052022 6
(A) on the left and the Right Brackets (B) on the right as you face the
radiator (as seen in Figure 4).
4. If you require your Left (A) and Right (B) Brackets to be spaced closer together or
farther apart, for example when affixing to studs in a stud wall, you can choose
custom Bracket positions.
a. Choose the point where the Brackets will sit between the radiator bars,
according to your requirements.
b. The Brackets (A, B) should slot between the bars with their mounting plates
facing together: with the Left Brackets (A) on the left and the Right Brackets
(B) on the right as you face the radiator.
c. Use a tape measure, spirit level and the positions decided in step a above
to mark the Bracket positions on the wall (see Figure 5).
d. Using a 10mm drill bit, drill four holes in the marked locations and push the
Wall Plugs (D) inside.
e. Position the Brackets (A, B) over the holes and fix in place using the
Washers (E) and Wall Screws (F).
5. The radiator is now ready to mount. You may choose to add the optional security
bracket at this stage, see Figure 6.
a. Lift the radiator onto the Brackets (A, B).
b. OPTIONAL – Position the remaining Bracket (A) pointing downwards
above one of the top brackets, such that the radiator top bar is now locked
in place. Mark the bracket location on the wall before lifting the radiator
off the brackets.
Figure 5 | Fixing the wall Brackets
Ecostrad_Ascoli_V1.3_13052022 7
c. Use the 10mm drill bit to drill the marked bracket hole and push the
remaining Wall Plug (D) inside. Replace the radiator, re-position the
bracket and use the remaining Washer (E) and Wall Screw (F) to fix.
3-4 | Connecting the element
Wiring the heating element to the mains is a job for a qualified electrician. Please
consult the element manual for full instructions and safety warnings, paying special
consideration to the following:
The radiator and its element are designed to be used under AC 230
voltage and should be connected to the household fixed wiring by a
qualified electrician in accordance with national wiring regulations. Risk
of electric shock.
Do not install the radiator under or in front of a power socket or connector box.
The power lead must be connected to a socket which must be at least 25cm from
the floor. Do not connect the element to the power supply until it is secured within
the radiator and correctly orientated, as demonstrated in Figure 1.
4 | Cleaning
Regular cleaning with a soft, damp cloth will keep the surface of your product looking
new. Do not use abrasive or chemical cleaners as these will damage the finish over
time.
Figure 6 | Securing the radiator to the wall
Ecostrad_Ascoli_V1.3_13052022 8
5 | Warranty
The Ecostrad Ascoli Designer Radiator carries a 10-year guarantee on the steel body,
a 3-year guarantee on paintwork and a 2-year guarantee on electrical components.
Within the stated period, starting from the date the customer receives their unit,
Ecostrad guarantee to repair or replace the unit where a fault is due to defects in
materials or manufacturing.
The warranty does not cover any defect arising from damage, negligence, usage
outside the product’s intended purpose or fair wear and tear. The warranty is only
valid when the radiator has been used with the supplied heating element, at the
specified supply voltage, and in accordance with all conditions specified in this
manual. The warranty will be void if the radiator has been tampered with, if its fluid
levels have been adjusted, or if the ratings label has been removed.
The warranty does not cover failures and faults due to force majeure, accidental
damage, mishandling, external impact, chemical agents or atmospheric phenomena,
incorrect use of the unit, the purchaser’s faulty electrical installations, transporting the
unit or problems caused by the unit being handled by persons not authorised by
Ecostrad. An invoice may be required to confirm that installation work has been
carried out by a qualified professional. Ecostrad cannot accept responsibility for
damage, loss or injury caused by incorrect installation, maintenance, cleaning or
covering the unit.
The warranty is a contract with the original purchaser and does not transfer if the unit
is re-sold, gifted or inherited. Proof of purchase, including order number and order
confirmation or invoice, will be required if a claim is made. The warranty covers only
the model of heater shown on the purchase invoice. The warranty covers the repair
or replacement of the defective product only and Ecostrad shall have no liability for
installation costs or consequential losses however incurred. Claims must be made
with the establishment where the unit was purchased. This warranty does not affect
the customer’s consumer rights.
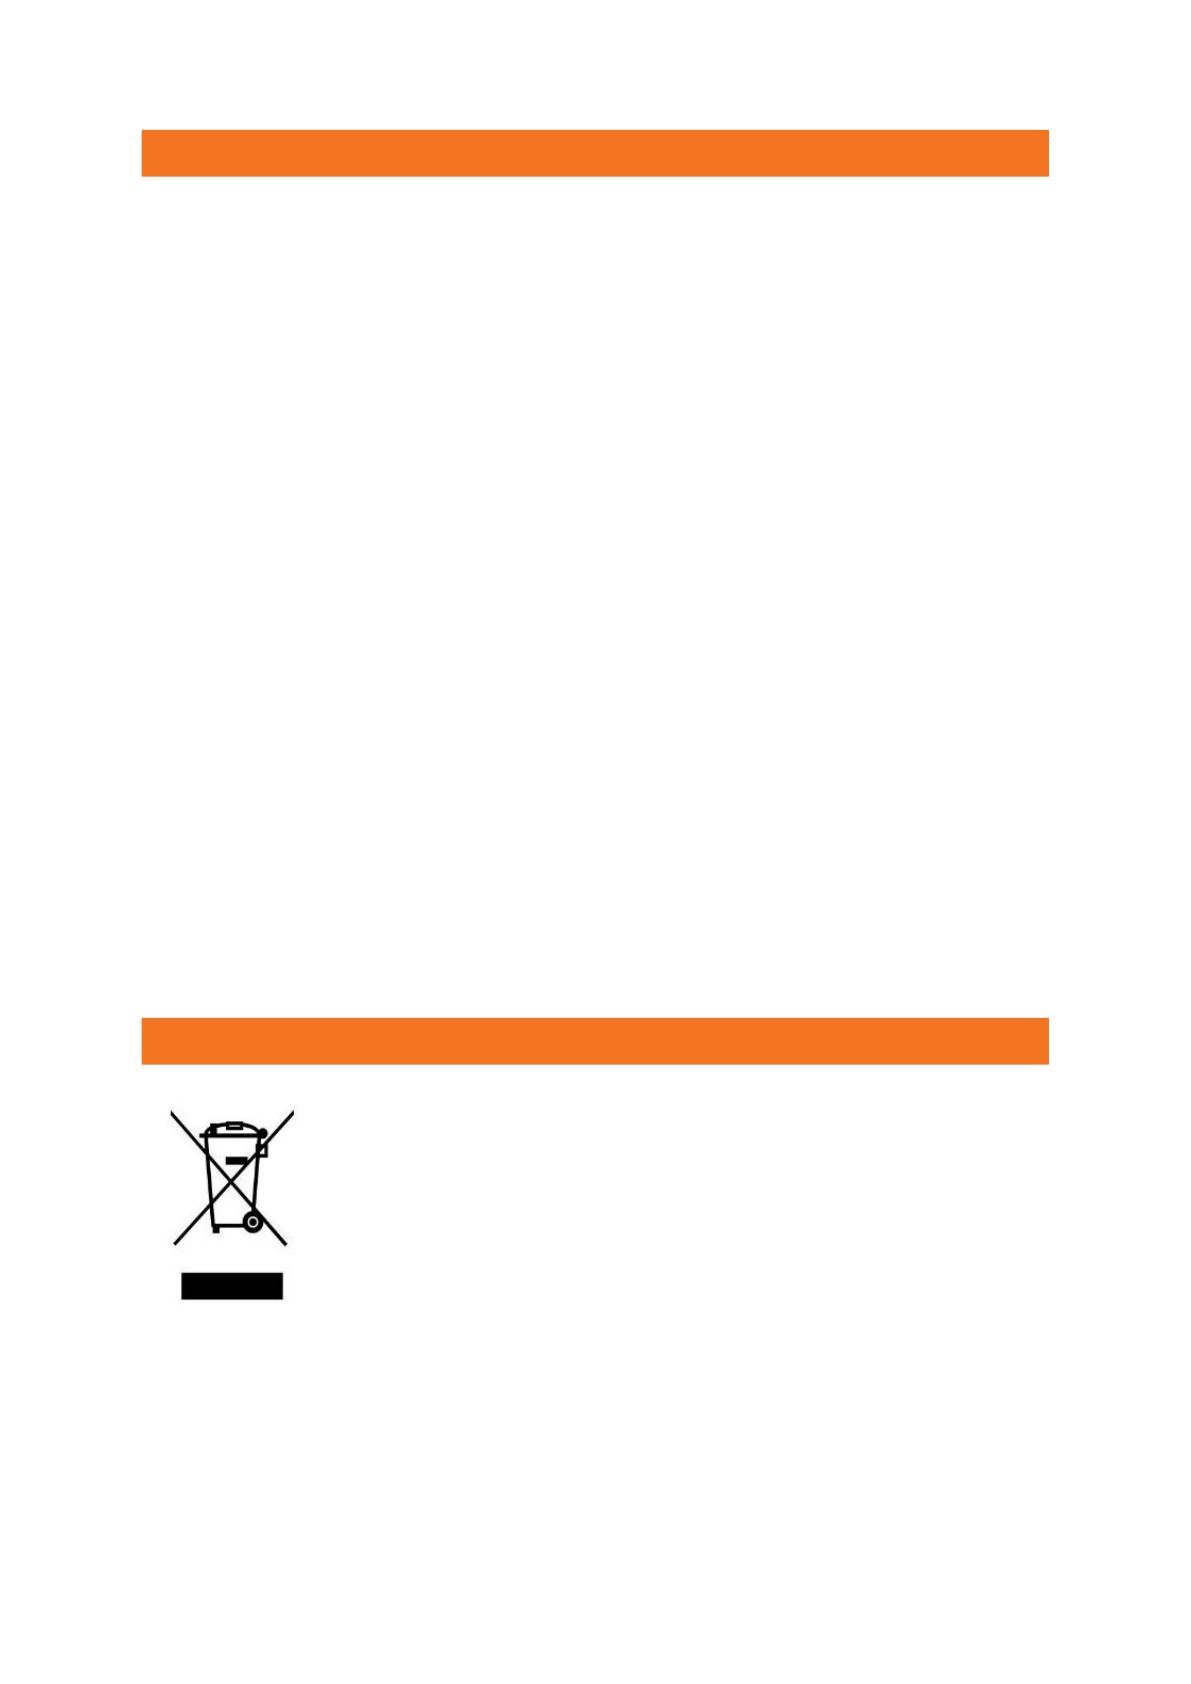
6 | Disposal
In accordance with WEEE Directive 2012/19/EU, the icon with the
crossed-out waste bin on electrical or electronic equipment
stipulates that this equipment must not be disposed of with
household waste at the end of its life. You will find collection points
for free return of waste electrical and electronic equipment in your
vicinity. The addresses can be obtained from your local authority.
The separate collection of waste electrical and electronic
equipment enables the re-use, recycling and other forms of
recovery of waste equipment, and prevents any negative effects
for the environment or human health caused by the disposal of
hazardous substances potentially contained in the equipment.
  • Page 1 1
  • Page 2 2
  • Page 3 3
  • Page 4 4
  • Page 5 5
  • Page 6 6
  • Page 7 7
  • Page 8 8
  • Page 9 9
  • Page 10 10

Ecostrad ASCOLI User manual

Type
User manual

Ecostrad ASCOLI is a designer electric radiator that combines style with efficient heating. It is pre-filled and comes with an electric heating element, so there's no need for a central heating system or dual source radiator. With its adjustable temperature settings and sleek design, the ASCOLI is perfect for any room in your home, providing warmth and comfort.

Ask a question and I''ll find the answer in the document

Finding information in a document is now easier with AI